
To install a smart doorbell yourself, start by charging its battery and checking compatibility with your existing chime. Turn off the fuse for safety. Remove your old doorbell and connect the new one to the existing wires. Follow the manufacturer’s instructions to install it securely, then pair it with the app using the Wi-Fi network. After finishing the setup and customizing settings, you’ll have enhanced security at your doorstep and can discover more tips to optimize your experience.
Key Takeaways
- Verify compatibility of your smart doorbell with existing wiring and chime before starting the installation process.
- Turn off power at the circuit breaker for safety and gather necessary tools for installation.
- Remove the old doorbell, disconnect wires, and prepare the area for the new doorbell installation.
- Follow the manufacturer’s instructions to mount the smart doorbell securely and connect the wiring.
- Download the app, connect the doorbell to Wi-Fi, and customize settings for optimal functionality.
Charge the Battery

Before you plunge into installing your smart doorbell, make sure you fully charge its battery using the provided USB cable. Charging usually takes a few hours, so plan ahead and do this well before installation day.
Many smart doorbells come equipped with an LED indicator that signals when the battery is fully charged, ensuring you know when it’s ready to go.
After charging, it’s wise to periodically check the battery level through the associated app to maintain reliable operation.
If your doorbell features a removable battery, consider getting a second one. This allows you to swap it out for charging while keeping your doorbell functional.
A fully charged battery makes all the difference in performance!
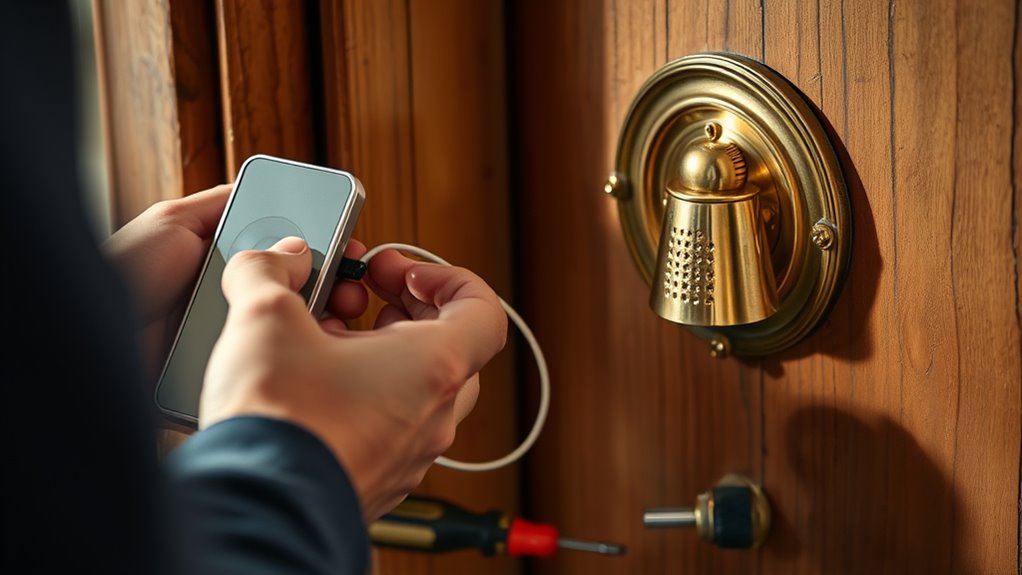
Pair With the App
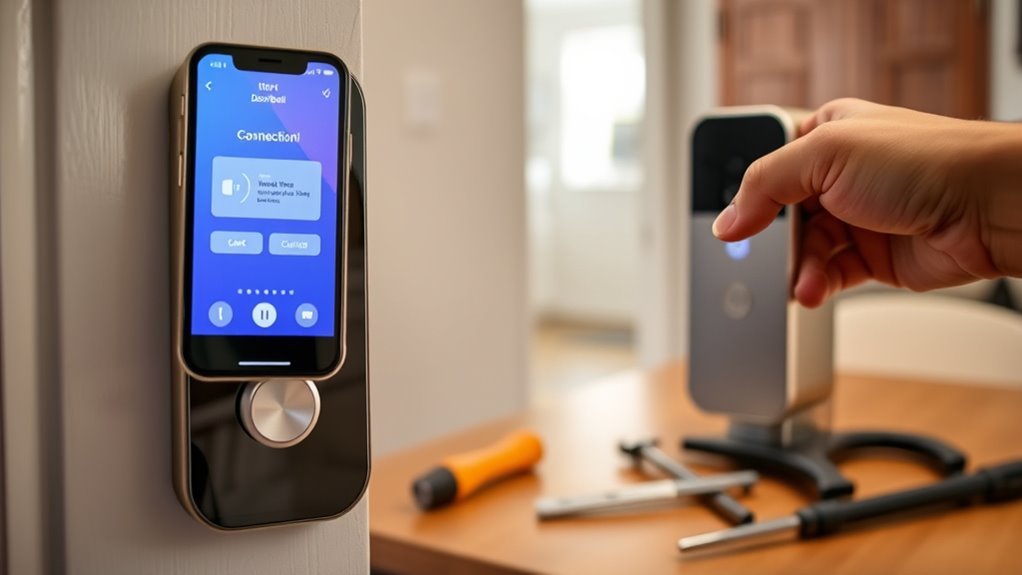
To pair your smart doorbell with the app, start by downloading the correct application from the App Store or Google Play, depending on your device. Once installed, follow the on-screen prompts to create an account or log in, making certain you have your Wi-Fi network information ready.
To establish a secure connection, scan the QR code displayed in the app using the doorbell’s camera. Confirm your smartphone is on the same Wi-Fi network you want the doorbell to use for peak performance. After pairing, customize the settings like motion sensitivity and notification preferences to suit your needs.
| Step | Action | Note |
|---|---|---|
| 1 | Download the app | App Store or Google Play |
| 2 | Create an account | Have Wi-Fi network info handy |
| 3 | Scan QR code | Use doorbell’s camera |
| 4 | Customize settings | Adjust to your preferences |
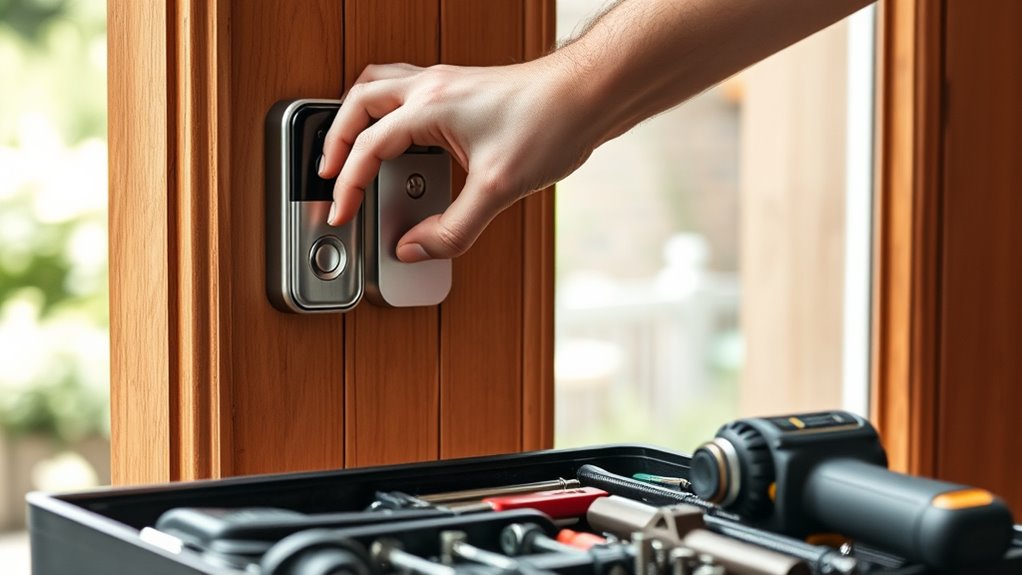
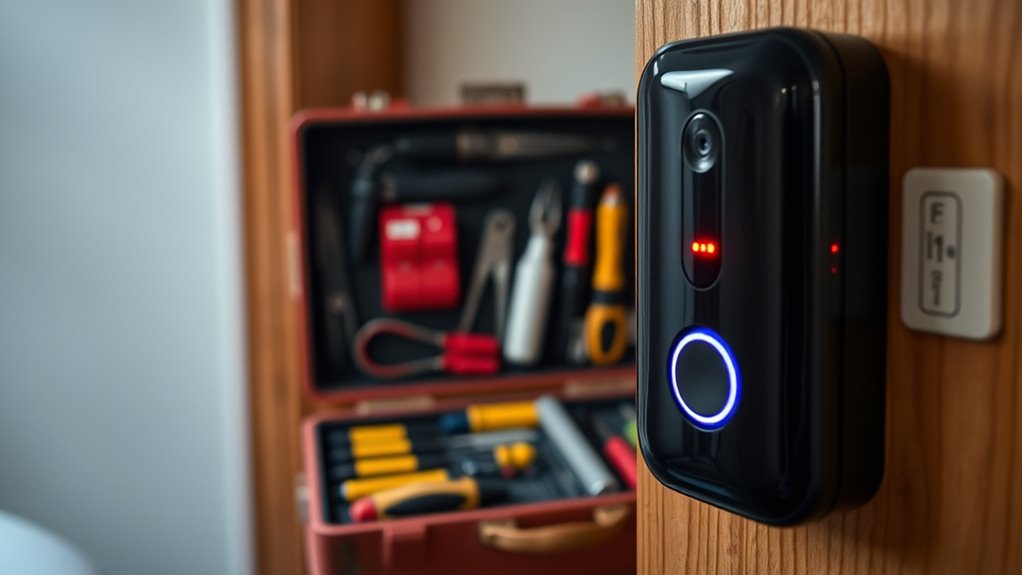
Install the Doorbell
Now that you’ve paired your smart doorbell with the app, it’s time to install it.
Gather your tools and follow the step-by-step process to mount the doorbell securely.
You’ll want to verify everything’s set up correctly for peak performance.
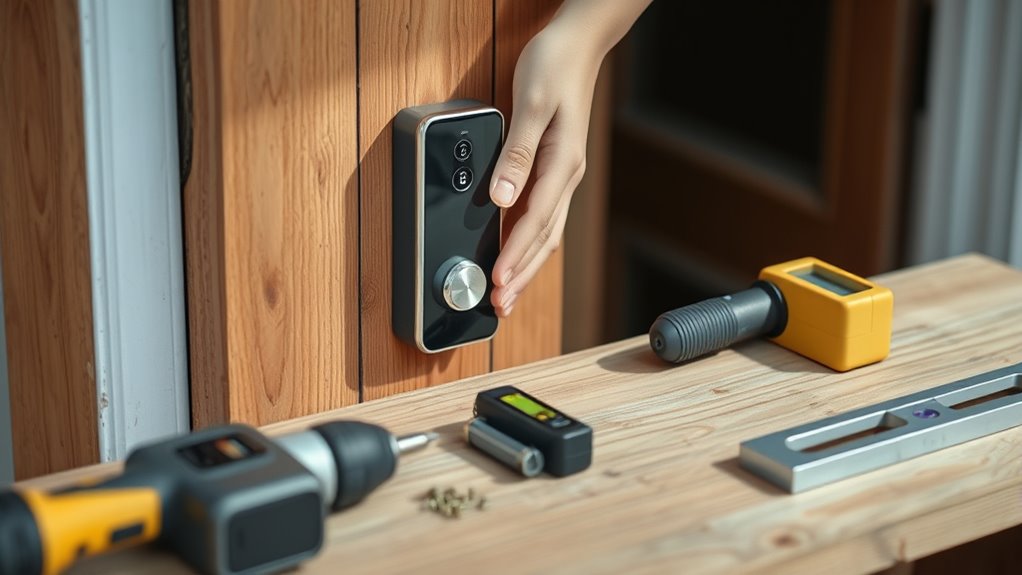
Tools Needed for Installation
When you’re ready to install your smart doorbell, having the right tools on hand can make the process smoother and more efficient. Here’s a list of essential tools you’ll need:
| Tool | Purpose |
|---|---|
| Drill | To make holes for mounting |
| Screwdriver | To secure the doorbell in place |
| Multimeter | To check compatibility of existing wiring |
| Wall Plugs | For sturdy installation on various wall types |
| Pencil | To mark mounting positions accurately |
Additionally, a spirit level will help guarantee your doorbell is perfectly aligned. Depending on your setup, consider a signal booster for better Wi-Fi connectivity if needed. With these tools, you’ll be well-prepared for a successful installation!
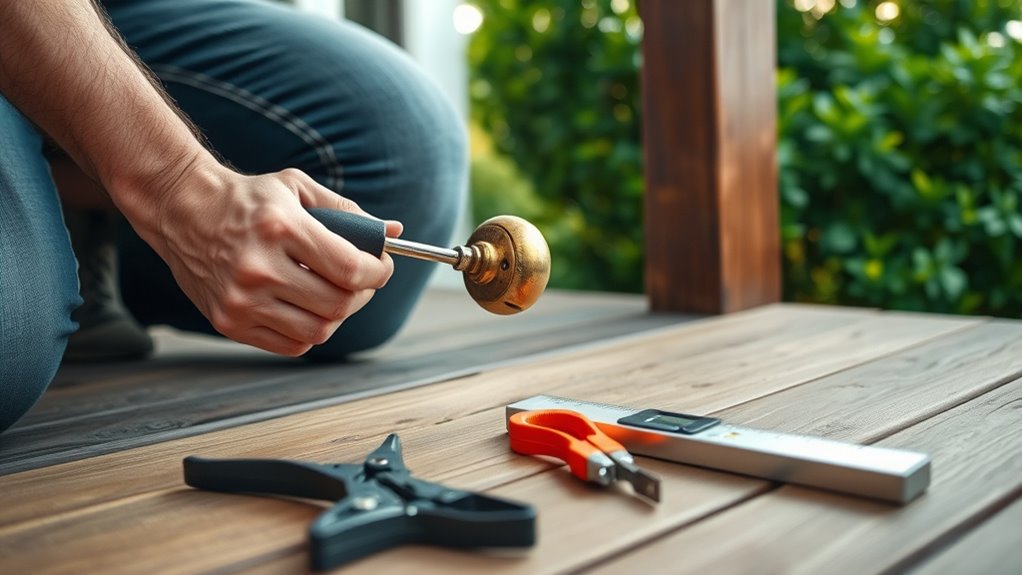
Step-by-Step Mounting Process
Selecting the perfect spot for your smart doorbell is essential for both accessibility and functionality. Aim for around chest height and use a spirit level to guarantee it’s straight.
Follow these steps to mount your doorbell camera:
- Use the mounting template to mark drill holes on your wall, considering the anchors needed based on the material.
- Drill pilot holes at the marked positions, ensuring you avoid any existing wiring or plumbing.
- Pull the existing wiring through the mounting bracket hole, then connect the wires securely to the doorbell terminals.
Finally, attach the doorbell to the mounting bracket and secure it with screws, including any security screws to prevent tampering.
You’re now ready to enjoy your new smart home device!
Secure the Faceplate
Now that you’ve mounted your doorbell, it’s time to secure the faceplate.
Make sure to align it properly for a snug fit, which protects the device from the elements and tampering.
Don’t forget to use the security screws provided to keep everything in place.
Align Faceplate Properly
To guarantee a seamless installation, align the faceplate carefully after securing the doorbell to the mounting bracket.
Make sure it fits snugly, with no gaps or misalignment. A spirit level can help you verify that the faceplate is perfectly horizontal.
Before finalizing, remember to tighten any screws or fasteners, assuring the faceplate stays secure over time.
Here are three key steps to follow:
- Check for gaps: Assure the faceplate fully covers all internal wiring and components.
- Use a spirit level: Confirm the faceplate is aligned horizontally for a professional look.
- Tighten screws: Properly secure all screws to enhance the security of your installation.
Taking these steps will protect your doorbell and enhance its functionality.
Use Security Screws
Using security screws is vital for securing the faceplate of your smart doorbell. These screws are designed to prevent unauthorized removal, enhancing your device’s security.
Follow the installation instructions carefully to align the faceplate with the mounting bracket, guaranteeing no gaps that could compromise weather resistance. Using the provided security screwdriver, tighten the screws until they’re snug but be cautious not to overtighten, as that could damage your doorbell.
It’s a good idea to keep this screwdriver in a safe place for future maintenance or battery replacements, since it’s not a standard tool found in most households. Properly securing the faceplate not only protects the components but also guarantees your smart doorbell functions efficiently.
Check Compatibility
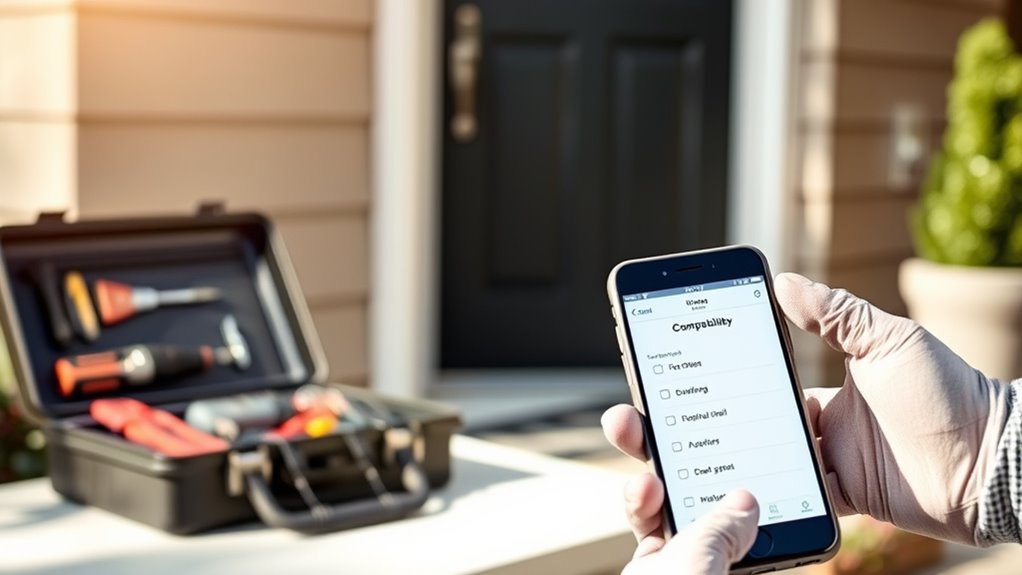
Before diving into the installation of a smart doorbell, it’s crucial to check compatibility with your existing setup. Here are three key points to take into account:
- Wiring: Unscrew your current doorbell and check for two wires. This indicates compatibility with wired models.
- Transformer: Verify your existing transformer delivers 8-24 VAC at 50/60Hz and falls within the 8VA to 40VA range for wired smart doorbells.
- Chime Compatibility: Confirm if your doorbell chime works with your smart doorbell. Many models, like Ring, don’t support existing chimes.
If you’re unsure about any of these aspects, it’s a good idea to consult an electrician to guarantee a successful installation of your smart doorbell.
Turn Off the Fuse
One essential step in installing your smart doorbell is turning off the fuse at the circuit breaker. This vital action guarantees your safety and prevents electrical shocks while you work on the electrical wiring.
First, identify the correct circuit breaker that controls the power to your existing doorbell by checking the labeling on the panel. After you turn off the fuse, use a multimeter to verify that the power is off by testing the voltage at the doorbell wires.
If you’re unsure about which breaker to turn off, consider labeling each breaker for future reference. Remember to inform anyone in your household that you’ll be working on the electrical system to avoid accidental reactivation of the power.
Connect to Existing Doorbell Chime
To connect your smart doorbell to the existing doorbell chime, first verify that the chime is compatible; otherwise, you might face functionality issues.
Check the doorbell transformer to confirm it provides 16-24 volts AC, which is essential for your smart doorbell to operate correctly.
Here’s how to proceed:
- Disconnect the existing doorbell and secure any exposed wires to prevent them from falling back into the wall.
- If your smart doorbell needs a bypass cable, connect it to the doorbell chime to maintain functionality.
- Follow the instructions provided by the manufacturer to confirm all connections are secure.
Taking these steps will help you successfully install a smart video doorbell, enhancing your home’s security.
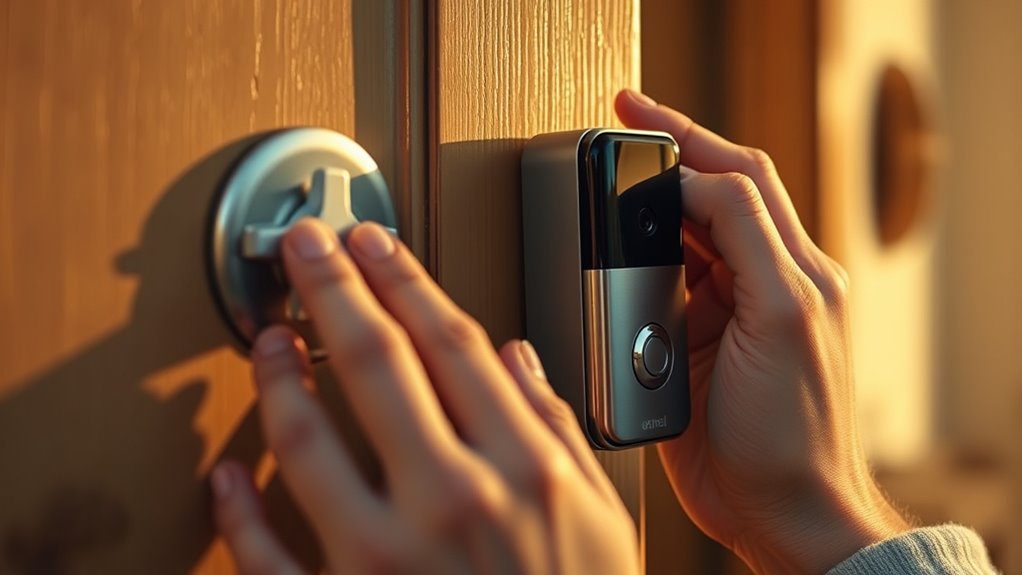
Remove Your Old Doorbell
After verifying your smart doorbell is properly connected to the existing doorbell chime, it’s time to remove the old doorbell.
First, turn off the power at the circuit breaker to stay safe during this process.
Next, unscrew the existing doorbell from the wall, being careful not to damage the surface or the connected wires.
Once it’s loose, disconnect the wires from the terminals. Make sure to secure them with tape to prevent them from falling back inside the wall.
If the wires are too short for your new installation, you might need extension wires and wire nuts from a hardware store.
Finally, verify the area is clean and ready for your new smart doorbell installation.
Finish the Setup
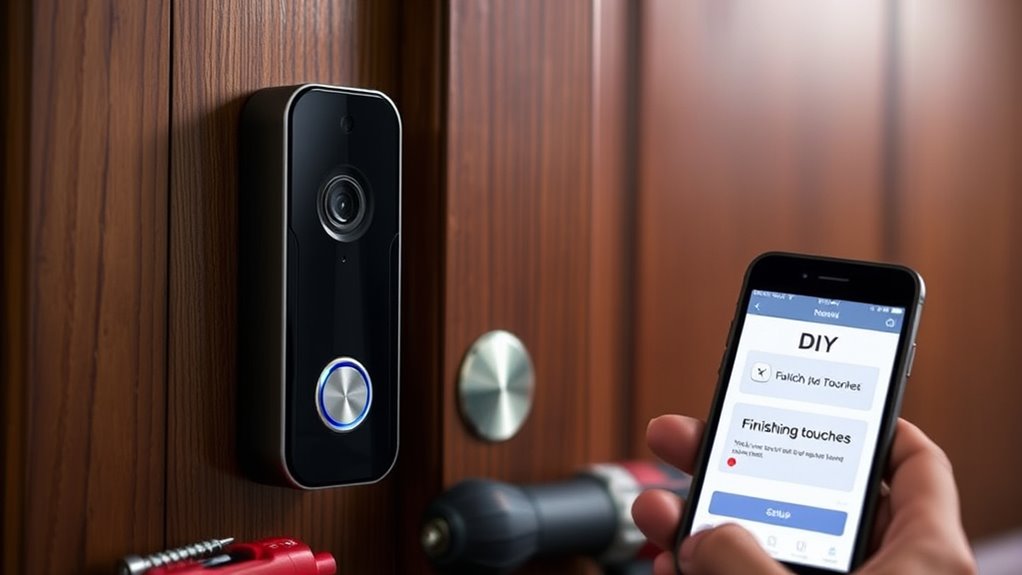
Before you can fully enjoy the benefits of your new smart doorbell, finishing the setup is essential.
Start by downloading the corresponding app on your smartphone and creating an account. This gives you access to your video doorbell’s features.
Next, follow the app’s instructions to connect the doorbell to your Wi-Fi network, ensuring a strong signal for maximum performance.
To tailor your experience, adjust the motion sensitivity settings to reduce false alerts.
Finally, enable two-factor authentication for added security.
Here’s what to do:
- Connect the doorbell to your Wi-Fi network.
- Adjust motion sensitivity in the app.
- Test the notifications by pressing the doorbell button.
Once you complete these steps, you’re all set!
Frequently Asked Questions
Are Smart Doorbells Easy to Install?
Yes, smart doorbells are generally easy to install.
If you choose a battery-powered model, you’ll likely need minimal tools and no wiring, making it a straightforward DIY project.
Wired models may require some basic skills, but they come with clear instructions and necessary hardware.
With mobile apps to guide you through the process, you can typically complete the installation in under an hour, especially for battery-operated options.
Do You Need an Electrician to Install a Doorbell?
You don’t necessarily need an electrician to install a doorbell. Most installations are straightforward and require basic tools, making them manageable for most homeowners.
However, if you’re uncomfortable with electrical work or unsure about local building codes, hiring a professional might be a good idea. For complicated wiring or modifications, consulting an electrician guarantees safety and compliance.
Can I Install a Doorbell Camera Myself?
Can you really transform your home security with a simple device? Absolutely, you can install a doorbell camera yourself!
Battery-powered models make it easy, requiring no complex wiring or special skills. If you opt for a wired version, just check that your existing wiring matches the camera’s voltage needs.
Grab a drill and screwdriver, follow the manufacturer’s instructions, and you’ll be set up in no time, enjoying enhanced security right at your doorstep!
How Do I Connect My Smart Doorbell?
To connect your smart doorbell, start by making sure it’s charged or wired properly.
Download the manufacturer’s app and create an account. Follow the in-app instructions to link the doorbell to your Wi-Fi; a strong signal is essential.
If your doorbell supports it, pair it with your existing chime or set up a plug-in chime.
Finally, customize settings like motion detection and notifications for a tailored experience.
Conclusion
Installing a smart doorbell yourself can be a rewarding experience. You’ve charged the battery, paired it with the app, and secured the faceplate. You’ve checked compatibility, turned off the fuse, and connected to the existing chime. You’ve removed the old doorbell and finished the setup. Now, you can enjoy the convenience and security that comes with your new device. So, celebrate your accomplishment, embrace the technology, and enhance your home’s entryway with pride!