
To make a DIY indoor herb garden, start by choosing shallow-rooted herbs like basil, chives, and parsley. Use pots with drainage holes and fill them with well-draining organic potting soil. Place your pots where they’ll get 4-8 hours of sunlight daily, ideally near a south-facing window. Water only when the topsoil feels dry, and prune regularly to encourage growth. With the right care, your herbs will thrive and enhance your culinary delights. There’s plenty more to explore!
Key Takeaways
- Choose shallow-rooted herbs like basil, chives, and parsley, considering their light requirements and cooking uses.
- Use pots with drainage holes and well-draining organic potting soil mixed with compost for optimal growth.
- Select a location with 4-6 hours of natural light daily, preferably near a south-facing window.
- Water herbs appropriately by checking soil moisture and using the bottom watering technique for best results.
- Regularly prune and monitor for pests, adjusting care as needed to maintain healthy growth.

TCBWFY Indoor Herb Garden Planter Set – 3 Pack 4.7" White Metal Plant Pots with Drainage Holes & Removable Tray – Windowsill Kitchen Counter Balcony Office Garden
Complete 3-Pot Set: Includes 3 planters (4.7" diameter) + 1 drip tray (13.8" length) – everything you need…
As an affiliate, we earn on qualifying purchases.
As an affiliate, we earn on qualifying purchases.
Choosing the Right Herbs for Your Indoor Garden
When choosing the right herbs for your indoor garden, what factors should you consider?
Start with herbs that have shallow roots, like basil, chives, and parsley, which thrive in pots at least 6 inches deep. Woody herbs like rosemary and thyme are also excellent, as they prefer drier conditions.
Think about the light requirements of your favorite herbs; sun-loving varieties such as oregano need 6-8 hours of light, while shade-tolerant options like mint can flourish with just 4 hours daily.
Tailor your selections to your cooking style, focusing on versatile herbs like basil and cilantro.
Finally, avoid overcrowding—plant strong-growing herbs like lemon balm in separate pots to give them room to grow and thrive in your indoor herb gardening space.

Burpee, 9 Quarts | Premium Organic Potting Natural Soil Mix Food Ideal for Container Garden-Vegetable, Flower & Herb Use for Indoor Outdoor Plant
ALL-NATURAL MIX: Burpee Organic Premium Potting Mix is formulated with plant food & coconut coir to promote seed…
As an affiliate, we earn on qualifying purchases.
As an affiliate, we earn on qualifying purchases.
Essential Supplies for Starting Your Herb Garden
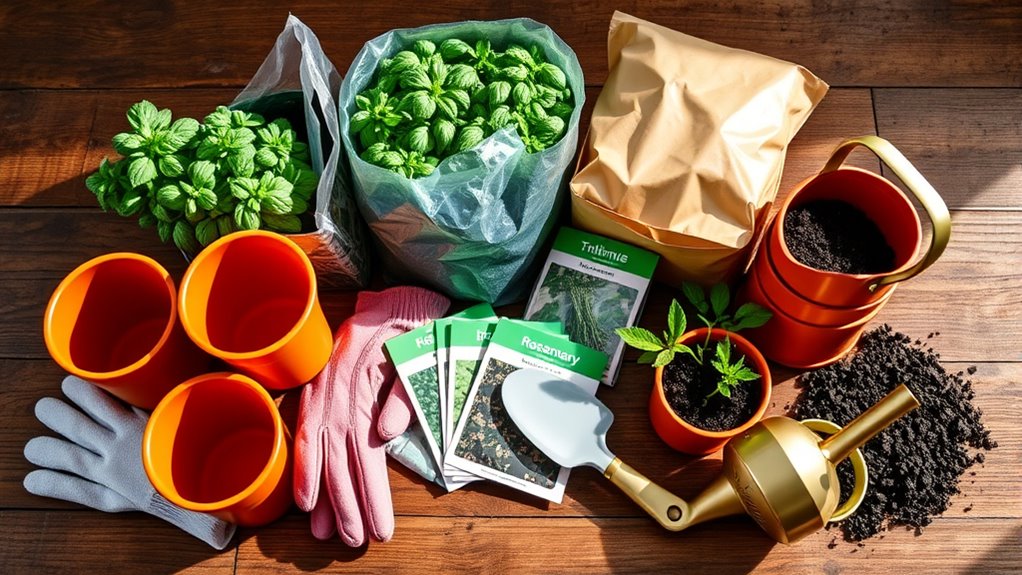
- Pots with drainage holes – Choose containers that are at least 6 inches deep to prevent waterlogging.
- Well-draining organic potting soil – A mix that includes compost will provide essential nutrients for your herb plants.
- Watering can – A gentle watering can or spray bottle will help you keep your herbs hydrated without overwatering.
- Organic fertilizer – Use organic liquid fertilizer to nourish your plants as they grow.
With these essentials, you’ll create a thriving indoor herb garden in no time! Additionally, understanding the importance of well-draining soil will further enhance your gardening success.

Aokrean Plant Grow Light, 48 LEDs Full Spectrum Grow Lights for Indoor Plants, Height Adjustable Small Halo Grow Light with Base, 3 Optional Spectrums, Auto Timer 3/9/12Hrs, 10 Brightness, 3 Pack
NOTE: The product stand needs to be pressed down by the flower pot to be stable. Not wireless…
As an affiliate, we earn on qualifying purchases.
As an affiliate, we earn on qualifying purchases.
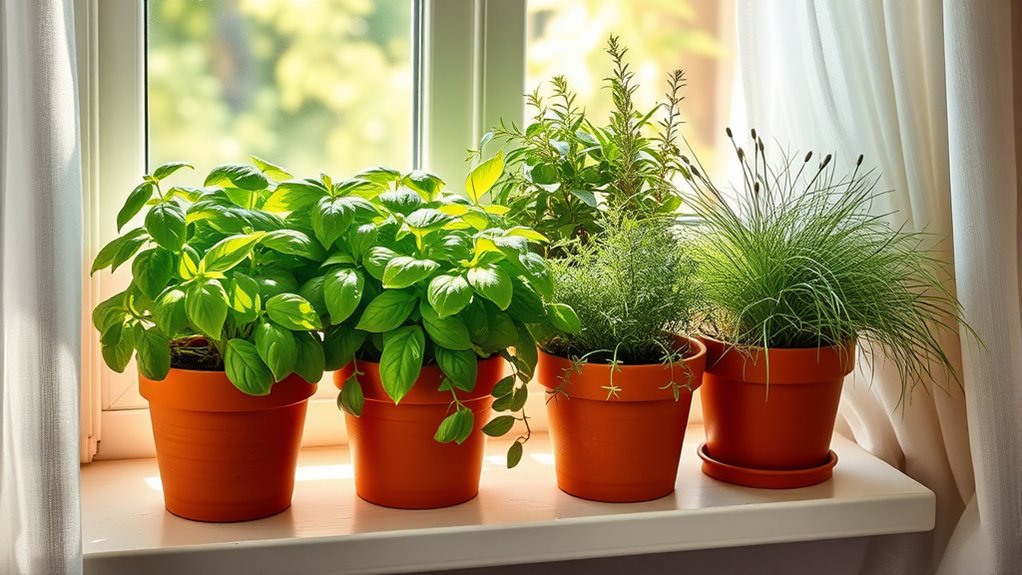
Finding the Perfect Spot: Light and Temperature Considerations
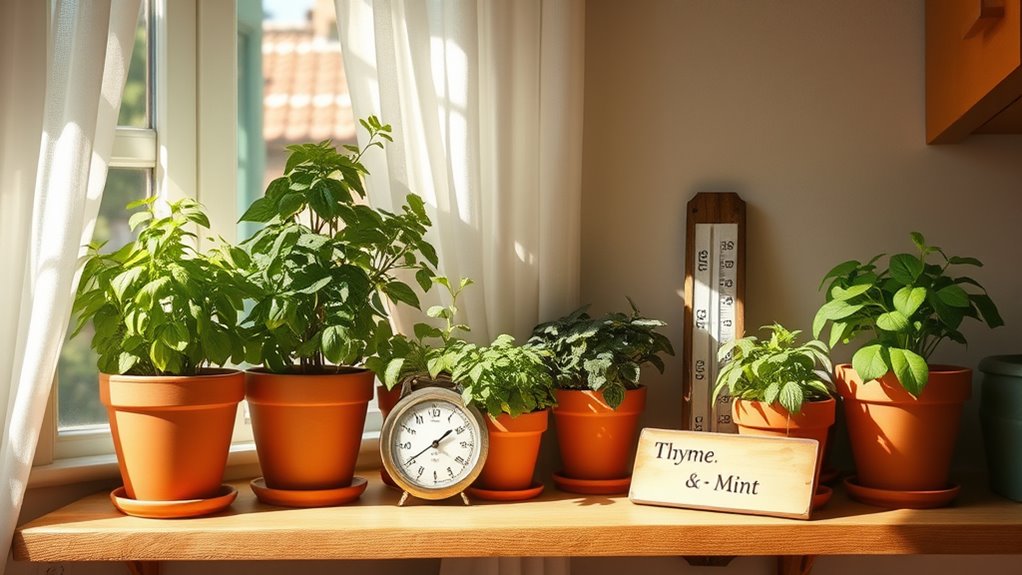
Where’s the best place to set up your indoor herb garden? To guarantee healthy growth, seek a spot that gets 4-6 hours of natural light daily, with south-facing windows being ideal.
Herbs like basil and oregano thrive on 6-8 hours of light, while mint and parsley need just 4 hours. If natural light is limited, consider using grow lights, especially during winter months.
Temperature is equally important; keep your indoor herbs in a range of 65-75°F (18-24°C) to prevent stress and encourage thriving plants. Additionally, ensure you maintain optimal lighting conditions to enhance the growth potential of your herbs.
Avoid placing them near drafts, heat sources, or air conditioning vents, as sudden temperature changes can harm their health.
With the right light and temperature, your herbs will flourish beautifully indoors.

Watering Can for Indoor and Outdoor Plants – Long Spout Water Can for Garden, Flower, House Plants – 1.8L/1/2 Gallon (Green)
Customizable Water Flow: Watering can with a detachable shower nozzle, easily switch between a steady stream or gentle…
As an affiliate, we earn on qualifying purchases.
As an affiliate, we earn on qualifying purchases.
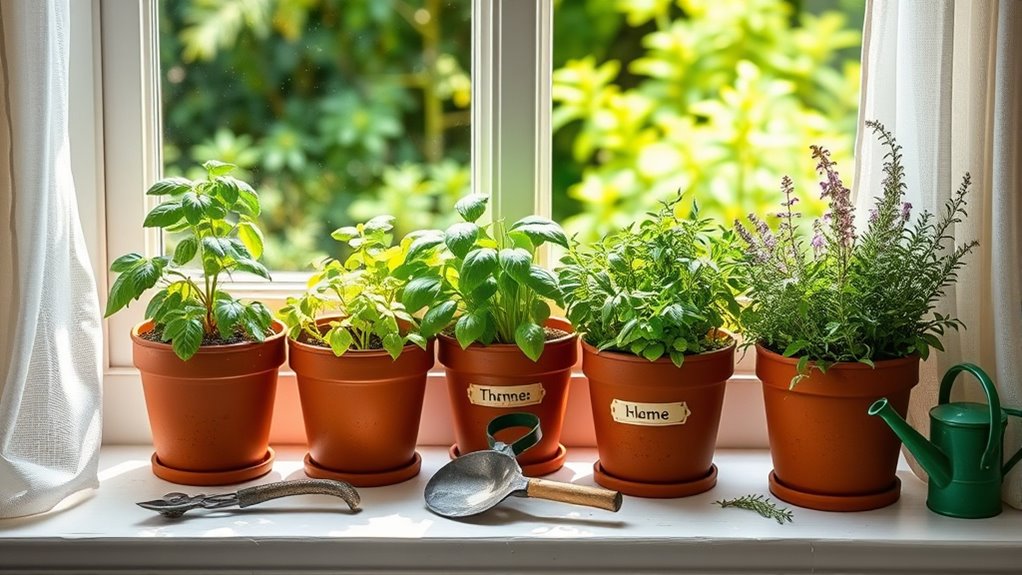
Planting Your Herbs: A Step-by-Step Guide

Getting started with your indoor herb garden is an exciting step towards fresh flavors in your kitchen. Follow these steps to plant your herbs successfully:
Starting an indoor herb garden brings fresh flavors to your kitchen—follow simple steps for successful planting!
- Choose a container: Pick one that’s at least 6 inches deep with drainage holes to prevent overwatering.
- Add soil: Fill the container with well-draining organic potting soil and top it with compost for nutrients.
- Arrange your herbs: Space your herb starters appropriately in the container to allow for air circulation and growth.
- Water and monitor moisture: After planting, water thoroughly until the soil is moist but not soggy. Check the top 1-2 inches of soil regularly.
Finally, make sure your herb garden gets 4-6 hours of light daily for healthy growth!
Ongoing Care and Maintenance: Nurturing Your Green Buddies
To keep your indoor herb garden thriving, you’ll need to pay close attention to watering and light requirements.
Check the top 1-2 inches of soil for moisture and guarantee your herbs get 4-6 hours of sunlight daily.
Watering Techniques and Frequency
Watering your indoor herbs properly is essential for their growth and health. To guarantee your green buddies thrive, follow these watering techniques:
- Check the top inch: Water when the top 1-2 inches of soil feel dry to the touch. Avoid letting your plants sit in water to prevent root rot.
- Use bottom watering: Place pots in a tray of water for about 30 minutes to allow the soil to absorb moisture from below.
- Monitor specific water preferences: Know that rosemary and thyme prefer drier soil, while basil and mint like it consistently moist.
- Adjust your watering frequency: Be mindful of seasonal changes; indoor herbs may need more water during warmer months. Consider using a moisture meter for accuracy.
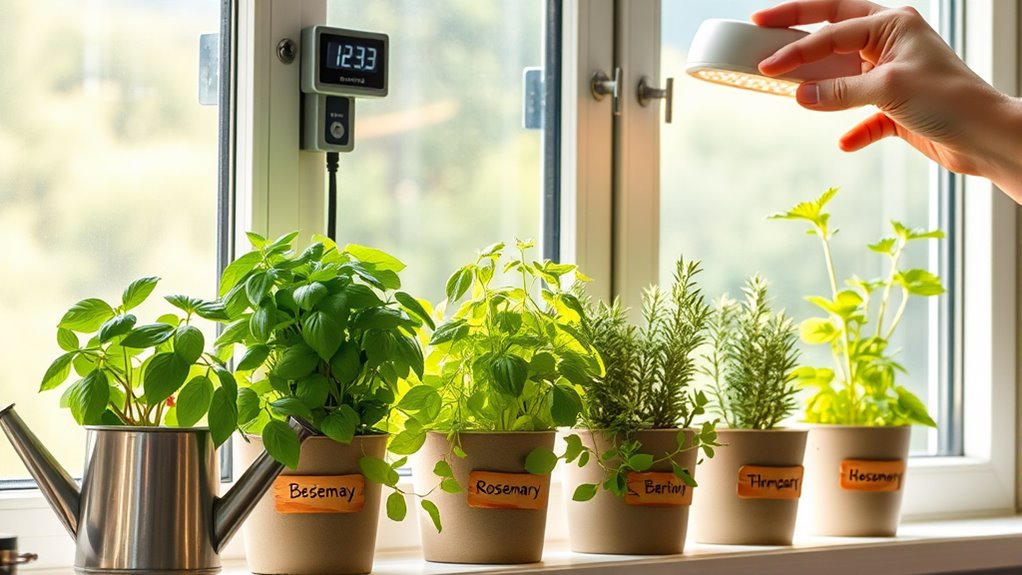
Light and Temperature Needs
While your indoor herbs flourish with proper watering, they also thrive on the right light and temperature conditions.
Most indoor herbs need 4-6 hours of direct sunlight daily, but varieties like basil, oregano, and rosemary thrive with 6-8 hours. Position your pots near south-facing windows for ideal light, or use well-exposed skylights and other windows.
Some herbs, such as mint and parsley, can do well with just 4 hours of light, making them perfect for less bright spots. Maintaining a consistent temperature between 65°F and 75°F (18°C to 24°C) is vital for their health.
Don’t forget to rotate your pots regularly to guarantee even light distribution and prevent leggy growth during the growing season.
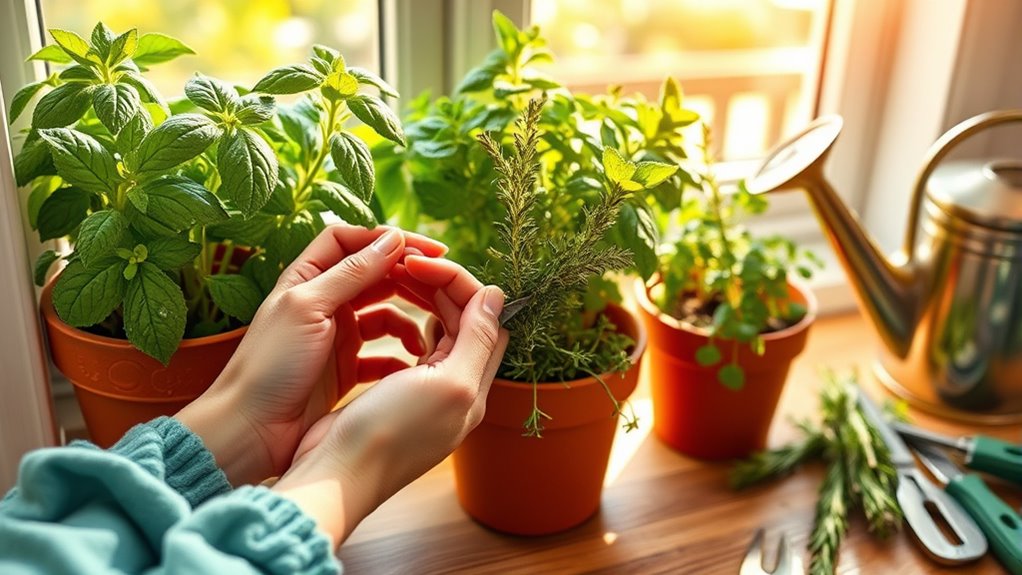
Harvesting and Using Your Home-Grown Herbs
Harvesting your home-grown herbs not only keeps your plants healthy but also gives you fresh flavors for your dishes.
By regularly snipping from the outer branches, you’ll enjoy a steady supply of culinary delights.
Let’s explore some effective harvesting techniques and delicious ways to use your herbs in the kitchen.
Fresh Culinary Applications
Using fresh herbs from your indoor garden can transform your cooking, adding vibrant flavors and aromas that elevate any dish.
Here are some delicious culinary uses for your home-grown herbs:
- Garnish salads: Fresh basil or parsley adds a pop of color and aromatic flavor.
- Enhance sauces: Incorporate rosemary or thyme for depth in marinara or gravy.
- Flavor meats and vegetables: Snip fresh herbs just before cooking to maximize their taste and aroma.
- Experiment with combinations: Blend mint and cilantro in sauces or salads for unique twists.
With your DIY indoor herb garden, you can easily explore these culinary applications and enjoy the benefits of using herbs from seed to enhance flavor in your meals. Additionally, using herbs can contribute to a balanced diet by increasing your intake of essential nutrients and promoting healthier eating habits.
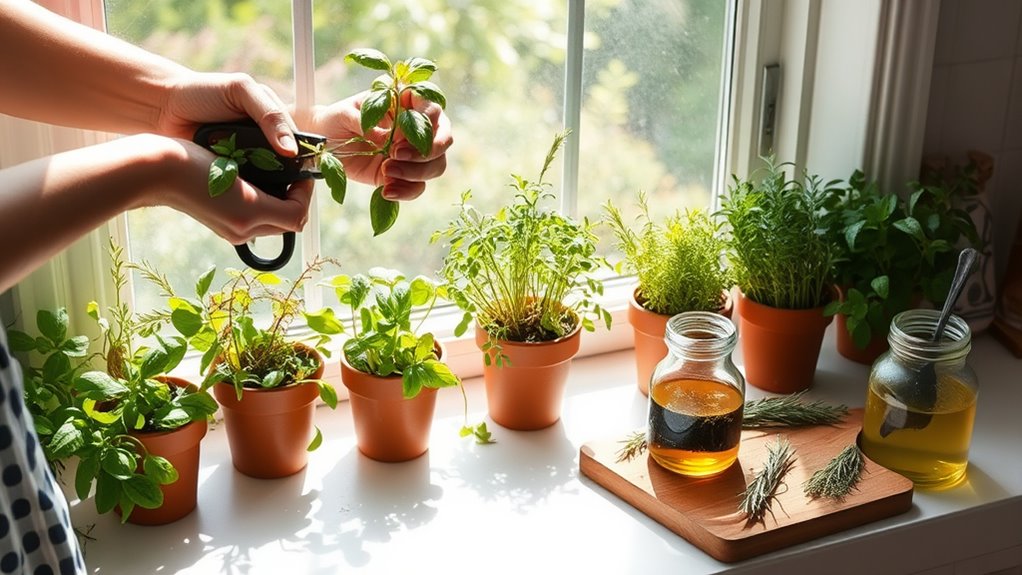
Continuous Harvesting Techniques
To keep your indoor herb garden thriving and productive, it’s important to adopt effective continuous harvesting techniques. Regularly harvesting encourages healthy growth and boosts leaf production. Use clean pruners or scissors to snip from the outer branches, ensuring you don’t remove more than one-third at once. Pinching above leaf nodes stimulates branching, leading to fuller plants. Maintaining a consistent schedule for harvesting is key, so monitor each herb’s health and adjust your techniques accordingly. After harvesting, always wash gently to remove any dust or pests for the best quality.
| Herb | Best Time to Harvest | Harvesting Method |
|---|---|---|
| Basil | Every 2-3 weeks | Snip outer leaves |
| Mint | Every 3 weeks | Cut above leaf nodes |
| Parsley | Every 2 weeks | Trim outer stems |
| Thyme | Every 4 weeks | Snip sprigs |
| Oregano | Every 4 weeks | Cut from outer branches |
Troubleshooting Common Indoor Herb Garden Issues
While growing an indoor herb garden can be rewarding, it often comes with its own set of challenges. Here are some common issues and how to tackle them:
- Overwatering: Guarantee your pots have drainage holes and let the top inch of soil dry out before watering again to prevent root rot.
- Insufficient light: If your herbs look leggy, they may need 4-8 hours of sunlight daily.
- Yellowing leaves: This could indicate nutrient deficiency or overwatering. Use organic liquid fertilizer every 2-4 weeks and adjust your watering practices.
- Pests: Regularly check for pests like aphids. Treat infestations promptly with insecticidal soap or neem oil.
If growth stalls, consider repotting into larger containers with fresh, well-draining potting soil for better health.
Expanding Your Indoor Herb Garden: From Seedling to Spice Emporium
Once you’ve tackled the common challenges of indoor herb gardening, it’s time to think about expanding your collection. Start by selecting perfect herbs for your indoor space, like basil, parsley, and thyme, which grow well together.
Use seedling trays with individual compartments to give each seed adequate room to develop roots. When transplanting seedlings, opt for pots at least 6 inches deep with good drainage to support herbs like rosemary and sage.
Incorporate organic fertilizers into your potting mix and consider liquid fertilizers every 2-4 weeks for ideal growth.
Finally, don’t forget regular pruning to encourage bushier plants and guarantee a continuous supply of fresh herbs for your culinary adventures. Happy gardening!
Frequently Asked Questions
How Do You Make a Simple Indoor Herb Garden?
To make a simple indoor herb garden, start by choosing a container that’s at least 6 inches deep with drainage holes.
Select herbs that fit your cooking style, like basil or thyme, and fill the container with organic potting soil mixed with compost.
Place it in a spot with 4-6 hours of sunlight daily, and monitor the soil moisture, allowing the top to dry out between waterings.
Regularly trim your herbs to encourage growth.
What Herbs Grow Best Together Indoors?
When you’re planning to grow herbs indoors, consider pairing basil and parsley as they thrive on similar moisture and sunlight.
Mint’s best kept in its own pot, while chives can join it if you’d like.
For drier conditions, rosemary, sage, and thyme work well together.
Finally, cilantro and parsley share a love for cool, moist environments, making them great companions.
Always group herbs with matching watering and light needs for ideal growth.
What Herbs Should Not Be Grown Indoors?
When you’re dreaming of an indoor herb paradise, remember not every plant’s suited for your cozy haven.
Avoid growing dill and fennel; they’ll quickly outgrow your space.
Tarragon and sorrel crave cooler temps that indoor life can’t provide.
Stinging nettle’s sting isn’t worth the risk, and large mint varieties can take over like a wild party.
Finally, bay laurel needs more room and sunlight than your home can offer.
Stick to manageable herbs instead!
Which Herbs Should Not Be Planted Together?
When planting herbs together, avoid mixing basil with sage because their soil moisture needs clash.
Keep mint and lemon balm in separate pots to prevent them from taking over.
Chives shouldn’t be near garlic or onions since they compete for nutrients.
While parsley and cilantro can coexist, watch their light and water needs closely.
Finally, steer clear of pairing rosemary with basil or cilantro; rosemary prefers drier conditions and more sunlight.
Conclusion
With your indoor herb garden flourishing, you’re now a culinary wizard, conjuring up flavors that could make even the finest restaurants weep with envy! Your kitchen’s transformed into a magical herb haven, where every dish bursts with life and zest. So, keep nurturing those green buddies, and before you know it, you’ll be sprinkling fresh herbs like confetti at a party! Embrace your inner gardener and savor the satisfaction of home-grown goodness that’ll elevate every meal to legendary status!