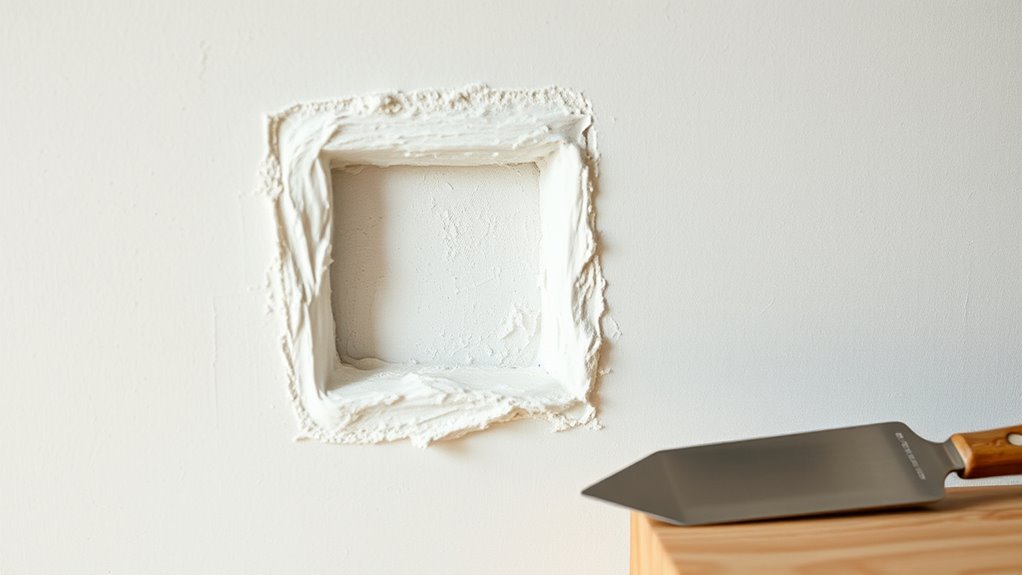
To patch a hole in drywall, start by cleaning the area and cutting a patch to fit snugly. Secure it with drywall screws or adhesive, then apply thin layers of drywall compound, feathering the edges to blend with the wall. Sand smoothly once dry, and repeat as needed for a seamless finish. Taking your time and following proper steps will give you professional-looking results—continue to learn the best techniques for a perfect repair.
Key Takeaways
- Properly prepare the area by cleaning debris and measuring a snug drywall patch.
- Cut the patch to fit the hole precisely, ensuring straight, even edges.
- Secure the patch with drywall screws or adhesive, then apply drywall compound in thin, layered coats.
- Feather the edges with sanding tools for a smooth, flush surface.
- Finish by priming and painting for a seamless, professional-looking repair.

Patching a hole in drywall is a straightforward process that can save you time and money on repairs. To do it right, you’ll want to gather the right drywall tools beforehand. These typically include a putty knife, drywall saw, utility knife, sanding sponge or paper, drywall compound, and possibly a drywall patch. Using the appropriate tools ensures the job goes smoothly and helps you avoid common mistakes that can turn a simple fix into a bigger headache later on.
One of the most common mistakes people make when patching drywall is rushing through the prep work. For example, if you ignore cleaning debris or don’t cut the patch to fit snugly, your repair won’t be seamless. Properly measuring and cutting the drywall patch with a drywall saw or utility knife is vital. You want the patch to fit tightly in the hole, so take your time to ensure the edges are straight and even. Using drywall tools properly will give you cleaner cuts and a better fit, reducing the chances of cracks or uneven surfaces after painting.
Another common mistake is neglecting to sand the area around the patch or failing to apply primer before painting. After securing the patch with drywall screws or adhesive, you should feather the edges with a sanding sponge or sandpaper to make the transition smooth. Skipping this step or rushing it can leave visible ridges or bumps, ruining the appearance of your wall. Also, when applying drywall compound, use multiple thin coats instead of one thick layer. This helps prevent cracking and ensures a flat surface once it dries.
Many DIYers forget to double-check that the patch is flush with the wall surface before finishing. Using a drywall knife or a level can help you verify that the patch sits evenly. If it’s recessed or protruding, you’ll need to sand it down or add more compound to achieve a flush finish. Also, avoid overworking the drywall tools—excessive sanding or applying too much compound can lead to uneven textures or damage the drywall surface.
Finally, take your time with each step. Rushing through the process, especially when using drywall tools, often results in a less professional-looking repair. Properly preparing, fitting, and finishing your patch will help you avoid common mistakes and achieve a clean, durable repair. Being aware of the importance of tools and techniques and applying patience throughout the process will help ensure a successful drywall repair. With patience and the right tools, patching drywall can be a simple task that restores your wall’s appearance quickly and effectively.
Frequently Asked Questions
How Do I Prevent Future Holes in Drywall?
To prevent future holes in drywall, focus on drywall maintenance and smart home improvement tips. You can avoid damage by placing furniture away from walls, using protective bumpers on doors and furniture, and hanging items securely with proper anchors. Regularly inspect your walls for signs of wear, and address small issues before they worsen. By staying proactive, you’ll keep your drywall intact longer and reduce the need for repairs.
Can I Patch a Hole Without Sanding?
Did you know that nearly 70% of homeowners avoid sanding after patching drywall? Luckily, you can often patch a hole without sanding by using effective patching techniques and matching drywall texture. Apply the compound smoothly, then use a damp sponge or cloth to blend the edges, eliminating the need for sanding. This approach saves time and keeps your wall looking seamless, especially when you master the right patching techniques.
What Tools Are Best for Large Drywall Repairs?
For large drywall repairs, you’ll want sturdy tools like a drywall saw and a putty knife. Use drywall anchors to secure any loose sections, ensuring stability. Apply joint compound smoothly over the patch for a seamless finish. A utility knife helps trim edges, and a sanding sponge can smooth out the surface once the compound dries. These tools make the repair process efficient and help achieve a professional-looking result.
How Long Should I Wait Before Painting Over Patched Drywall?
You should wait at least 24 hours before painting over patched drywall to guarantee proper drywall preparation. This painting timeline allows the joint compound to fully dry and cure, preventing cracks or bubbling. Make sure the patched area is smooth and sanded for a clean surface. Rushing the process can compromise the finish, so patience guarantees a professional-looking result.
Is It Necessary to Reinforce the Patch With Mesh?
You should reinforce your drywall patch with mesh reinforcement, especially for larger holes or uneven surfaces. Using drywall tape along with mesh helps prevent cracks and guarantees a seamless finish. Apply the mesh over the patched area before sanding and painting. This extra step provides added strength, making your repair more durable and professional-looking, reducing future issues with the patched section.
Conclusion
Now that you know how to patch a hole in drywall, it’s almost funny how a simple fix can bring a room back to life. It’s like finding a missing piece of a puzzle you didn’t realize was gone. The next time you walk past that wall, you’ll smile knowing you took care of it yourself. Sometimes, it’s the little repairs that remind us how much we can accomplish with a bit of effort and care.


