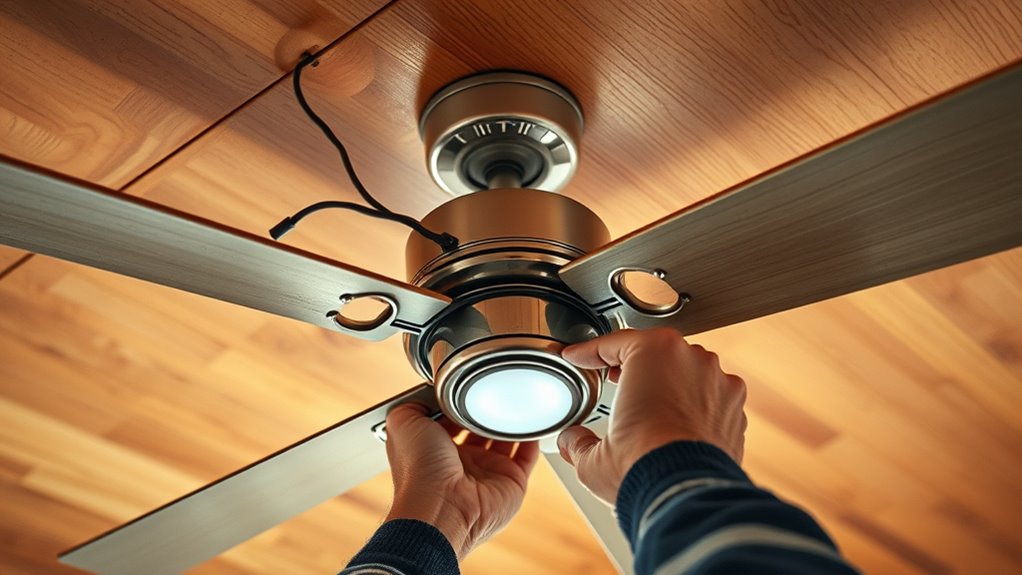
To install a ceiling fan, turn off the power at the circuit breaker and confirm the circuit is dead with a voltage tester. Remove the existing fixture, disconnect the wires, and make certain your electrical box can support the fan’s weight. Follow the manufacturer’s instructions to assemble and connect the fan, then securely mount it and balance the blades to prevent wobbling. Restoring power and testing the fan ensures proper operation. For detailed steps and safety tips, continue to explore the full process.
Key Takeaways
- Turn off power at the circuit breaker and confirm with a voltage tester before beginning installation.
- Remove the existing fixture, disconnect wires, and ensure the electrical box can support the fan’s weight.
- Assemble the mounting bracket and connect the fan wiring: black to black, white to white, and grounding wire securely.
- Mount the fan to the ceiling, attach blades, and balance them to prevent wobbling during operation.
- Restore power, test the fan and switch functionality, and verify all connections and mounting are secure.

Installing a ceiling fan can substantially improve the comfort and energy efficiency of your room, but it requires careful planning and proper techniques. Before starting, you need to prioritize safety precautions, especially when dealing with electrical wiring. Turn off the power at the circuit breaker to prevent any risk of electric shock. Use a voltage tester to confirm that the circuit is dead before touching any wires. Wearing rubber-soled shoes and working in a dry environment further reduces the risk of accidents. If you’re unsure about handling electrical wiring safely, don’t hesitate to call a professional electrician.
Once you’ve confirmed that the power is off, remove the existing fixture if there is one. Carefully disconnect the wires, noting how they are connected, or take a picture for reference. Inspect the electrical box to ensure it’s rated to support the weight of a ceiling fan—an essential safety precaution. Standard boxes often aren’t sturdy enough for fans, so you may need to replace it with a heavy-duty, fan-rated box. This provides a secure mounting point and reduces the risk of the fan falling.
Before installing, remove existing fixtures and ensure the electrical box can support the ceiling fan’s weight for safety.
Next, assemble the mounting bracket and fan components according to the manufacturer’s instructions. When wiring the fan, connect the black (hot) wire from the ceiling to the black wire on the fan, the white (neutral) wire to the white wire, and the green or copper wire to the grounding screw or wire. Make sure all connections are tight and secure to prevent loose wiring that could cause electrical issues or fire hazards. Use wire nuts and electrical tape for added security. Properly securing the wiring not only ensures safety but also helps the fan operate smoothly. Additionally, understanding the role of contrast ratio in projector image quality can help you optimize your room’s lighting conditions for better visual clarity.
After wiring, attach the fan motor to the mounting bracket, then secure the blades to the motor housing. Balance the blades carefully to avoid wobbling during operation. Once everything is assembled, restore power at the circuit breaker and test the fan’s functionality. Check whether the fan operates smoothly and whether the remote or wall switch functions correctly if applicable.
Throughout the process, keep safety precautions at the forefront. Double-check all electrical connections, ensure the mounting is secure, and avoid rushing through any step. If you encounter any uncertainty about electrical wiring or structural support, don’t hesitate to consult a professional. Installing a ceiling fan properly not only enhances your room’s comfort but also ensures safety and longevity. Following these steps with caution guarantees a successful installation that you can enjoy for years to come.
Frequently Asked Questions
Can I Install a Ceiling Fan Without an Existing Ceiling Box?
You can’t install a ceiling fan without a ceiling box, as it’s vital for safety and support. If there’s no existing ceiling box, you’ll need to add a retrofit mounting box designed for ceiling fans. This type of box provides the necessary strength and stability. Make sure to turn off the power, then securely install the retrofit mounting to support the fan’s weight and ensure proper operation.
What Tools Are Essential for Installing a Ceiling Fan?
When installing a ceiling fan, you need essential tools like a screwdriver, wire stripper, voltage tester, and ladder. Electrical safety is vital, so always turn off power before working. You’ll also need mounting brackets to secure the fan properly. These tools help guarantee a safe and secure installation. Make sure to double-check connections and follow manufacturer instructions for the best results and safety.
How Do I Determine the Correct Size of the Fan for My Room?
Choosing the right fan size is like finding the perfect puzzle piece for your room. Measure your room dimensions and look for a fan with a blade span that matches. For small rooms under 75 sq ft, a 29-36 inch fan works well. Medium rooms (75-144 sq ft) need 36-42 inches, and larger spaces over 144 sq ft benefit from a fan with a 52-inch blade span. This ensures ideal comfort and airflow.
Is It Safe to Install a Ceiling Fan Myself?
You might wonder if it’s safe to install a ceiling fan yourself. While DIY safety is important, working with electrical hazards can be risky if you’re not experienced. If you feel comfortable with basic electrical work, you can proceed carefully, but always turn off power and follow instructions. Otherwise, hiring a professional guarantees safety and proper installation, preventing potential accidents or electrical issues. Prioritize safety above all.
How Do I Troubleshoot if the Fan Doesn’t Turn on After Installation?
If your ceiling fan doesn’t turn on, start troubleshooting electrical issues by verifying wiring connections. Turn off the power and double-check that all wires are securely connected, especially to the switch and the fan. Confirm the circuit breaker is on and hasn’t tripped. If everything looks correct but the fan still won’t operate, test the switch and remote control (if applicable). This helps identify if the problem lies in wiring or power supply.
Conclusion
Now, with the ceiling fan spinning gently overhead, you can enjoy the cool breeze it creates, whispering through the room like a calming breeze on a warm day. The blades catch the light, casting subtle shadows on the ceiling, while the steady hum becomes a soothing lullaby. You’ve turned your space into a haven of comfort and style, where every glance upward reminds you of your successful DIY. It’s a small touch that makes a big difference.


