
To refinish an old dresser, start by inspecting it for damage and removing any hardware. Sand the entire surface to create a smooth base, paying attention to edges and detailed areas. Wipe away dust and then apply primer if needed, followed by several thin coats of paint in a color that suits your style. Reattach new or original hardware, add decorative accents if desired, and seal with a clear topcoat for durability. If you keep going, you’ll discover even more tips for transforming your furniture!
Key Takeaways
- Remove existing hardware and inspect the dresser for damage before starting the refinishing process.
- Sand the entire surface thoroughly to create a smooth, clean base for painting or staining.
- Choose and apply your preferred paint color and finish, using primer and multiple thin coats for best results.
- Reattach new or original hardware after the paint dries, considering styles that complement your decor.
- Seal the finished piece with a protective topcoat for durability and inspect for any touch-ups needed.
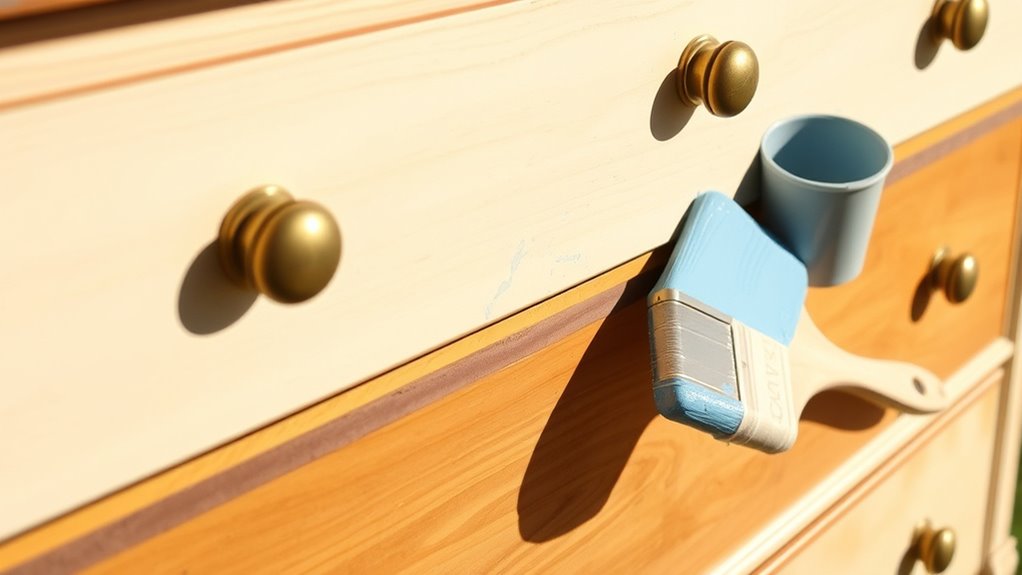
Refinishing an old dresser is a rewarding project that can breathe new life into a tired piece of furniture. It’s a chance to showcase your style and creativity while transforming something that’s been overlooked. To start, you’ll want to carefully inspect the dresser for any damage or loose parts. This helps you identify what needs fixing before you plunge into the refinishing process. Once cleaned and prepped, you can begin by removing the existing hardware, including knobs and handles, which allows for a more seamless paint application and opens up your options for decorative hardware. Choosing the right hardware is key to personalizing your piece; whether you go for vintage brass pulls, sleek modern handles, or something quirky, the hardware can dramatically influence the overall look.
Refinish your dresser by inspecting, removing hardware, and choosing decorative accents to personalize your piece.
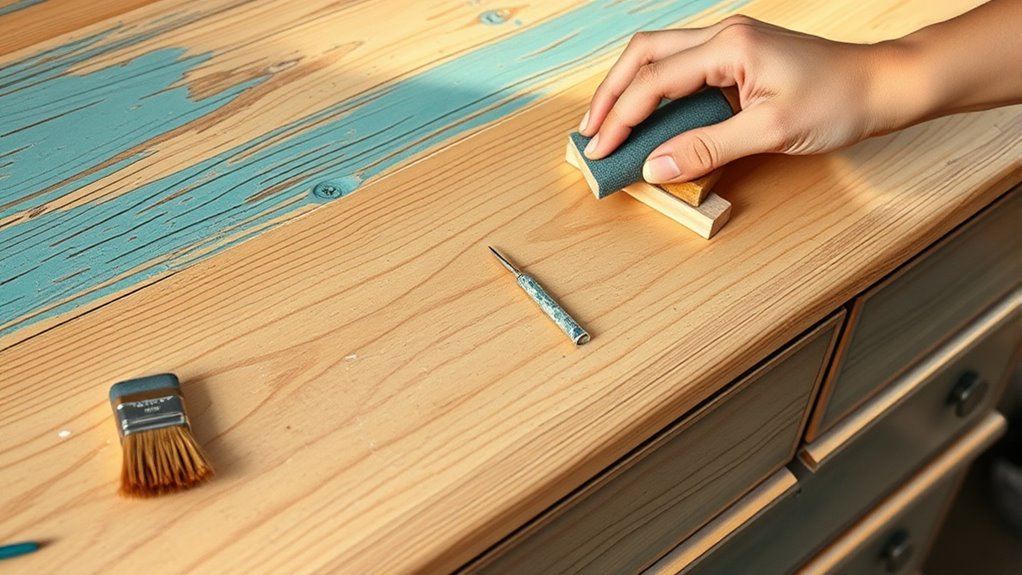
Next, you should sand the entire surface to remove the old finish, revealing a smooth base for your new coat of paint. Be sure to sand evenly and thoroughly, especially around edges and detailed sections. After sanding, wipe down the dresser with a tack cloth to remove dust particles, ensuring a clean surface for painting. When selecting a paint color, consider the room’s décor and your personal style. Light hues like soft grays and pastels create a fresh, airy feel, while bold colors like navy or emerald add drama and sophistication. Matte, satin, or semi-gloss finishes all have different effects, so choose one based on the look you desire and the durability needed.
Applying paint is straightforward if you use quality brushes or a roller. Start with a primer if the old paint is dark or stained, which helps your new color pop and last longer. Apply multiple thin coats rather than a single thick one, allowing each layer to dry completely before adding the next. This results in a smoother, more professional finish. Once the paint has dried, you can focus on reattaching your decorative hardware. This is where your choice of hardware really shines—installing new knobs or handles can instantly update the dresser’s style, making it appear modern, vintage, or eclectic depending on your selection.
Additionally, exploring DIY farmhouse kitchen accessories can inspire creative ways to repurpose or integrate your refinished dresser into a broader rustic decor scheme. Finally, seal the surface with a clear protective topcoat if you want extra durability, especially if the dresser will see frequent use. With these steps, you’ll turn a tired piece into a stunning, customized furniture highlight. Refinishing an old dresser isn’t just about updating its look; it’s about making it uniquely yours, blending your taste with a bit of craftsmanship. The process may take some time, but the satisfaction of seeing your vision come to life makes every effort worthwhile.

Howard Products RF4016 RF3016 Restor-A-Finish, 16 oz, Walnut, 16 Fl Oz
- Product Name: Howard Restor-A-Finish Walnut 16 oz
- Restores Wood Finishes: Penetrates to blend scratches and blemishes
- Color Options: Nine shades including Walnut and Ebony
As an affiliate, we earn on qualifying purchases.
As an affiliate, we earn on qualifying purchases.
Frequently Asked Questions
What Tools Are Essential for Refinishing a Dresser?
When you’re tackling refinishing a dresser, you’ll need essential tools like sandpaper or a power sander for smooth surfaces, brushes and rollers for applying paint or stain, and a putty knife for repairs. Safety gear like gloves and a mask is also important. These tools help you execute DIY techniques effectively, turning your old furniture into a stylish statement piece. They’re key to successful upcycling ideas and achieving a professional finish.
How Long Does the Entire Refinishing Process Take?
The entire refinishing process for a dresser usually takes around 3 to 7 days, depending on your diy projects skills and the furniture restoration techniques you use. You’ll spend time stripping old paint or stain, sanding, applying primer, and finishing with paint or varnish. Rushing can ruin your project, so plan for drying times and curing. Patience guarantees a beautiful, lasting result in your furniture restoration efforts.
Can I Stain or Paint Over Existing Finishes?
You can absolutely stain or paint over existing finishes on your dresser. Before applying wood stain or paint over existing, make sure to clean and lightly sand the surface to guarantee proper adhesion. If you’re painting, consider using a primer first. This prep work helps the new finish stick better, giving you a smooth, attractive result. Just take your time, and you’ll transform your dresser beautifully.
How Do I Repair Damaged Wood Before Refinishing?
Think of your dresser as a weathered ship needing repair before sailing again. First, identify all damaged areas and use wood filler to patch cracks or gouges, like patching a hull. Then, employ proper sanding techniques to smooth the surface, removing loose paint or splinters. This prep work guarantees your refinishing will be flawless, giving your dresser a fresh, new life just like a ship ready for its next voyage.
What Safety Precautions Should I Follow During Refinishing?
When refinishing, you should prioritize safety by wearing protective gear like gloves, goggles, and a mask to shield yourself from fumes and dust. Guarantee proper ventilation precautions by working in a well-ventilated area or using fans to disperse harmful vapors. Always follow the manufacturer’s safety instructions on products, and keep your workspace clear of flammable materials. Taking these steps helps you stay safe and do a better job.
Conclusion
Refinishing your old dresser not only gives it new life but also adds a unique touch to your space. Did you know that upcycling furniture reduces waste by nearly 70% compared to buying new? So, next time you see that worn-out piece, remember you can transform it into something stunning and eco-friendly. With a little effort, you’ll enjoy a beautiful, personalized piece that’s both budget-friendly and sustainable. Happy refinishing!