
To install a new faucet, first turn off the water supply and open the existing faucet to drain any remaining water. Remove the old faucet carefully using an adjustable wrench, then clean the mounting surface. Check your new faucet for compatibility and gather all necessary hardware. Attach it securely, connect the supply lines, and tighten fittings carefully. Turn the water back on and check for leaks, making any needed adjustments—continue to learn steps to guarantee a smooth installation process.
Key Takeaways
- Turn off water supply, open faucet to drain, and remove old faucet with an adjustable wrench.
- Check new faucet for compatibility, include all hardware, and install mounting components as per instructions.
- Secure the faucet to the sink, ensuring proper alignment, and tighten mounting nuts without over-tightening.
- Connect supply lines, turn water back on, and check for leaks or pressure issues.
- Test faucet operation, inspect for leaks, clean surfaces, and verify proper functionality and finish.
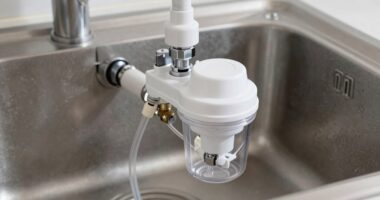
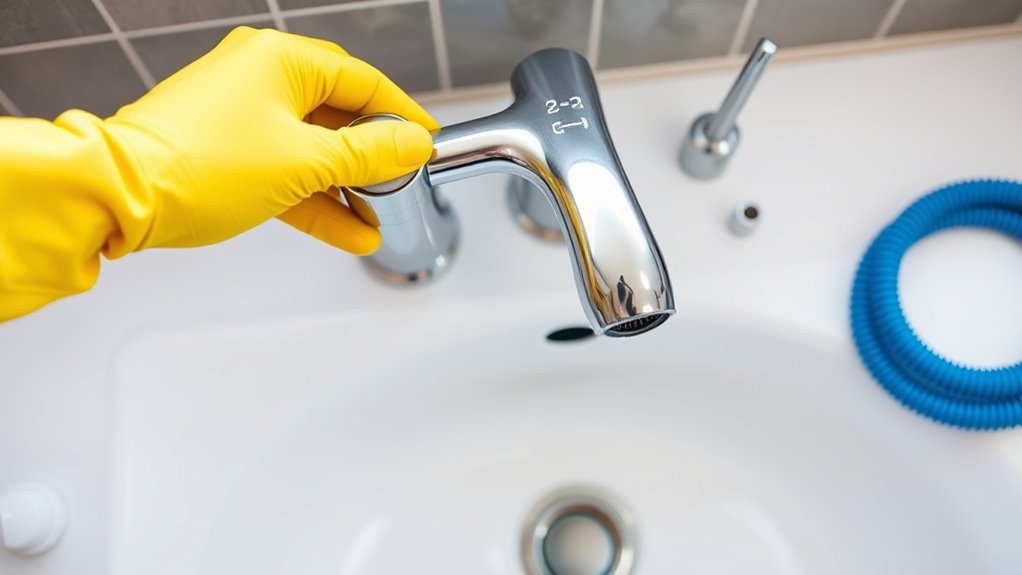
Installing a new faucet can seem like a formidable task, but with the right tools and careful steps, you can do it yourself. The first step is to turn off the water supply and open the existing faucet to drain any remaining water in the lines. Once the water is shut off, you’ll need to remove the old faucet. Use an adjustable wrench to loosen the mounting nuts underneath the sink. Be prepared for some residual water to escape, so have a towel handy. When the old faucet is free, clean the mounting surface thoroughly and check the water supply lines for any damage or corrosion.
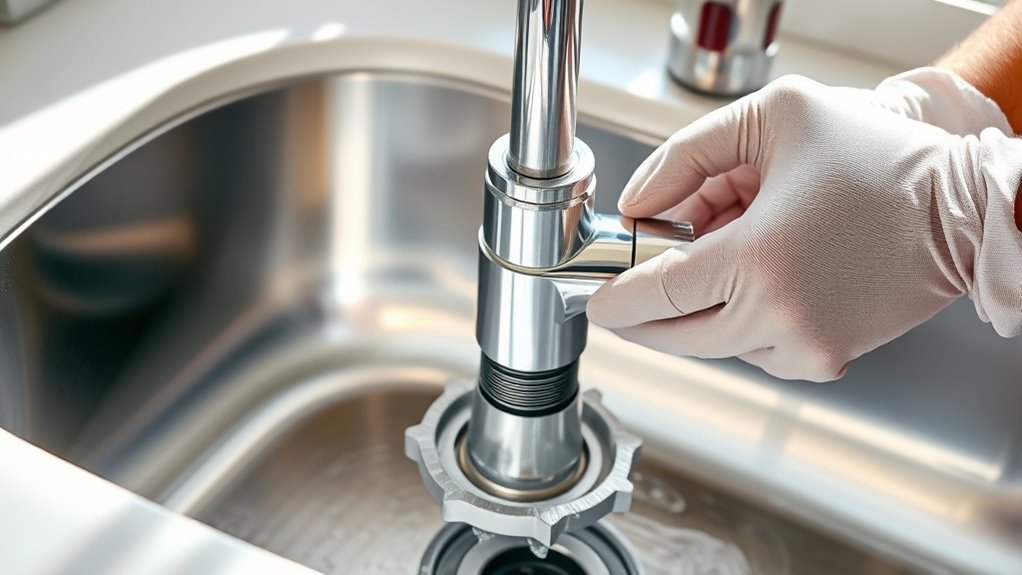
Next, it’s time to prepare the new faucet. Before installing, examine the faucet finishes—whether it’s chrome, brushed nickel, or a specialty finish—and verify they match your sink and decor. Most new faucets come with mounting hardware and supply lines. Install the mounting bracket or gasket according to the manufacturer’s instructions. This step is vital because an improper seal can lead to leaks or reduced water pressure. When attaching the faucet to the sink, make sure it’s aligned correctly before tightening the mounting nuts. Tighten everything securely, but avoid over-tightening, which can crack the faucet or strip the threads.
Now, connect the supply lines to the faucet’s inlet ports. Use the appropriate fittings, and tighten them with an adjustable wrench. Be careful not to overtighten, as this can damage the fittings or cause leaks. Once everything is connected, turn the water supply back on and check for leaks under the sink. If you notice any drips, tighten the connections slightly until the leak stops. With the water running, test the faucet to verify proper water pressure. If the flow is weak, it could be due to clogged aerators or partially closed shutoff valves. Clean the aerator screens if necessary and double-check all connections.
Finally, test the faucet’s functionality by turning it on and off, checking for smooth operation. Make sure hot and cold water mix correctly and that the faucet handle moves freely. If your new faucet has different finishes, like matte or polished surfaces, wipe it down with a soft cloth to remove fingerprints or smudges. Proper installation techniques are crucial for ensuring long-term performance and avoiding leaks. By following these steps carefully, you’ll have a fully functioning new faucet that not only looks great but also performs well, with excellent water pressure and attractive finishes. Remember, patience and attention to detail are key to a successful installation.

DURATECH 11" Basin Wrench, Sink Wrench, Adjustable Tap Nut Spanner Basin Spanner, Capacity of 3/8" to 1-1/4" for Fixing Back and Union Nuts Under Sink
ADJUSTABLE JAWS: The 11 " basin wrench for tight spaces has spring-loaded jaws, which can adapt to different…
As an affiliate, we earn on qualifying purchases.
As an affiliate, we earn on qualifying purchases.
Frequently Asked Questions
What Tools Are Needed for Faucet Installation?
When you’re preparing for faucet installation, you’ll need essential plumbing tools like an adjustable wrench, basin wrench, and plumber’s tape. These tools help you follow the installation steps smoothly, ensuring secure connections and preventing leaks. Make sure to gather everything beforehand so you can work efficiently. With the right plumbing tools in hand, you’ll confidently complete the installation steps and enjoy your new faucet in no time.
How Long Does a Faucet Installation Typically Take?
Faucet installation typically takes about an hour or two, depending on your faucet type and plumbing setup. If you’re replacing a straightforward model, it might only take 30 minutes, but more complex designs or older plumbing could extend the timeline. You’ll need to turn off the water supply, disconnect the old faucet, and follow installation steps carefully. Planning ahead guarantees a smoother process and minimizes delays.
Can I Install a Faucet Without Turning off the Water Supply?
Imagine a tiny leak turning into a flood—that’s why you shouldn’t install a faucet without shutting off the water supply. Water pressure can cause messes and damage, especially with different faucet types like single-handle or double-handle models. Turning off the water guarantees a smooth, safe installation, preventing water from spraying or leaking while you work. Always shut off the main or under-sink valve for a hassle-free experience.
What Are Common Mistakes to Avoid During Installation?
When installing a new faucet, avoid common mistakes by understanding plumbing basics and following DIY tips. Don’t forget to turn off the water supply before starting, as neglecting this can cause water messes. Make certain all connections are tight to prevent leaks, and check the manufacturer’s instructions carefully. Rushing through installation can lead to mistakes, so take your time. Proper preparation and attention to detail guarantee a successful, leak-free faucet installation.
How Do I Troubleshoot Leaks After Installation?
When troubleshooting leaks after installation, you first conduct leak detection by inspecting all connections closely. Check for drips or water around the base and under the sink. Use troubleshooting techniques like tightening fittings gently and ensuring washers are seated properly. If leaks persist, turn off the water supply, disassemble the problematic area, and reassemble with fresh washers or seals. These steps help you identify and fix the source of leaks effectively.
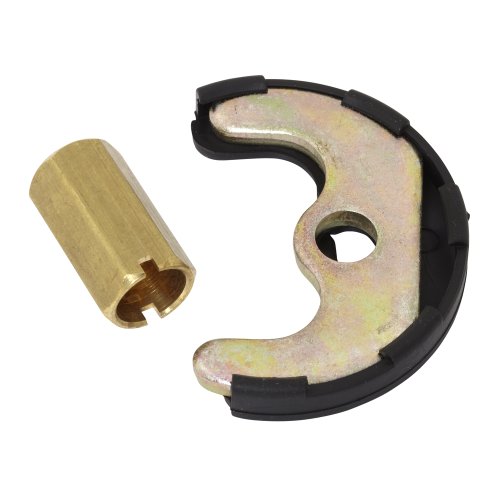
American Standard American Standard M961714-0070A VALVE MOUNTING NUT
Genuine American Standard repair part
As an affiliate, we earn on qualifying purchases.
As an affiliate, we earn on qualifying purchases.
Conclusion
Now that you’ve installed your new faucet, you’re practically a plumbing wizard! With just a few simple steps, you’ve transformed your sink and gained the confidence to tackle any DIY project that comes your way. Remember, this faucet is now your throne of water, ready to deliver endless streams of convenience and style. Keep up the great work—your home improvement skills are evolving faster than you ever imagined, turning everyday tasks into impressive feats!

Kitchen Faucet Head Replacement 3 Modes with 17 Adapters, Pull Down Spray Head for Kitchen Faucet, Kitchen Sink Faucet Head G 1/2, Sprayer Head Replacement, Compatible with Moen,Delta, Kohler Faucets
17 Adapters for wide Compatibility with Hose: Including 17 adapters for various connections that is compatible with most…
As an affiliate, we earn on qualifying purchases.
As an affiliate, we earn on qualifying purchases.

Underground Water Leak Detector, Professional Plumbing Leak Detection Tool, Plumbing Leak Detector, Headset and 4 Adjustable Gears, for Home Heating Water Leak Detection and Prevention
【Design】 The higher the value, the closer to the leakage point, and different leakage points can be captured….
As an affiliate, we earn on qualifying purchases.
As an affiliate, we earn on qualifying purchases.