To turn food scraps into garden gold, start a simple compost bin nearby, using a mix of greens like fruit peels and grass clippings, and browns like dry leaves and shredded paper. Keep the pile moist, turn it weekly to add air, and monitor the temperature until it turns dark and crumbly. Properly managed compost enriches your soil and helps reduce waste—keep going to discover the full process and enjoy lush, healthy plants.
Key Takeaways
- Select a suitable compost bin in a well-drained, accessible spot with a mix of sun and shade.
- Balance green kitchen scraps with brown dry materials to maintain healthy microbial activity.
- Turn the compost weekly and monitor moisture to promote aeration and prevent odors.
- Keep the compost temperature between 130-160°F for optimal decomposition.
- Use the dark, crumbly finished compost to enrich your garden soil and promote healthy plant growth.

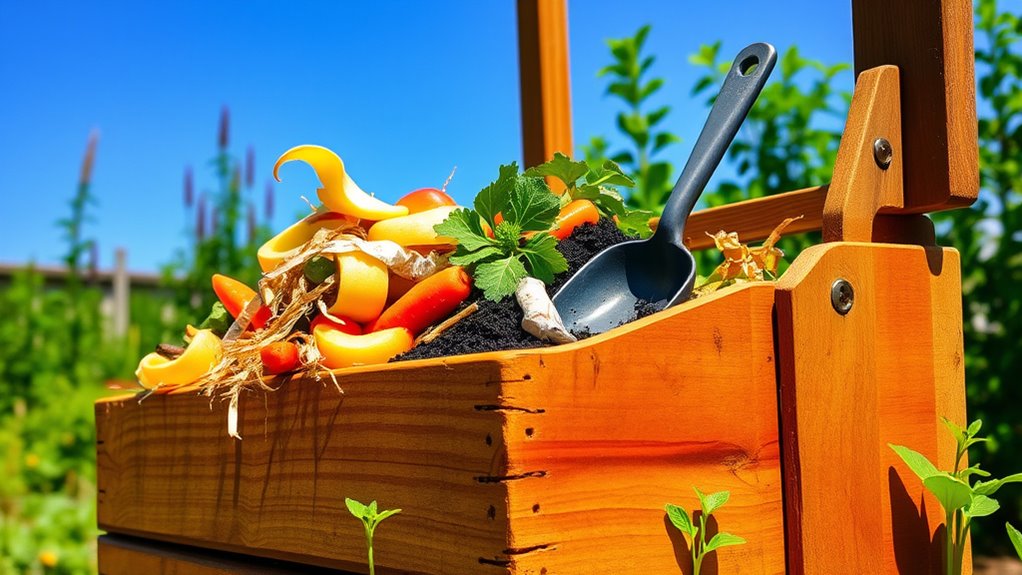
Ever wondered how to turn kitchen scraps and yard waste into nutrient-rich soil? Composting is an easy and effective way to boost your garden’s soil health while reducing waste. To get started, you’ll need a good compost bin setup. Choosing the right bin is essential because it determines how efficiently your compost will break down. You can buy a ready-made compost bin or build one yourself using simple materials like wood pallets or plastic containers. Make sure your bin has proper ventilation to supply oxygen, which is critical for the microorganisms that transform waste into healthy soil. Position your bin in a convenient, well-drained spot that gets a mix of sun and shade, helping the compost process stay active without overheating or becoming too wet. Additionally, selecting the appropriate best composting practices can greatly improve your results.
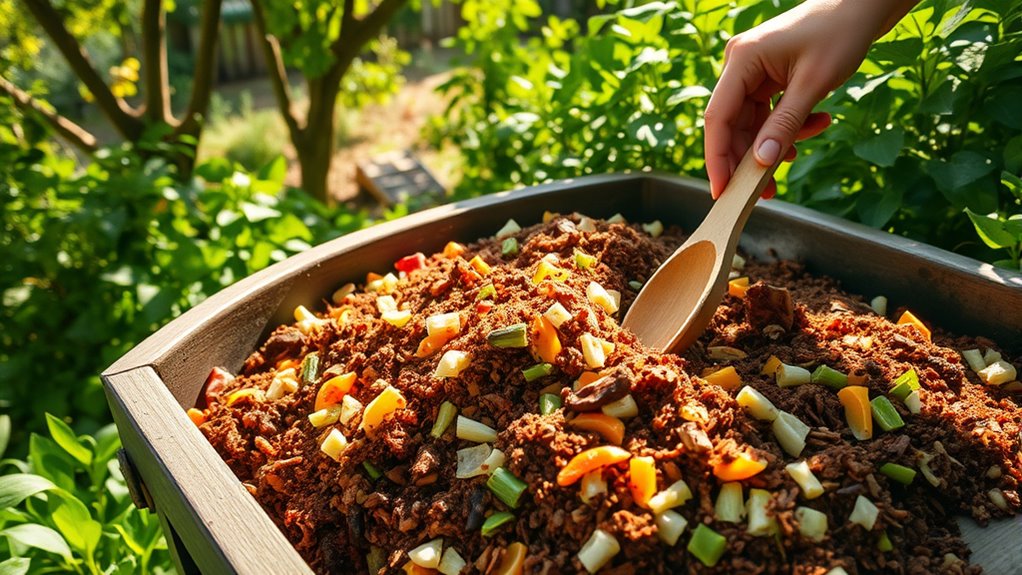
Once your compost bin is set up, it’s time to gather the right ingredients. A balanced mix of green and brown materials will give your compost the nutrients it needs to decompose effectively. Green materials include kitchen scraps like fruit and vegetable peels, coffee grounds, and grass clippings. Brown materials consist of dry leaves, shredded paper, cardboard, and small twigs. Aim for roughly equal parts green and brown to maintain airflow and moisture levels. Keep your compost moist but not soggy, resembling a damp sponge. Turning the pile regularly—about once a week—helps aerate it, speeding up decomposition and preventing unpleasant odors.
As your compost matures, you’ll notice it turning dark, crumbly, and earthy-smelling. During this process, microbes and tiny organisms do most of the work, breaking down organic matter into rich, fertile soil. This soil is excellent for your garden because it improves soil health by enhancing its structure, increasing water retention, and adding essential nutrients. Keep an eye on the temperature of your compost; it should stay warm, around 130-160°F, which indicates active microbial activity. If it cools down, try adding more green materials or turning the pile more frequently.
Patience is key. Composting can take anywhere from a few months to half a year, depending on factors like materials used, moisture, and temperature. When finished, you’ll be left with dark, crumbly soil that’s full of life. Use it to enrich garden beds, potted plants, or to topdress your lawn. Not only does this process turn waste into a valuable resource, but it also promotes healthier plants and a more sustainable garden. Starting with a proper compost bin setup and paying attention to your materials will guarantee your composting journey is successful and rewarding.
Frequently Asked Questions
How Long Does It Take for Compost to Be Ready?
You might wonder how long it takes for compost to be ready. Typically, the composting timeline varies from a few months to a year, depending on factors like materials used and climate. You’ll recognize compost maturity when it becomes dark, crumbly, and earthy-smelling. Regular turning speeds up the process, so stay attentive to these signs. With patience, you’ll soon have nutrient-rich compost to enrich your garden soil.
Can I Compost Meat or Dairy Products?
You might wonder if you can do meat composting or dairy disposal in your compost. While technically possible, it’s not recommended because meat and dairy attract pests and create foul odors. If you want to compost these, use a dedicated, hot compost system designed for meat composting, and guarantee proper balancing of greens and browns. Otherwise, it’s best to avoid adding meat and dairy to keep your compost healthy and pest-free.
What Should I Do if My Compost Smells Bad?
If your compost smells bad, don’t worry—odor control is manageable. You might think it’s inevitable, but proper compost aeration can fix this. Turn your pile regularly to boost airflow, which reduces foul odors caused by anaerobic conditions. Adding dry materials like leaves or straw also helps absorb excess moisture. By maintaining good aeration and balancing green and brown materials, you’ll keep your compost fresh, odor-free, and thriving.
How Do I Balance Green and Brown Materials?
To balance green and brown materials, you need to manage the carbon ratio in your compost. Add brown materials like leaves, paper, or cardboard to cover green scraps such as food waste and grass clippings. Use proper compost layering—alternating green and brown layers—so airflow is maintained, and decomposition happens efficiently. Aim for a balance of roughly 25-30 parts carbon to 1 part nitrogen for ideal composting.
Is Composting Suitable for Small Apartments?
Thinking about apartment composting is like trying to fit a garden in a shoebox—you can do it! Indoor composting is perfect for small apartments because it doesn’t require much space or smell up your place. With a simple compost bin, you can turn food scraps into rich soil right inside. Whether you call it indoor composting or apartment composting, it’s an eco-friendly way to reduce waste and grow fresh herbs or plants.
Conclusion
Now that you’ve started composting, you’re holding the key to transforming your food scraps into garden gold. Think of your compost bin as a treasure chest, where tiny decomposers work tirelessly to turn waste into nourishing soil. By nurturing this process, you’re not just recycling; you’re cultivating life and growth in your own backyard. Embrace this journey, and watch your garden flourish—because with each scrap, you’re planting the seeds for a greener future.


