Creating built-in shelving on a budget is achievable by planning carefully and choosing affordable materials like plywood or MDF. Measure your space precisely and sketch a design that fits your needs. Use simple tools such as a drill, level, and saw to assemble and install sturdy shelves, attaching them securely to wall studs or anchors. Finish with sanding and painting for a polished look. Keep exploring for tips to get professional results without overspending.
Key Takeaways
- Measure your space accurately and sketch a detailed plan for custom shelving layout.
- Use affordable materials like plywood or MDF for a durable, budget-friendly solution.
- Build shelves yourself with basic tools, ensuring level and secure mounting to wall studs or anchors.
- Customize design with paint or stain to match your decor and add personal style.
- Follow proper installation tips for a professional finish, including sanding, filling holes, and ensuring level placement.
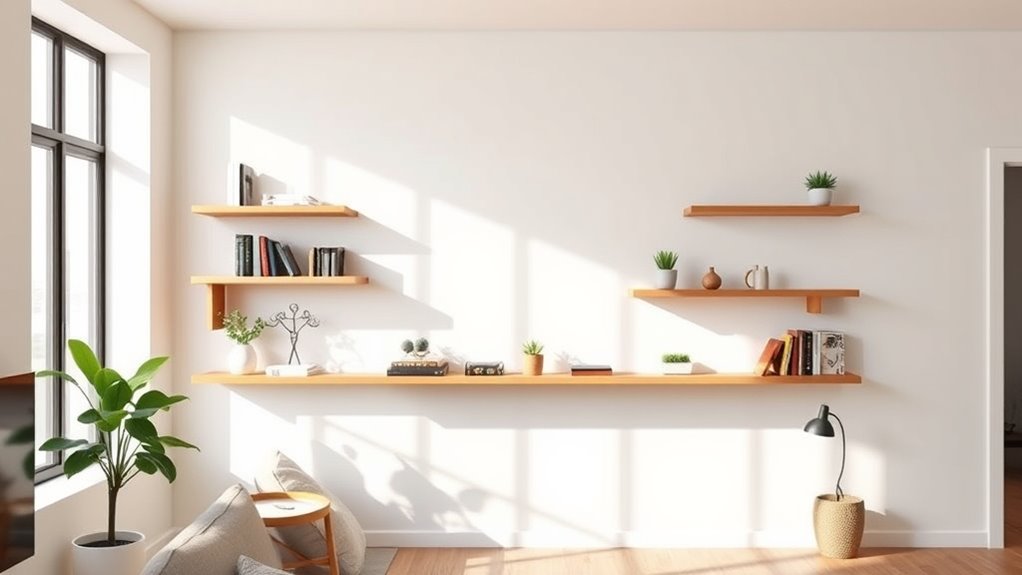
Built-in shelving can transform any room by providing stylish, functional storage that seamlessly integrates with your space. If you’re enthusiastic to create a custom look without breaking the bank, DIY installation is a smart way to go. It allows you to control the design, save money, and enjoy the satisfaction of building something yourself. To start, you’ll want to focus on material selection, since choosing the right materials will impact both the durability and appearance of your shelves. Plywood is a popular choice for DIY projects because it’s affordable, sturdy, and easy to work with. If you prefer a more polished look, consider MDF or medium-density fiberboard, which provides a smooth surface ideal for painting or staining. For a high-end feel, you might opt for solid wood like pine, oak, or cedar, but keep in mind these materials can be pricier and require more careful handling during installation.
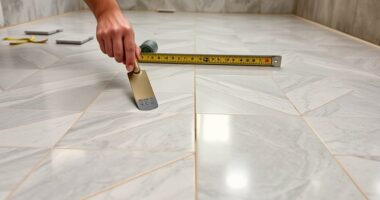
Once you’ve selected your materials, plan your design carefully. Measure your space accurately, accounting for the height, width, and depth needed for your items. Sketch out a blueprint to visualize how the shelves will fit into your room, and decide on the number of shelves and spacing. When you’re ready to install, gather the necessary tools—drill, level, saw, screws, and brackets—and prepare your workspace. DIY installation requires patience and precision, but the process is straightforward if you follow your plan step by step.
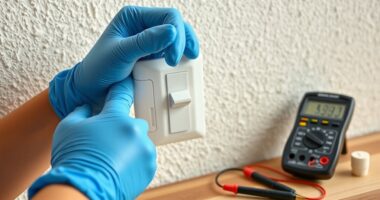
Begin by marking the wall where your shelves will go, ensuring they’re level and evenly spaced. Use a level to draw guiding lines, and pre-drill holes for the brackets or cleats. If you’re mounting directly onto drywall, consider installing wall anchors or attaching the shelves to wall studs for added stability. When attaching your shelves, secure them firmly to the brackets or cleats, making sure everything is flush and level. Finishing touches like sanding rough edges, filling screw holes, and applying paint or stain will give your shelves a professional look. Additionally, understanding the contrast ratio of your materials or setup can help you optimize light and shadow for a more appealing display.
Material selection isn’t just about appearance; it also impacts ease of installation and longevity. Softer woods are easier to cut and manipulate, which is ideal for a beginner. Meanwhile, harder woods or laminated materials can stand up better to wear and tear over time. In the end, creating built-in shelving through DIY installation with thoughtful material choices offers a budget-friendly way to add personalized storage and style to your home. It’s a project that rewards your effort with a custom, seamless addition that elevates your space while staying within your budget.
Frequently Asked Questions
What Tools Are Essential for Building Custom Shelving?
To construct custom shelving, you’ll need essential tools like a saw for precise cuts, a drill for secure mounting, a level to guarantee proper alignment, and a measuring tape for accurate measurements. Focus on shelf design and material selection to match your space and style. A screwdriver, sandpaper, and clamps also help. With these tools, you can confidently create sturdy, stylish shelves tailored to your needs.
How Do I Measure Space Accurately for Built-In Shelves?
You can’t build perfect shelves without accurate measurements. Start by using a measuring tape to determine the width, height, and depth where you want the shelves. Don’t forget to verify for levelness with level tools to ensure your shelves will sit evenly. Measure multiple points along each area, as walls and floors can be uneven. Double-check all measurements before cutting or assembling—precision is key for a clean, professional look.
Can I DIY Built-In Shelving in a Rented Apartment?
Yes, you can DIY built-in shelving in a rented apartment. Focus on decorating with shelves that are easy to install and remove, like wall-mounted options or freestanding units. Use these shelves to maximize small spaces and add style without damaging walls. Just make sure to check your lease agreement for restrictions, and consider using removable adhesive or tension-fit designs to protect your rental.
What Are Budget-Friendly Materials for Durable Shelves?
Sure, snag some reclaimed wood or sturdy plywood options for budget-friendly, durable shelves. Reclaimed wood adds charm and is often free if you’re willing to hunt, while plywood offers strength without breaking the bank. Just avoid flimsy materials that sag under pressure. With a little effort and imagination, you’ll have solid, stylish shelving that won’t ruin your wallet—your DIY masterpiece awaits!
How Do I Finish or Paint My Custom Shelving?
To finish or paint your custom shelving, start with proper finishing techniques like sanding smoothly and applying a primer. Choose paint based on durability and style—latex or acrylic paints work well for most shelves. Use a brush or roller for an even coat, and consider applying a clear sealant for extra protection. This guarantees your shelves look great and stand up to daily use, giving your space a polished, personalized touch.
Conclusion
Building your own built-in shelving is a cost-effective way to maximize storage and enhance your space. With a little planning and some basic tools, you can create custom storage that fits your needs without breaking the bank. Did you know that DIY projects like this can save you up to 50% compared to hiring a professional? So, roll up your sleeves—your perfect, budget-friendly storage solution is within reach!