
Installing a backsplash yourself is a budget-friendly way to revamp your kitchen and add a personal touch. Start by choosing a pattern like subway or herringbone to set the tone, then prep your wall by cleaning and leveling the surface. Use a high-quality adhesive and carefully lay out your tiles, checking alignment frequently. Once the tiles are secure and the adhesive cures, apply grout to finish. Keep going, and you’ll discover even more tips to create a stunning backsplash on your own.
Key Takeaways
- Choose cost-effective tiles like subway or mosaic and experiment with patterns to personalize your kitchen without high expenses.
- Prepare the wall thoroughly, ensuring it’s clean and smooth for better adhesion and a professional-looking finish.
- Use high-quality thin-set mortar or ready-to-use adhesive to firmly secure tiles, preventing slipping and uneven surfaces.
- Plan and lay out your tile pattern beforehand, utilizing spacers and a chalk line for accurate alignment and a polished appearance.
- Allow proper curing time before grouting, selecting a grout color that complements your tiles and enhances your kitchen’s aesthetic.
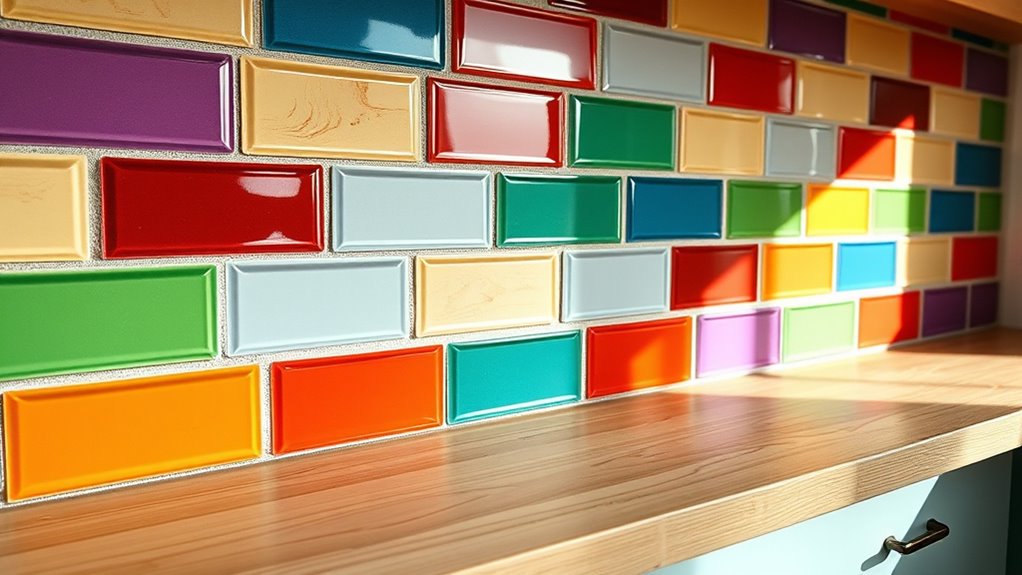
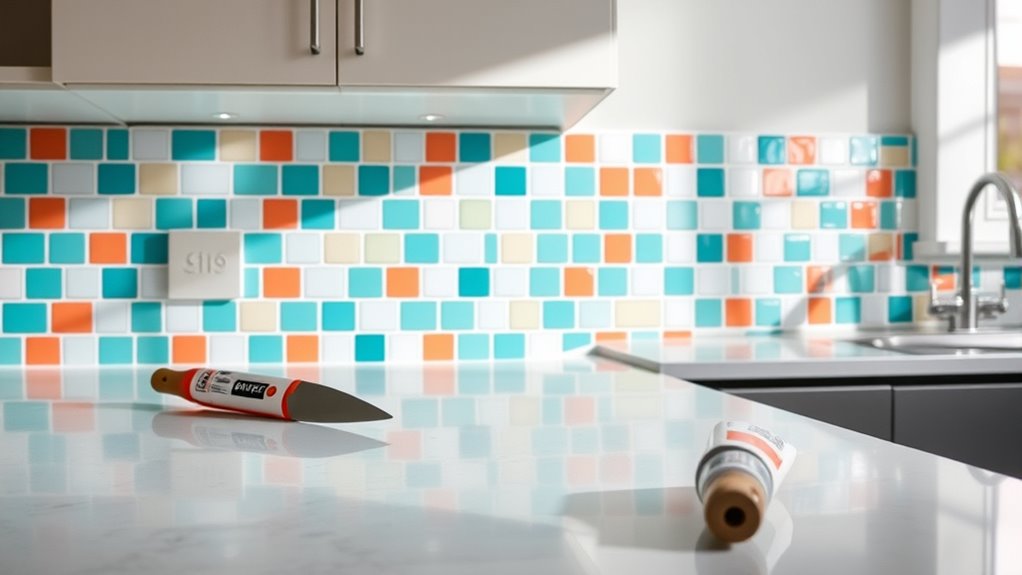
Installing a backsplash yourself can be a rewarding way to upgrade your kitchen’s look without the high cost of professional help. When you decide to take on this project, you gain the satisfaction of customizing your space while saving money. One of the first things to contemplate is the variety of tile patterns you can choose from. Whether you prefer classic subway tiles, herringbone, diagonal, or a more eclectic mosaic, your tile pattern sets the tone for your entire kitchen’s aesthetic. Choosing a pattern that matches your style and complements your cabinetry can make a noticeable difference. It’s helpful to lay out your tiles on a flat surface beforehand, experimenting with different arrangements to see what looks best before committing to the layout on the wall.
Next, understanding the different adhesive types is essential for a successful installation. The right adhesive ensures your tiles stay in place and last for years. For most kitchen backsplashes, a high-quality thin-set mortar or a ready-to-use tile adhesive works well. Thin-set mortar provides a strong bond, especially if you’re working with heavier tiles like stone or ceramic. If you’re using smaller, lighter tiles, a premixed adhesive might be more convenient, as it’s easier to spread and quick to set. Be sure to follow the manufacturer’s instructions carefully, applying the adhesive evenly with a notched trowel. Proper application prevents tiles from slipping or uneven surfaces, which could ruin the overall look. Understanding tile adhesive is crucial for a durable and professional finish.
Before you start sticking tiles, make sure your wall surface is clean, dry, and smooth. Remove any grease, dust, or loose paint. Using a level and a chalk line can help you create a guide for your first row, ensuring your tiles are perfectly aligned. When applying adhesive, press each tile firmly into place, maintaining consistent spacing with tile spacers. This helps achieve uniform grout lines and a professional finish. Don’t rush the process—double-check your pattern and alignment frequently. Once all tiles are installed, allow the adhesive to cure fully before applying grout. Then, choose a grout color that enhances your tile pattern and complements your kitchen palette.

From Plain To Beautiful In Hours Gloss White Subway Decorative Kitchen Backsplash Kit – (5) 18×24 in Tiles, (2) 18 in J-Trims, and (1) Inside Corner Trim
Complete 8-Piece Installation Kit: Each all-in-one DIY kit includes everything you need for a professional-grade finish: five 18"…
As an affiliate, we earn on qualifying purchases.
As an affiliate, we earn on qualifying purchases.
Frequently Asked Questions
What Tools Are Essential for a DIY Backsplash Installation?
You’ll need a tile cutter to accurately cut tiles to fit your space, and an adhesive spreader to evenly apply the mortar or adhesive. A level ensures your tiles stay straight, while spacers help maintain consistent gaps. Don’t forget a rubber mallet to gently tap tiles into place and a sponge to clean excess adhesive. These essential tools make your backsplash installation smoother and more professional-looking.
How Do I Choose the Right Backsplash Material for My Kitchen?
To choose the right backsplash material, consider your kitchen’s tile patterns and how they’ll blend with your existing decor. Pick a material that complements your cabinets and countertops to achieve a cohesive look. Think about color coordination—bright tiles add vibrancy, while neutral tones keep it subtle. Also, choose a durable, easy-to-clean surface suited for a busy kitchen. Ultimately, select a material that reflects your style and suits your lifestyle.
Can I Install a Backsplash Over Existing Tiles?
You can absolutely install a backsplash over existing tiles, transforming your kitchen effortlessly. Picture a fresh mosaic of tile patterns and vibrant grout colors coming to life over your current surface. Guarantee the old tiles are firm and clean, then use a quality adhesive. This quick upgrade hides imperfections and adds style, making your space feel new without the hassle of starting from scratch.
How Long Does a Typical DIY Backsplash Project Take?
A typical DIY backsplash project takes about 1 to 3 days, depending on your time management and project planning. You should allocate time for preparing the surface, cutting and fitting tiles, and grouting. To stay on track, break the project into manageable steps and set daily goals. Rushing can cause mistakes, so taking your time guarantees a professional-looking finish without unnecessary delays.
What Are Common Mistakes to Avoid During Installation?
Like a careful artist, you should avoid common mistakes during installation. Make certain proper tile preparation by cleaning and leveling surfaces. When applying adhesive, don’t skimp—use enough to prevent tiles from slipping. Avoid rushing, which can cause uneven lines or cracked tiles. Measure twice, cut once, and double-check your layout before sticking tiles. Staying patient and precise ensures a professional-looking backsplash that elevates your kitchen’s style and durability.

STICKGOO 10-Sheet Herringbone Tile Peel and Stick Backsplash, Beige Mixed Metal Gold PVC Stick on Backsplash, Self Adhesive Wall Tile for Kitchen and Bathroom
SIZE: 10 sheets self adhesive PVC tiles, 12"x12"x0.12" each, cover about 7.7 square feet. Please consider cutting loss…
As an affiliate, we earn on qualifying purchases.
As an affiliate, we earn on qualifying purchases.
Conclusion
Now that you’ve learned how easy and affordable it is to install a backsplash yourself, you’re well on your way to transforming your kitchen. Did you know that a stylish backsplash can increase your home’s value by up to 7%? With just a little effort and creativity, you can achieve a stunning makeover without breaking the bank. So grab your tools, get started, and enjoy the satisfaction of a personalized kitchen upgrade you did yourself!

1/16 Inch Tile Spacers, 500 Pcs Cross Tile Leveling Clips Floor Wall Plastic Tiles Shim for Various Types of Ceramic Tiles Installation Leveling
【Sufficient Quantity】The package contains 500 tile spacers, each spacer is about 1/6 inch in length and width, and…
As an affiliate, we earn on qualifying purchases.
As an affiliate, we earn on qualifying purchases.
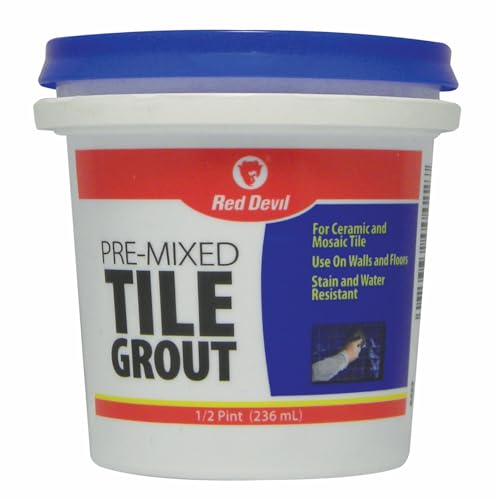
Red Devil 0422 Pre-Mixed Tile Grout – Professional Quality, Excellent Adhesion, Ideal for Wall & Floor Use – 1/2 Pint, White, Made in USA
PROFESSIONAL RESULTS WITH DIY EASE: Achieve expert-level tile grouting without the hassle – perfect for both new installations…
As an affiliate, we earn on qualifying purchases.
As an affiliate, we earn on qualifying purchases.