You can handle common household problems with easy DIY repairs. To replace a toilet, shut off the water and secure the new unit. If your dishwasher smells, clear out food scraps and run a cleaner. For wall damage, patch holes with spackle or drywall. Unclogging a toilet requires a plunger or auger, while fixing a patchy lawn means seeding and watering. Finally, add bumpers to loud cabinet doors. There's more to discover about each fix!
Key Takeaways
- Replace a toilet by shutting off water, disconnecting the supply line, and securing the new unit over the flange to prevent leaks.
- Unclog toilets effectively using a plunger or toilet auger, avoiding chemical cleaners to prevent plumbing damage.
- Repair a noisy garbage disposal by addressing clogs, using a hex wrench for humming issues, and checking for leaks.
- Fix wall damage by using spackle for small holes and patching larger areas with drywall, ensuring a smooth finish.
- Maintain cabinets by installing peel-and-stick bumpers to reduce noise from loud doors and regularly replacing them for optimal performance.
How to Replace a Toilet

When you're ready to tackle replacing your toilet, the first step is to shut off the water supply and drain the tank by flushing it.
Next, carefully disconnect the water supply line at the shutoff valve and unscrew the nuts securing the old toilet to the floor.
Carefully disconnect the water supply line and unscrew the nuts holding the old toilet in place.
Lift the old toilet off the flange and inspect it for damage; if needed, repair or replace the flange to guarantee a proper seal.
Position the new toilet over the flange, making sure the wax ring is properly seated, then secure it to the floor with the provided nuts, tightening them evenly.
Finally, reconnect the water supply line, turn the water back on, and test the toilet for leaks by flushing multiple times.
Fix a Smelly Dishwasher
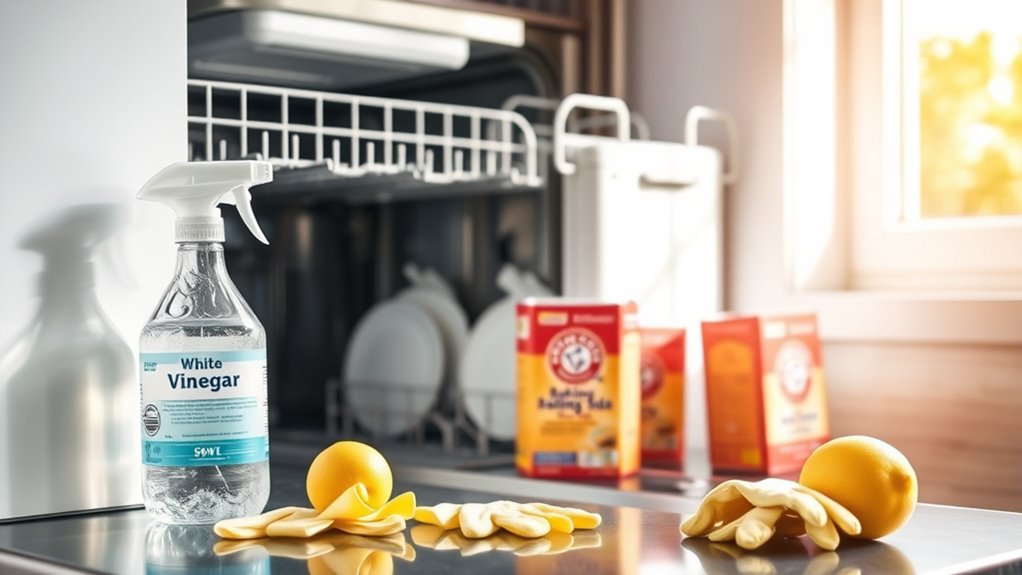
If your dishwasher has a lingering smell, start by removing any food scraps from the tub and checking the filter for buildup.
Regularly inspecting the drain for blockages can also prevent odors from developing.
Keeping these areas clean will help maintain a fresh environment in your dishwasher.
Remove Food Scraps
To keep your dishwasher smelling fresh, regularly removing food scraps is vital. Start by checking the bottom of the dishwasher for any leftover food particles. These can lead to unpleasant odors if not cleared.
Be sure to inspect the dishwasher filter monthly, as trapped food can contribute to bad smells and blockages. Additionally, a clean drain is essential; make certain there are no clogs that can cause stagnant water and further odors.
Don't forget to wipe down the door seals, too—dirty or damaged seals can allow food particles to accumulate. By taking these simple steps, you'll maintain a hygienic environment in your dishwasher and keep those unpleasant odors at bay.
Clean Dishwasher Filter
A clean dishwasher filter is essential for keeping your appliance running smoothly and odor-free. Food debris trapped in the filter can cause unpleasant odors and lead to bacterial growth.
To clean the filter, remove it from the bottom of the dishwasher by twisting or pulling it out, depending on your model. Rinse the filter under warm water to eliminate loose debris, then scrub with a soft brush or sponge and soapy water to tackle any stubborn buildup.
Aim to clean the dishwasher filter every month for peak performance, especially if you use the appliance frequently. A clean filter not only helps prevent odors but also enhances efficiency, ensuring your dishes come out sparkling and reducing future household problems. Additionally, maintaining overall well-being through improved air quality can be beneficial while using your dishwasher.
Inspect Drain Blockages
Cleaning the dishwasher filter is just the first step in guaranteeing your appliance runs efficiently.
Next, you need to inspect drain blockages to tackle those unpleasant odors. Start by removing any food scraps from the dishwasher tub and filter regularly to prevent clogs.
Running a dishwasher cleaner through a cycle can effectively eliminate built-up grime and bad smells.
Don't forget to check the drain for stubborn debris that may require a wet/dry vacuum.
Additionally, verify the door seals are clean and intact to avoid moisture retention, which can lead to musty odors and bacteria growth. Color accuracy is also essential in ensuring that any cleaning products used do not leave behind residues that can affect the smell.
With consistent maintenance, your dishwasher will function at peak performance and smell fresh.
Repairing Walls

When it comes to repairing walls, you'll encounter common issues like small holes, cracks, and water stains.
You can easily tackle these problems with simple patch techniques and a bit of paint to finish the job.
Let's explore how you can restore your walls to their former glory.
Common Wall Damage Types
While maintaining the beauty of your walls is essential, common types of damage can easily occur in any home. Nail holes from hanging pictures or dings from furniture are often minor issues you can fix quickly. For small nail holes, just apply spackle with a putty knife, sand it down, and repaint.
Larger damage, like holes from doorknobs, may require patching drywall. This involves cutting the damaged area, securing a patch, and applying joint compound for a smooth finish.
Don't forget about cracks in drywall; using joint compound and tape can help restore those areas, too. Regular maintenance, such as inspecting for cracks and addressing them promptly, can keep your walls looking great for years to come.
Simple Patch Techniques
Repairing wall damage doesn't have to be an intimidating task; in fact, with just a few simple techniques, you can restore your walls to their former glory.
For small holes, grab a putty knife and apply spackle, letting it dry completely before sanding it smooth. This will give you a seamless finish.
For larger holes, cut a piece of drywall to size and secure it with screws, then cover the seams with joint compound. Always clean the area around the hole to guarantee the patch adheres well.
Once you've repaired and sanded, you can prep the area with a primer before you paint.
Regularly check your walls for new damage, as quick repairs can save you from bigger problems later on. Additionally, maintaining an organized environment can help you spot wall damage sooner, preventing it from escalating into more significant issues.
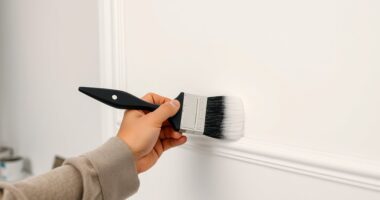
Painting and Finishing Touches
After you've patched any holes in your walls, it's time to focus on painting and adding those finishing touches.
Start by applying a primer over the repaired areas, ensuring the new paint adheres well and matches the surrounding drywall. Once the primer dries, grab your paint.
For larger sections, use a roller to achieve an even coat; for edges and corners, a brush will help you avoid streaks. If you're dealing with larger holes, a drywall patch kit might be necessary before spackling, sanding, and painting.
Remember to inspect your walls regularly for cracks or damage, addressing them promptly to keep your home looking its best. Maximizing space and a little upkeep goes a long way!
Unclog a Toilet
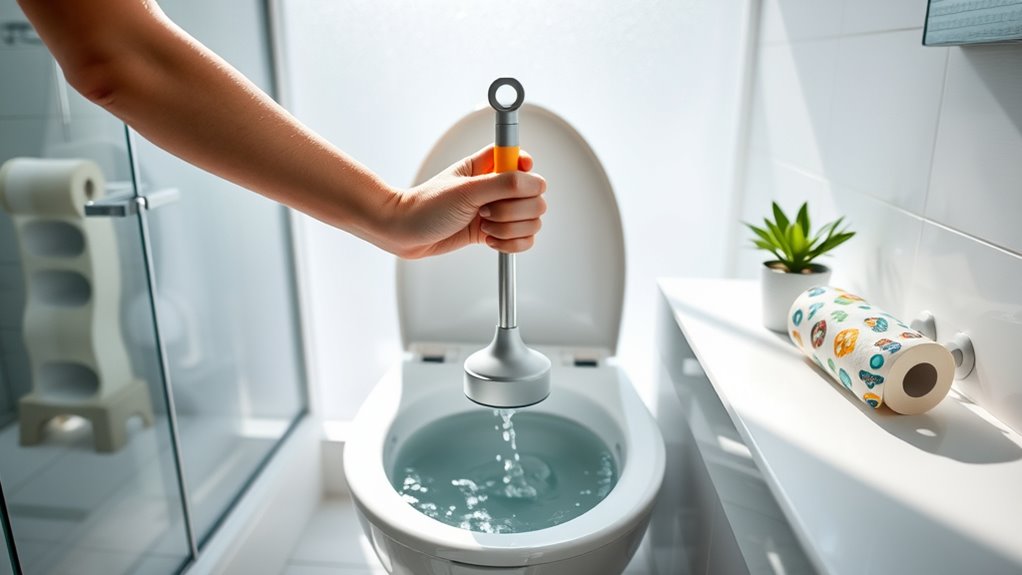
A clogged toilet can be a frustrating household issue, but you can tackle it effectively with the right tools and techniques.
Start with a toilet plunger designed specifically for toilets, ensuring a tight seal around the drain. If that doesn't work, try adding a cup of dish soap to lubricate the stubborn clog, letting it sit for 10-15 minutes before plunging again.
For deeper blockages, use a toilet auger to break up or retrieve the obstruction. Remember to avoid chemical drain cleaners, as they can damage plumbing and may not clear the clog effectively.
Regular maintenance can help prevent future issues:
- Use hot water for flushing
- Limit toilet paper use
- Check for foreign objects
- Maintain the plumbing system
In addition, having a well-stocked supply of essential survival gear can prepare you for unexpected emergencies that may arise during home maintenance.
Fix a Patchy Lawn

If you notice your lawn has unsightly patches, fixing it can be a straightforward process with the right approach.
First, identify the type of grass in your lawn to guarantee the seed you choose is compatible.
Next, prepare the soil by aerating or loosening it to enhance seed germination and root development.
Once that's done, seed the bare patches at about 5 to 10 seeds per square inch, making sure you water them regularly to keep the soil moist.
Apply a starter fertilizer to provide essential nutrients for healthy grass growth.
Finally, keep an eye on the patched areas for any weeds and address them promptly, so your new grass can thrive without competition.
Garbage Disposal Repair
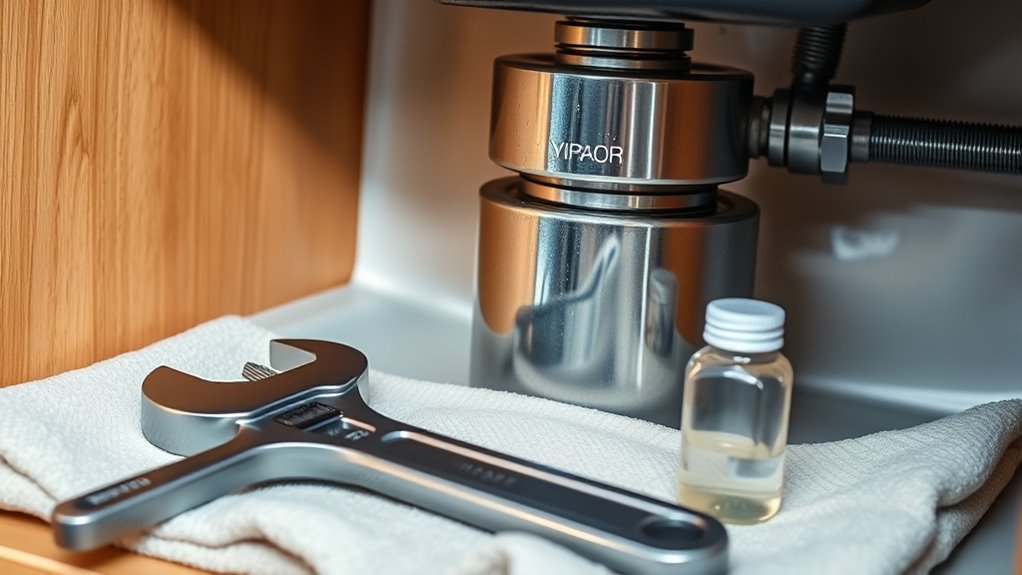
When your garbage disposal stops working, it can be frustrating, but tackling the repair doesn't have to be an intimidating task. Start by ensuring safety—unplug the unit or turn off the circuit breaker.
Common issues include:
Common problems with garbage disposals are clogs, humming noises, and leaks, each with straightforward solutions to restore functionality.
- Clogs: Use a plunger or drain snake to clear food debris.
- Humming: If it hums but doesn't grind, use a 1/4-inch hex wrench to manually turn the impeller.
- Leaks: Check connections and seals for wear, tightening or replacing them as necessary.
Maintenance: Run cold water while using the disposal and clean with ice cubes or citrus to prevent odors and clogs.
Fix Loud Cabinet Doors

Garbage disposals can be noisy, but cabinet doors can be just as bothersome when they slam shut. To fix those loud cabinet doors, head to your home improvement store and grab some peel-and-stick door bumpers. Clean the back surfaces of your cabinet doors for better adhesion, then place the bumpers at both the top and bottom corners. This simple addition will absorb impact sounds, creating a more peaceful atmosphere. Additionally, ensure proper airflow around the unit to enhance performance, as airflow around the unit can also contribute to a quieter kitchen environment.
| Issue | Solution |
|---|---|
| Loud cabinet doors | Peel-and-stick door bumpers |
| Annoying slams | Test the doors for noise reduction |
| Disruptive kitchen | Maintain a quiet kitchen environment |
| Frustration | Replace bumpers periodically |
After installation, test the doors to ascertain the noise reduction meets your expectations. Enjoy your quieter kitchen!
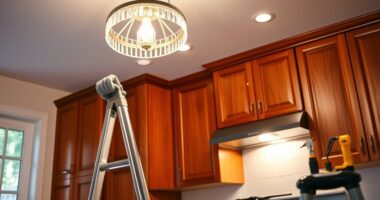
How to Cover Up a Ceiling Stain
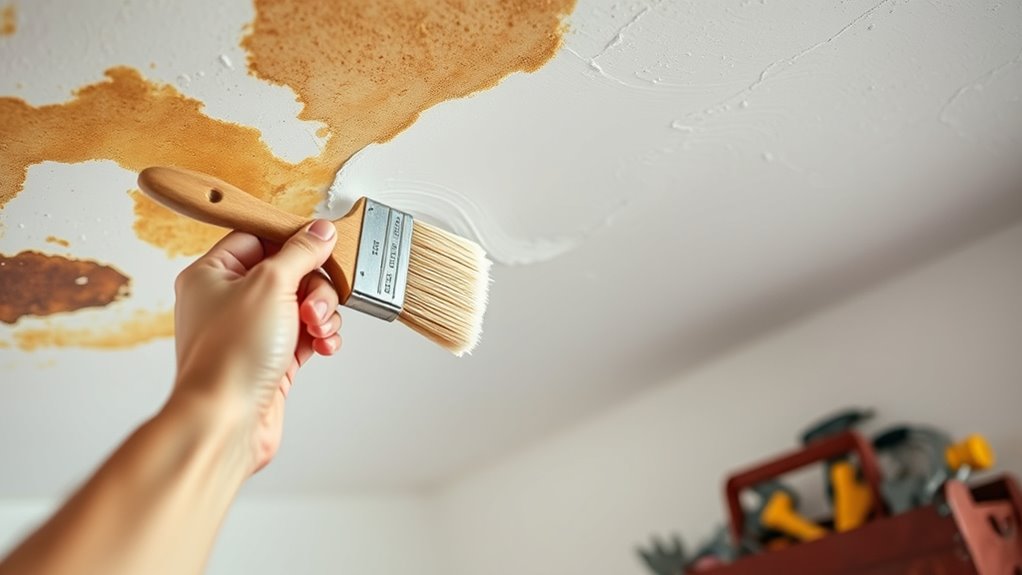
Ceiling stains can be an eyesore, but covering them up doesn't have to be a hassle. Start by using a product like Upshot by KILZ, which offers stain-blocking capabilities for easy application.
Here's how to get it done:
- Lay down a drop cloth to protect your floors from overspray.
- Tape plastic to adjacent walls to avoid staining.
- Follow the manufacturer's instructions and apply the stain cover evenly across the affected area.
- Allow it to dry completely before checking coverage and considering a second coat if needed.
Frequently Asked Questions
What Is the Most Common Home Repair?
The most common home repair you might encounter is a leaky faucet. If you don't address it, you could waste around 3,000 gallons of water each year.
Besides that, clogged drains often pop up, usually from hair or grease. You may also find yourself patching drywall holes or dealing with running toilets, which can waste significant water daily.
Don't forget about replacing worn-out light switches that affect your home's electrical safety and functionality.
Can You Do Home Repairs Yourself?
Imagine your home as a ship steering through stormy seas. You can certainly patch the sails and mend the leaks yourself.
With basic tools and a bit of courage, you're equipped to tackle many repairs. Online guides act as your compass, guiding you through each challenge.
However, know your limits; some tasks may require a skilled navigator. By addressing minor issues promptly, you'll keep your ship sailing smoothly towards calm waters.
What to Fix at Home?
When you look around your home, you might spot a few things that need fixing.
Start with that leaky faucet; replacing a worn washer can save you money on water bills.
If drains are clogged, grab a drain snake or try vinegar and baking soda.
Patching drywall holes is simple with spackle, and don't forget to refresh your space with a fresh coat of paint.
Finally, guarantee safety by replacing faulty light switches.
What Are General Home Repairs?
When you notice a small leak under your kitchen sink, you realize general home repairs encompass tasks like fixing leaks, patching drywall, and unclogging drains.
These repairs maintain your home's functionality and safety. By addressing issues promptly, you prevent bigger problems down the line.
Familiarizing yourself with basic tools and techniques can empower you to handle repairs effectively, save money, and enhance your home's longevity.
Keeping track of these tasks aids in better management too.
Conclusion
Now that you've tackled these DIY home repairs, imagine the satisfaction of transforming your space with your own hands. Picture yourself confidently fixing that leaky toilet or banishing the smell from your dishwasher. Each small victory builds your skills and your confidence. But what if there's a problem lurking just around the corner, waiting to challenge you? Don't worry; with your newfound knowledge, you're ready to face whatever comes your way. The next project could be your greatest triumph yet!