
To protect your concrete floor and knees in your home gym, choose impact-absorbing materials like rubber or foam, which cushion joints and withstand heavy equipment. Proper installation on a clean, level subfloor prevents gaps and shifting, extending your flooring’s life. Regular maintenance and adding padding under weights help avoid damage. Want to learn more about selecting, installing, and maintaining the best gym flooring? Keep exploring for expert tips and tricks.
Key Takeaways
- Use impact-resistant flooring like rubber mats or foam tiles to protect concrete and cushion knees during workouts.
- Properly prepare and level the subfloor, including moisture barriers, to ensure durability and prevent damage.
- Choose non-slip, shock-absorbing materials to reduce injury risks and enhance safety during exercises.
- Regularly inspect and maintain flooring to prevent cracks, chips, or shifting that can harm concrete and cause injuries.
- Proper installation following manufacturer guidelines maximizes flooring lifespan, safeguarding both your concrete slab and joints.
Why Protecting Your Concrete Floor Is Key for a Home Gym

Protecting your concrete floor is essential because it bears the full weight and impact of your workouts. Without proper protection, your floor can crack, chip, or suffer lasting damage, leading to costly repairs. Choosing the right flooring enhances your gym’s aesthetics, creating a motivating environment that encourages consistency. Additionally, consider the environmental impact of your flooring materials; eco-friendly options reduce your carbon footprint and promote sustainability. Using emerging sports tech to monitor your workout space can help optimize your fitness environment and protect your flooring investments. Proper flooring selection can also help absorb shock and reduce noise, prolonging the lifespan of your concrete surface. To further extend your floor’s durability, consider impact-absorbing materials that cushion heavy equipment and high-impact exercises. Incorporating shock-absorbing flooring solutions can significantly improve safety and comfort during workouts. Selecting the right flooring also involves understanding concrete protection strategies, which can enhance longevity and reduce maintenance costs. By safeguarding your concrete, you preserve both the visual appeal and functionality of your home gym. This not only prevents damage but also maintains the overall value of your space. Investing in suitable flooring solutions ensures your workout area stays durable, attractive, and environmentally conscious for years to come.
How to Choose Durable and Comfortable Gym Flooring
When choosing gym flooring, focus on materials that are both tough and comfortable to stand on. Look for options with safety features like shock absorption and non-slip surfaces to prevent injuries. Balancing durability with comfort guarantees your workout space is safe and enjoyable.
Material Selection Tips
Choosing the right gym flooring starts with understanding your needs and the types of activities you’ll perform. When selecting materials, consider how the aesthetic design will complement your space, creating a motivating environment. Opt for flooring options that offer a variety of colors to match or enhance your existing decor, making your home gym inviting. Durability is key, so look for materials like rubber or high-density foam that withstand heavy equipment and high-impact exercises. Balance comfort with functionality; a material that looks good shouldn’t sacrifice performance. Keep in mind that color coordination can help organize different workout zones or highlight specific areas. Additionally, selecting flooring that minimizes indoor air pollutants can contribute to a healthier workout environment. Choosing low-emission materials can further improve indoor air quality and overall safety. Considering the material composition can guide you toward options that are both sustainable and safe. By focusing on both style and practicality, you’ll select flooring that not only protects your concrete but also elevates your entire workout space.
Comfort and Safety Features
To guarantee your home gym is both safe and comfortable, focus on selecting flooring that combines durability with cushioning. Opt for materials that provide shock absorption to protect your joints during high-impact workouts. Consider aesthetic enhancements like color options and textures to create an inviting space that motivates you. Soundproofing solutions can also elevate safety by reducing noise transmission, preventing disturbances, and enhancing focus. Look for flooring with non-slip surfaces to prevent accidents, especially when sweating. Comfort features such as foam or rubber layers help minimize fatigue and discomfort. Additionally, incorporating Free Floating flooring options can simplify installation and reduce maintenance costs. When choosing your flooring, consider impact resistance to ensure long-term durability against heavy equipment and vigorous activity. Incorporating shock absorption features can further protect your knees and joints during intense workouts. Selecting flooring with anti-fatigue properties can also help reduce muscle strain over extended exercise routines. To further enhance safety, explore non-slip textures that improve grip even when wet or sweaty. By prioritizing these safety and comfort features, you’ll create a workout environment that’s both inviting and secure, encouraging consistent exercise while protecting your concrete and knees.
Best Flooring Options to Safeguard Your Floor and Joints
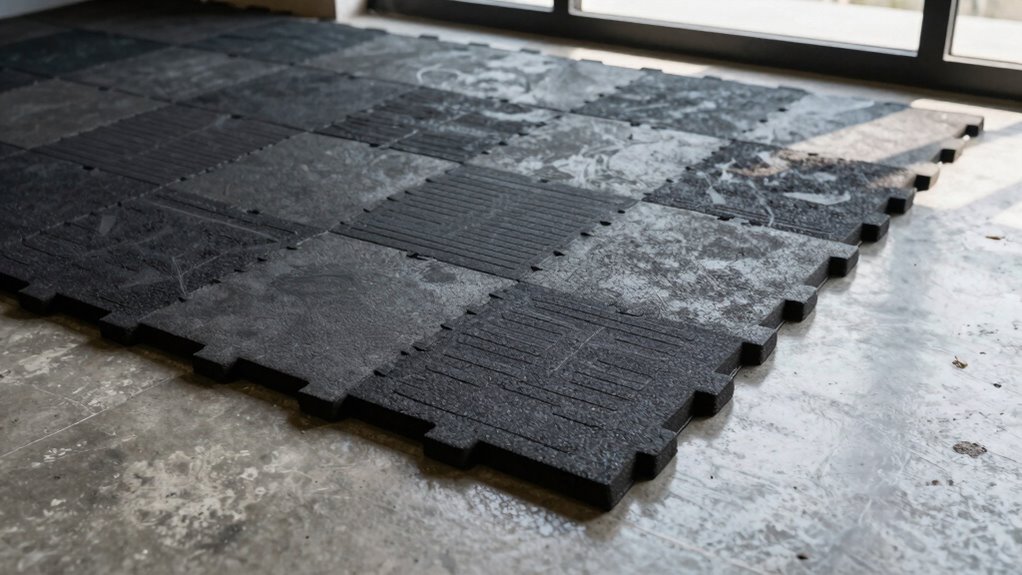
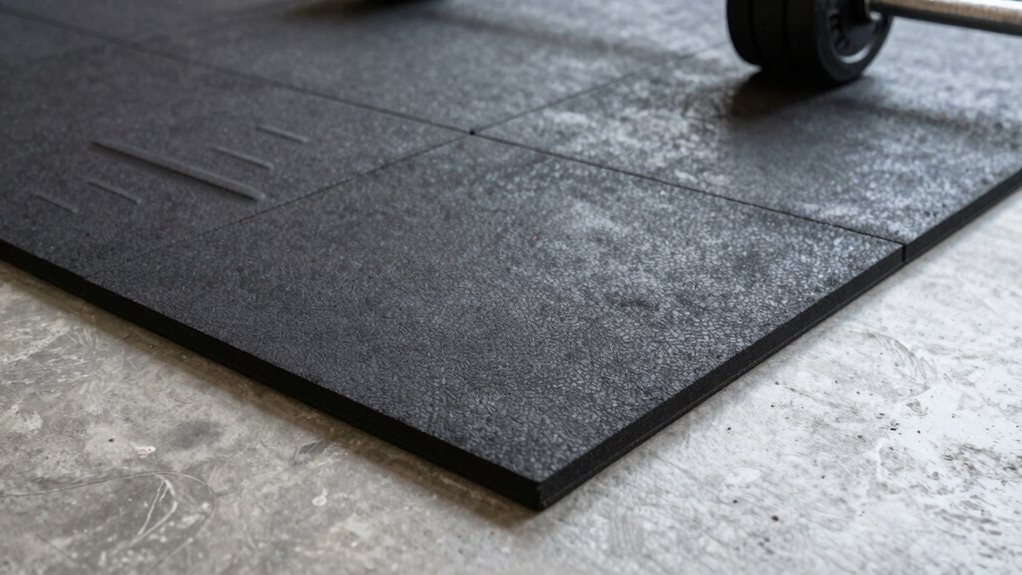
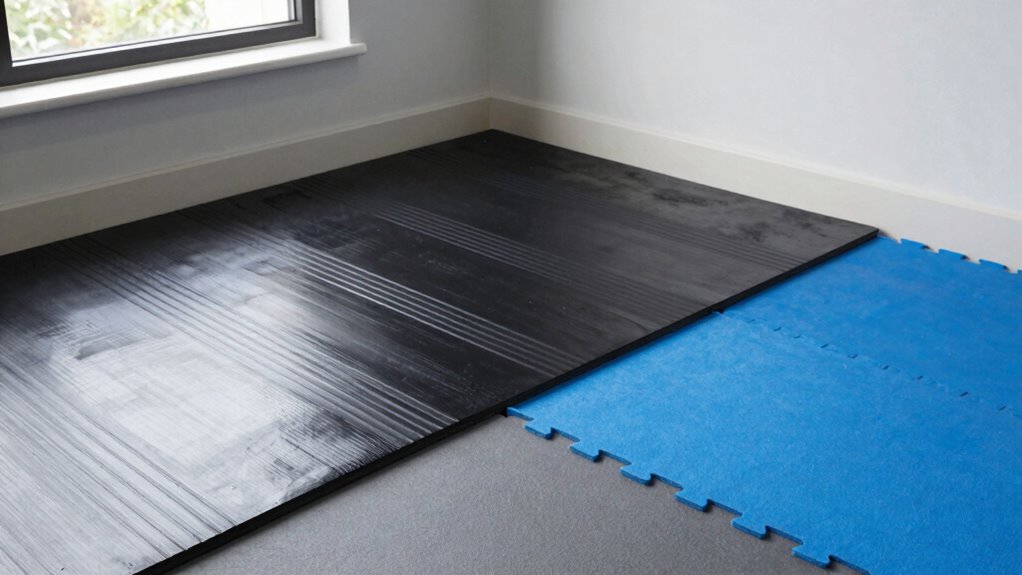
Selecting the right flooring for your home gym is essential to protect both your floors and your joints. The best options absorb impact, prevent slips, and support proper equipment arrangement. Consider rubber flooring for durability and shock absorption, which reduces stress on your knees and protects your concrete. Foam tiles offer cushioning and are easy to install but may wear faster with heavy equipment. Interlocking vinyl tiles provide a balance of comfort and resilience, suitable for versatile workouts. When choosing, factor in ventilation considerations to prevent moisture buildup and odors. Keep in mind these flooring options:
- Rubber mats for heavy lifting
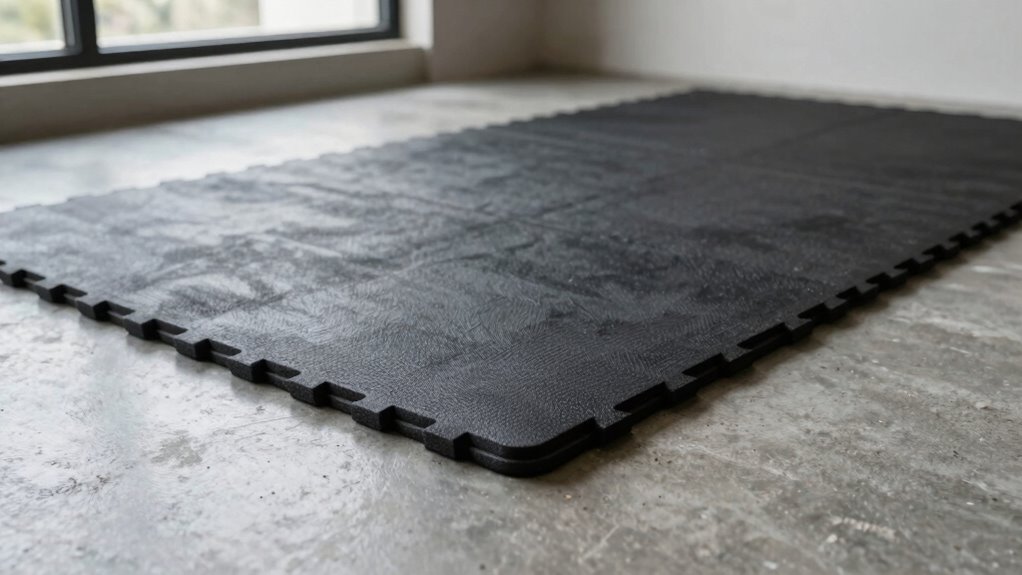
- Foam tiles for lightweight cardio
- Vinyl tiles for versatile workouts
- Carpet tiles for added comfort
- Cork flooring for eco-friendliness
Proper flooring safeguards your joints and prolongs your equipment’s life. Choosing appropriate flooring materials is essential to ensure your workout space remains safe, comfortable, and durable over time. Additionally, selecting materials with impact absorption capabilities can further enhance joint protection and improve overall workout safety. Incorporating sustainable flooring options can also contribute to an eco-friendly workout environment. Using moisture-resistant materials can help prevent mold and odors, especially in well-ventilated areas. Furthermore, shock absorption properties in flooring can significantly reduce injury risk during high-impact activities.
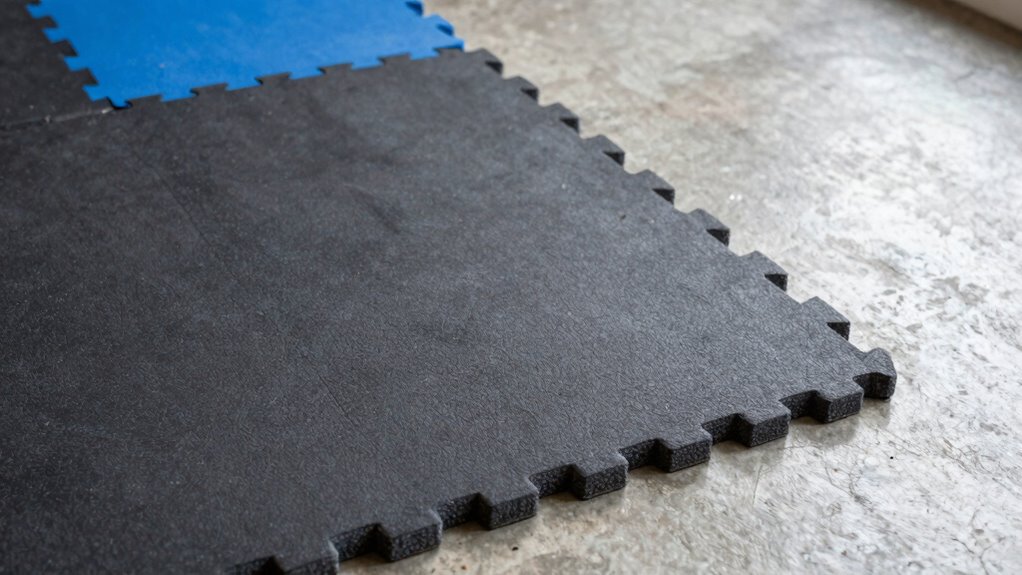
Installing Your Gym Flooring Correctly for Long-Lasting Protection

Proper installation is key to ensuring your gym flooring provides long-lasting protection and support. Start by preparing a clean, level surface free of dust and debris. Carefully lay out your flooring options to check for fit and aesthetic appeal, ensuring the flooring’s appearance enhances your space. Use the right installation tools—such as a utility knife, tape measure, and adhesive, if needed—to secure the flooring properly. Follow manufacturer instructions closely to avoid gaps or overlaps that can compromise durability. Take your time to align pieces precisely for a seamless look and ideal support. Good installation not only boosts flooring aesthetics but also prevents shifting or damage over time, giving you a sturdy, attractive gym area that withstands frequent use. Additionally, selecting appropriate flooring materials designed for high-impact environments can further enhance durability and comfort. Considering the weight and shock absorption characteristics of your flooring can help protect your concrete slab and your knees during intense workouts. Ensuring proper water-resistant features in your flooring can also help prevent moisture damage and extend its lifespan. Incorporating proper underlayment techniques can further improve the overall stability and cushioning of your gym floor. Paying attention to installation best practices is essential for maximizing your flooring’s lifespan and performance.
Common Mistakes to Avoid When Flooring Your Home Gym
One common mistake is skipping subfloor preparation, which can lead to uneven surfaces and damage over time. You also need to contemplate the thickness of your flooring to ensure proper cushioning and support. Ignoring these factors can compromise the durability and safety of your home gym. Additionally, selecting the appropriate material for the environment is crucial to withstand wear and tear, especially if you plan to incorporate high-impact exercises. Proper planning and research can help you choose the right flooring that meets both safety and comfort needs.
Skipping Subfloor Preparation
Skipping subfloor preparation is a mistake that can compromise the entire foundation of your home gym flooring. Without proper prep, issues like subfloor moisture can cause mold, warping, or damage to your flooring over time. Neglecting this step also hampers acoustic insulation, leading to increased noise transmission. To avoid these problems, verify you:
- Check for and address any subfloor moisture issues
- Clean and level the surface thoroughly
- Use a moisture barrier if necessary
- Add an acoustic insulation layer where appropriate
- Ensure the subfloor is structurally sound and free of debris
- Consider proper flooring materials that are suitable for your subfloor conditions to further enhance durability and safety
Additionally, inspecting subfloor conditions before installation can help identify potential issues early, saving time and costs in the long run. Skipping these steps can lead to uneven surfaces, reduced durability, and discomfort during workouts. Proper preparation creates a stable, moisture-resistant foundation that prolongs your flooring’s lifespan and enhances workout comfort. Additionally, considering flooring materials compatible with subfloor conditions can further improve your gym’s durability and safety.
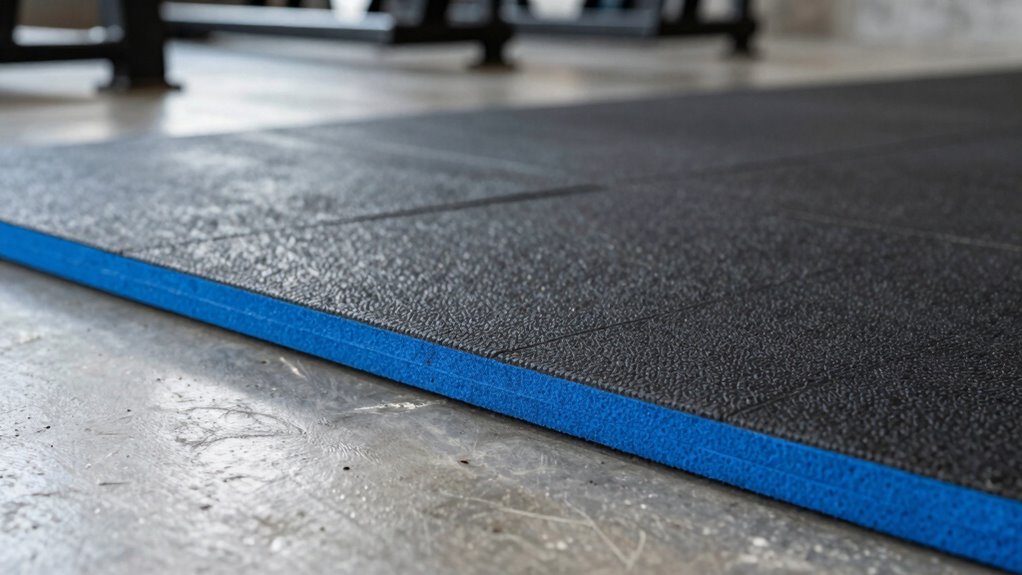
Overlooking Thickness Needs
Choosing the right thickness for your home gym flooring is essential to guarantee durability, comfort, and safety. If you overlook this, you risk insufficient protection against subfloor moisture, which can cause mold or damage over time. Thicker flooring options, like rubber mats or interlocking tiles, help absorb impact and reduce noise, but only if they’re properly adhered with suitable flooring adhesives. Too thin, and the flooring won’t cushion your knees or support heavy weights; too thick, and it might compromise stability. Consider your workout types and equipment, ensuring the floor can handle the weight and moisture exposure. Always check the subfloor moisture levels before installing, and select adhesives compatible with your chosen flooring to prevent peeling or shifting. Proper thickness ensures your gym remains safe and long-lasting.
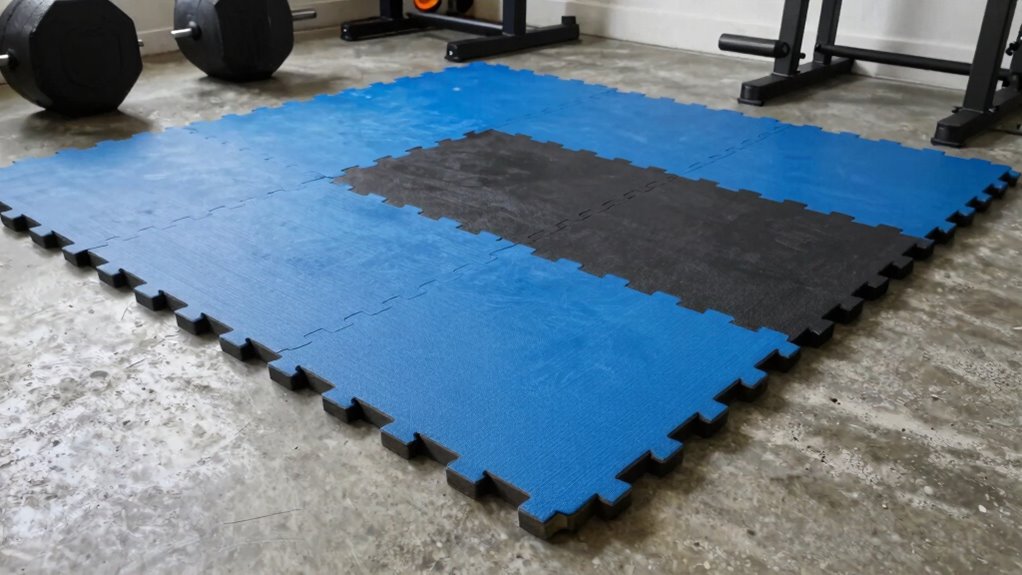
How to Maintain Your Gym Floor and Extend Its Lifespan
To keep your gym floor in top condition and guarantee it lasts, regular maintenance is essential. Establish a consistent cleaning routine by sweeping or vacuuming after each workout to remove dirt and debris that can cause wear. Use gentle cleaning solutions suited for your flooring type to prevent damage. Incorporate decorating ideas that include mats or rugs to protect high-traffic areas. Periodically inspect the surface for cracks or damage and address issues promptly. Avoid dragging heavy equipment to prevent scratches. Consider adding floor protectors under weights and equipment to extend durability. Regularly updating your space with fresh décor not only keeps it inviting but also reminds you to maintain it properly. These simple steps will help prolong your gym floor’s lifespan and keep it looking new.
When selecting gym flooring, your budget plays a significant role in shaping your options. Budget-friendly options like foam or rubber tiles often offer a lower cost comparison but may lack the aesthetic appeal of premium flooring. Premium choices, such as interlocking hardwood or high-end rubber, tend to cost more but provide superior durability and style. Consider what’s most important: saving money or investing in long-term quality. Here’s a quick comparison:
| Feature | Budget-Friendly | Premium |
|---|---|---|
| Cost Comparison | Affordable, lower upfront | Higher investment, durable |
| Aesthetic Appeal | Functional, basic look | Stylish, high-end appearance |
| Durability | Moderate | Long-lasting, resilient |
| Installation | Easy, DIY-friendly | Professional recommended |
Choose based on your budget and priorities, balancing cost and aesthetic appeal.
FAQs About Home Gym Flooring and Floor Protection
Home gym flooring is essential for protecting your floors and ensuring safe workouts, but you might have questions about what options best suit your needs. You may wonder about durability, maintenance, and how it affects your workout space’s look. When choosing flooring, consider color options and aesthetic considerations to match your style.
Here are common FAQs:
- What flooring options are most protective against impact?
- How do I choose colors that complement my gym decor?
- Are certain materials easier to clean and maintain?
- How thick should the flooring be for ideal protection?
- What aesthetic considerations should I keep in mind for a cohesive look?
Addressing these questions helps you select the right flooring that balances functionality with your preferred style.
Frequently Asked Questions
How Often Should I Replace My Home Gym Flooring?
You should replace your home gym flooring every 5 to 10 years, depending on its flooring lifespan and how often you work out. If you notice significant wear, tears, or it no longer cushions your knees, it’s time for a replacement. Regular inspections help you determine the replacement frequency needed. Investing in durable flooring can extend its lifespan, ensuring your workout space stays safe and comfortable for years to come.
Can I Install Gym Flooring Over Existing Flooring?
Did you know that over 60% of gym injuries are caused by slipping or poor flooring? You can install gym flooring over existing flooring, but it depends on material compatibility and proper flooring installation. Make sure the current surface is level, clean, and in good condition. This guarantees your new mats or tiles stay secure and effective, protecting your knees and your concrete without the hassle of removal or extensive prep.
What Are the Environmental Impacts of Different Flooring Materials?
You’ll find that flooring materials vary in environmental impacts. Sustainable materials like cork or bamboo are renewable and biodegradable, reducing your carbon footprint. Recyclability options, such as rubber made from recycled tires, help lessen waste. Choosing eco-friendly flooring supports a healthier planet and indoor air quality. By prioritizing these options, you actively contribute to sustainability while creating a safe, durable workout space that’s good for both you and the environment.
Is Underlayment Necessary for All Types of Gym Flooring?
Not all gym flooring requires underlayment, but it’s often necessary for ideal flooring compatibility and added protection. If you’re using rubber mats or interlocking tiles, underlayment can improve stability, reduce noise, and prevent damage to your concrete. For foam or carpet tiles, check the manufacturer’s recommendations. Ultimately, consider your specific flooring type and workout needs to determine if underlayment is essential for your home gym setup.
How Do I Remove Old Gym Flooring Without Damaging the Concrete?
Imagine pulling away a giant, stubborn sticker from your floor—careful, or you’ll tear up the concrete beneath! To remove old gym flooring without damaging the concrete, start by peeling or scoring the edges gently. Use a floor scraper or heat gun to loosen adhesive, then lift slowly, keeping the pressure even. This method prevents flooring damage and guarantees your concrete stays pristine for the next setup.
Conclusion
Protecting your home gym floor is essential to keep your space vibrant and your joints happy. By choosing the right flooring and installing it properly, you’ll prevent costly damage—just like the great architects of old who valued sturdy foundations. Regular maintenance and mindful choices ensure your workout haven stands the test of time. Remember, a well-protected floor not only preserves your concrete but also enhances your exercise experience—truly, a wise investment in your health and home.