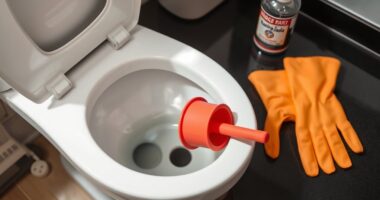

To install peel-and-stick backsplash tiles, start by cleaning the wall with a degreaser and letting it dry. Measure and mark a level line for your first tile, then cut the tiles as needed. Peel off the backing, press the tile onto the wall, and smooth out any air bubbles. Finish with paintable caulk for a polished look. Want to guarantee a flawless installation? There's more handy advice to help you out!
Key Takeaways
- Clean the wall thoroughly with a degreaser and allow it to dry completely before starting installation.
- Measure and mark a level line on the wall to ensure proper tile alignment.
- Cut the tiles using a utility knife and ruler for straight edges, following your marked lines.
- Peel the backing off each tile and press it firmly onto the wall, smoothing out air bubbles.
- Finish with paintable caulk along tile edges for a neat and professional appearance.
What Is Peel and Stick Tile?
Peel and stick tile is a convenient and stylish solution for your backsplash projects.
These thick vinyl adhesive products mimic the look of ceramic or porcelain tiles, available in square sections of 10" or 12" for easy DIY installation. You can install peel-and-stick tiles on a variety of surfaces, making them a versatile option for any home.
Thick vinyl adhesive tiles offer a stylish, easy-to-install option for any surface in your home.
With a wide range of shapes, styles, and colors, you'll find the perfect look that fits your decor. They're a budget-friendly alternative to traditional tile methods, allowing you to achieve a sophisticated appearance without breaking the bank.
Plus, peel and stick tiles are durable enough to handle extreme temperature changes, especially when you choose high-quality options for long-lasting performance.
Benefits of Using Peel and Stick Backsplash Tiles
If you're looking for a stylish upgrade to your kitchen or bathroom without the hassle of traditional tile installation, peel and stick backsplash tiles might be the perfect solution.
These budget-friendly options provide a sophisticated look without breaking the bank. With easy installation that requires minimal tools, they're perfect for DIY enthusiasts and renters seeking a quick transformation.
Plus, their durability allows them to withstand temperature changes, making them ideal for kitchens and bathrooms. You'll love the variety of styles, colors, and patterns available, ensuring you find the perfect match for your decor.
And if you ever want to change things up, these removable tiles leave little residue behind, making them great for temporary renovations.
Materials and Tools Needed for Installation
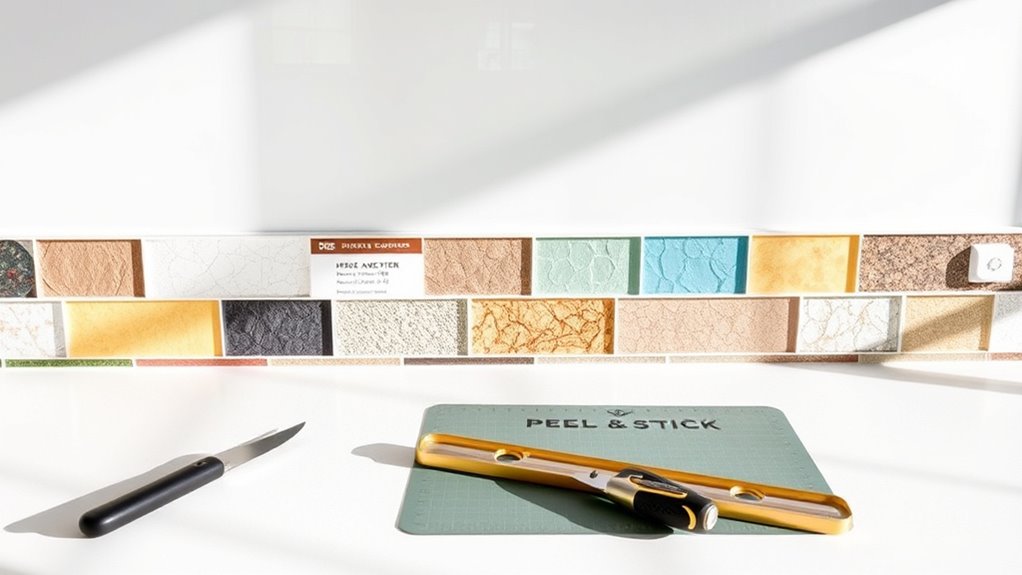
Before you start installing your peel-and-stick backsplash tiles, gather all the essential materials and tools.
You'll need the tiles, a utility cutter, measuring tape, and a level, among other items.
Having everything ready will make your installation process smooth and efficient.
Essential Installation Materials
Installing backsplash tiles requires a few essential materials and tools to guarantee a smooth process.
Start with your peel and stick tiles, which have adhesive on the back for easy installation. You'll need a cutting mat and a utility knife for trimming tiles to fit around edges or outlets. A tape measure is vital for accurately measuring and marking your wall surface before you begin.
Don't forget a cloth and degreaser to clean the wall thoroughly before application. To press firmly and eliminate air bubbles, a plastic smoother or even a credit card can be handy.
Having everything gathered beforehand will make your installation quicker and more efficient, ensuring a beautiful backsplash in no time!
Required Tools Overview
Once you've gathered your installation materials, it's time to focus on the tools you'll need for a successful backsplash tile project.
First, grab a utility knife or box cutter for precise cuts of your peel-and-stick backsplash tiles. A cutting mat is vital to protect your surfaces while you work.
Use a measuring tape to guarantee accurate measurements and painter's tape to mark your layout on the wall. A level is essential for maintaining straight alignment, so your tiles look professional.
Don't forget to keep a few extra tiles on hand—about 5% more than you calculated—just in case you need them for repairs later.
Finally, a credit card or plastic smoother can help press the adhesive tiles firmly and eliminate air bubbles.
Step-by-Step Instructions for Installation
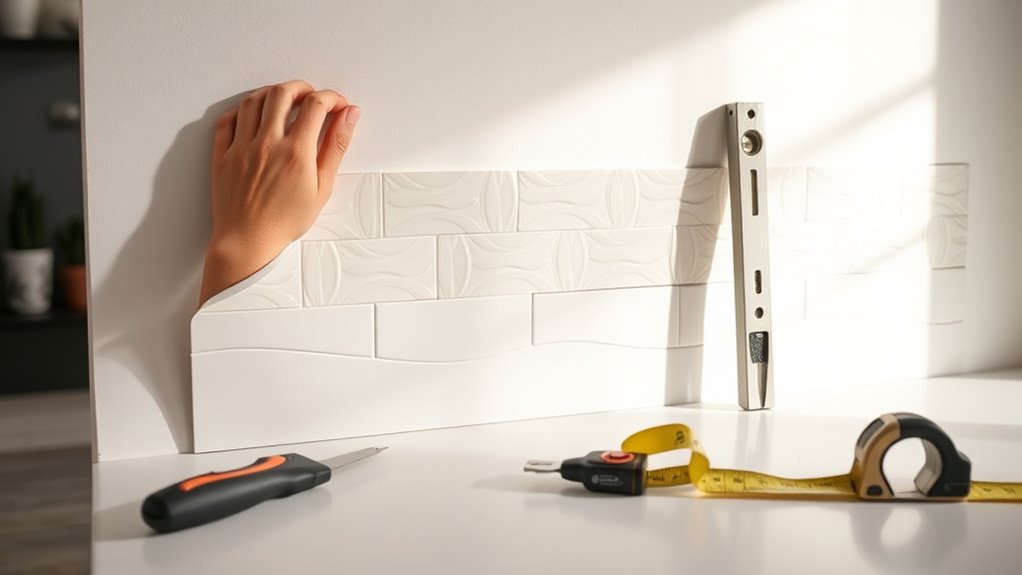
To install backsplash tiles successfully, start by cleaning the wall with a degreaser and letting it dry completely.
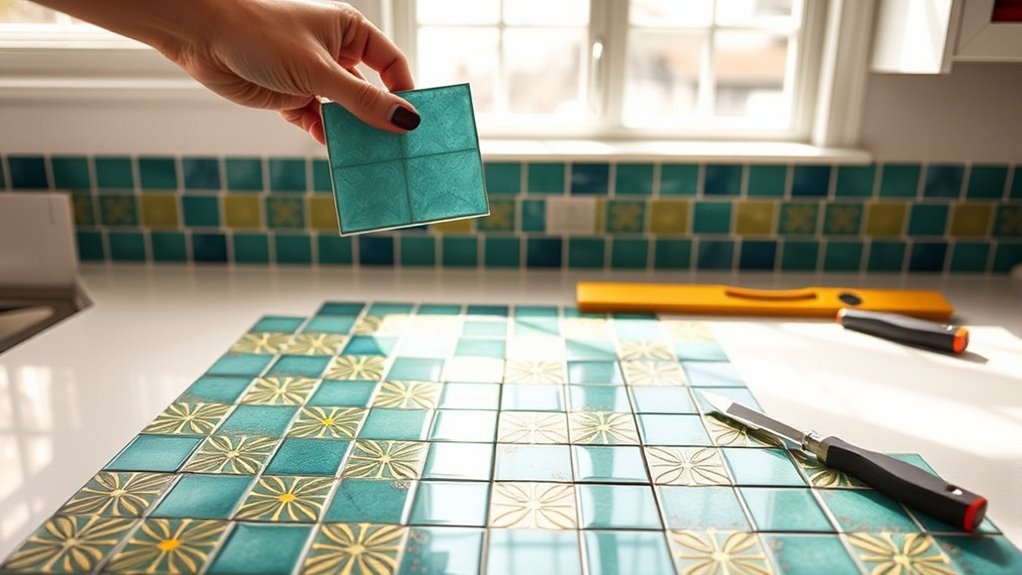
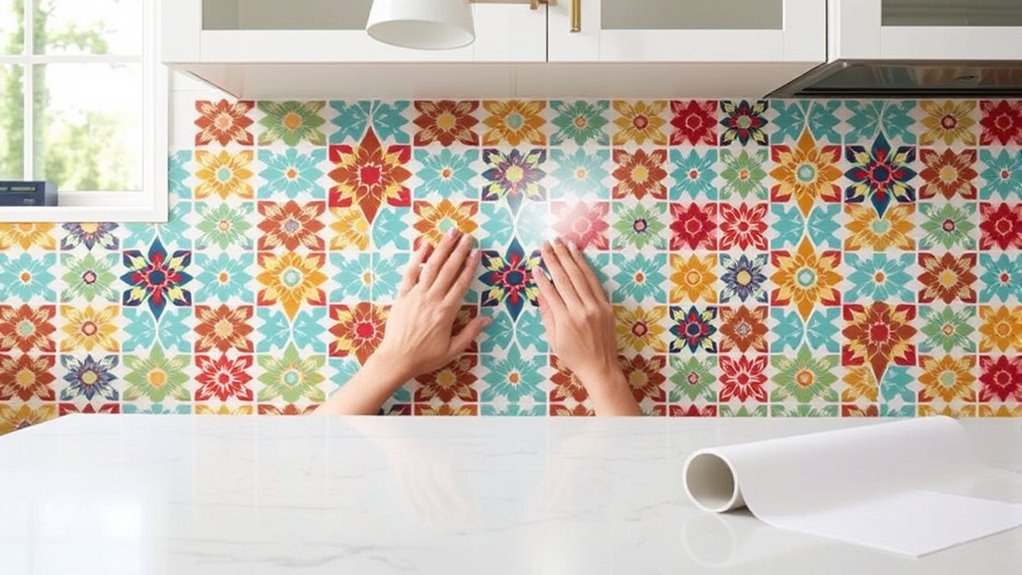
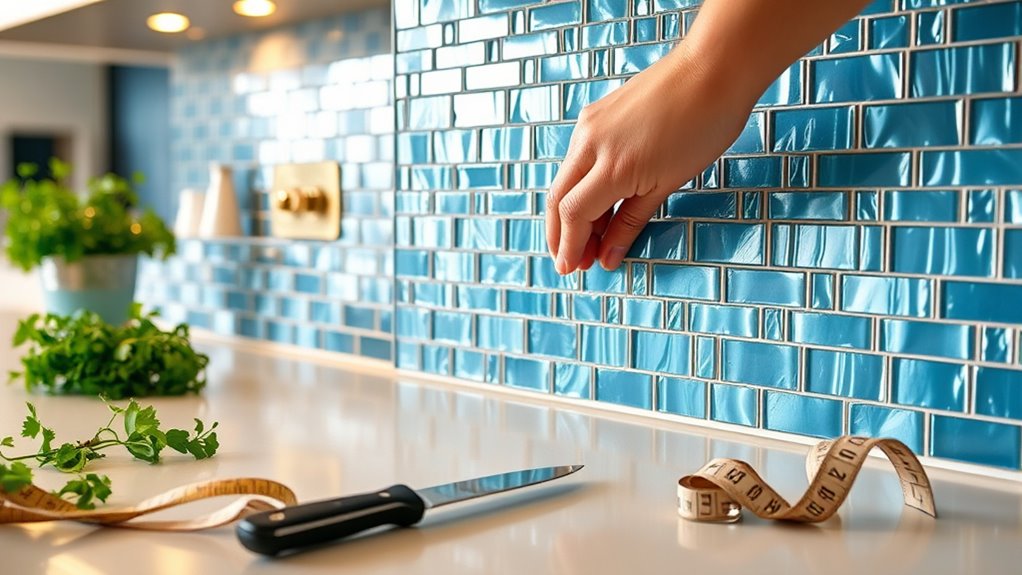
Next, mark a level line where you want to install the first tile. Cut the tile to a straight edge using a utility knife and ruler, then peel off the backing and press it firmly onto the wall, smoothing out any air bubbles.
For subsequent tiles, align them with the first, applying light pressure for repositioning if needed, before pressing down firmly for adhesion.
When cutting tiles around outlets, measure the dimensions, transfer them to the tile, and cut carefully.
Finally, for a neat finish, apply paintable caulk between the tile edges and the wall to seal any gaps.
Tips for Cutting and Aligning Tiles

To cut peel-and-stick tiles, use a sharp utility knife or strong scissors for clean edges that guarantee a professional finish. Start by lightly marking your cutting lines with a pencil and a ruler, then secure the tile with painter's tape to prevent movement during cutting. Always cut on a protective surface, like a cutting mat.
When aligning tiles, begin from a bottom corner, using a level line as your first line to keep rows straight. For tricky spots, like outlets, measure accurately, cut the tile accordingly, and make certain the edges align with the existing wall for a seamless appearance. Additionally, ensure that the surface is free from moisture to promote better adhesion and longevity of the tiles.
Post-Installation Care and Maintenance
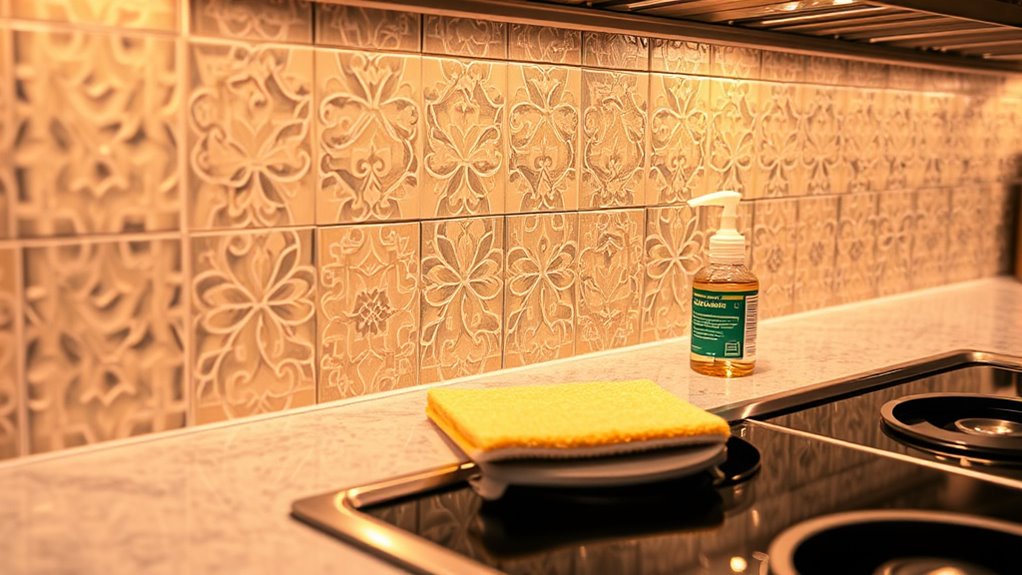
After you've successfully cut and aligned your tiles, maintaining them becomes essential for preserving that fresh, polished look.
Follow these post-installation care tips:
- Clean Regularly: Use a gentle degreaser to prevent grease buildup, especially in kitchen areas.
- Avoid Abrasive Cleaners: Steer clear of abrasive cleaners or scrubbers that can damage the tiles' surface.
- Consider a Sealant: If your backsplash is in a food prep area, apply a food-safe sealant for added protection.
For any minor repairs, keep extra tiles on hand to replace damaged ones.
When it's time to remove tiles, use a blow dryer to warm the adhesive, making it easier to peel them off without damaging the wall.
Frequently Asked Questions
Where Do You Start Peel and Stick Tile Backsplash?
You might think starting anywhere is fine, but it's essential to begin with the wall surface preparation. Clean it thoroughly, ensuring it's free from grease and dirt.
Let it dry completely for the best adhesion. Once that's done, grab your measuring tape to plan your layout.
Mark a straight line to guide the first row of tiles. Starting off right sets the tone for a smooth installation process, so don't rush this step!
How Do You Prepare a Surface for a Peel and Stick Backsplash?
To prepare your surface for peel-and-stick backsplash tiles, start by cleaning the wall thoroughly with an all-purpose cleaner, ensuring it's smooth and dry.
If you've just painted, wait up to three weeks for the paint to cure.
Lightly mark your tile placement with a pencil and ruler for a straight guide.
Don't forget to remove outlet covers and check for grease or old adhesive to guarantee proper adhesion.
How Do You Install Peel and Stick Tile Backsplash?
When you're ready to install your stunning stick-on tiles, start by marking a level line on the wall.
Next, peel off the backing from your first tile and press it firmly into place, smoothing out air bubbles with a credit card.
Align the next tiles carefully, applying gentle pressure for adjustments.
For tricky corners or outlets, measure and cut precisely.
Keep it neat, and soon you'll have a fabulous focal point in your space!
How Do You Prepare a Wall for Peel and Stick Tile?
To prepare a wall for peel-and-stick tile, you'll need to start by cleaning the surface thoroughly with a degreaser and cloth.
Make sure it's free of grease and dust. If the wall's freshly painted, wait about three weeks for it to cure.
Next, use a level to draw a straight line for tile placement, and check the surface for smoothness, sanding down any bumps for ideal adhesion.
Don't forget to remove outlet covers!
Conclusion
Now that you've mastered the art of installing peel-and-stick backsplash tiles, you can finally impress your friends with your "expert" DIY skills. Who knew slapping stickers on a wall could turn you into an interior design guru? Just don't forget to tell everyone you spent weeks perfecting your technique—you know, to keep up appearances. With your new backsplash, your kitchen will look so fabulous that cooking might just become a trendy hobby instead of a chore!