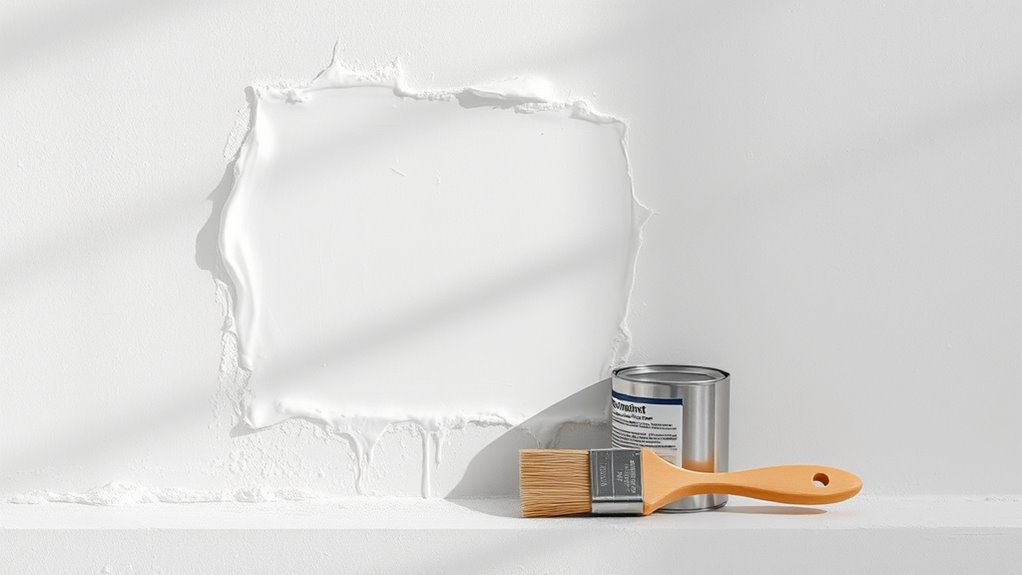
To patch drywall like a pro, start by evaluating the damage and preparing the area. Clear out nails and scrape any protruding paper. Apply thin layers of drywall compound, allowing each to dry before sanding for a smooth finish. Prime and paint the repaired spots, feathering the edges for a seamless look. Use flat paint for better texture blending. Keep following the best practices for a flawless repair technique, and you’ll create a professional-grade finish.
Key Takeaways
- Assess the damaged area thoroughly, removing nails and ensuring the surface is clean and smooth before starting repairs.
- Apply lightweight drywall compound in thin layers, allowing each coat to dry completely before sanding for a seamless finish.
- Use a putty knife to feather the edges of the compound for better blending with the surrounding wall texture.
- Prime the repaired areas with drywall primer for proper adhesion and to ensure color consistency with the existing wall.
- Sand lightly after priming and apply multiple thin coats of paint to achieve a professional-looking finish.
Assessing the Damage
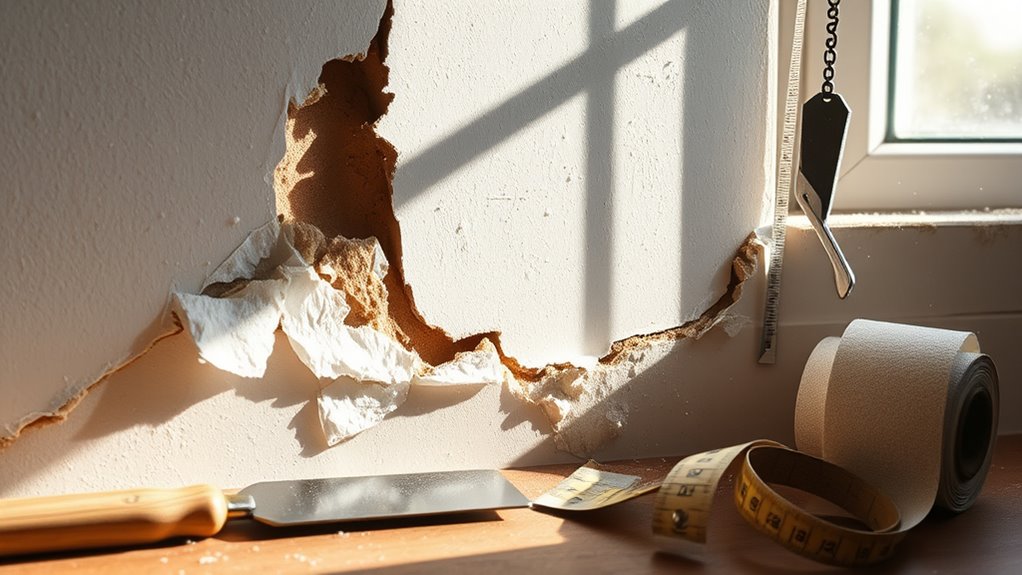
Before you start repairing drywall, it’s essential to closely evaluate the damage.
Begin by examining the size and type of the hole or imperfection. For small nail holes, make certain the nail’s been removed and check for any protruding paper that needs tapping down.
If you notice drywall plugs or larger holes, determine if they require additional support or patching material.
While evaluating the damage, don’t forget to review the entire wall for any other imperfections that might need your attention. This step guarantees you create a uniform finish after repairs.
Also, take note of the existing wall texture; blending your repairs seamlessly with the surrounding surface is key to achieving a professional look.
Preparing the Area
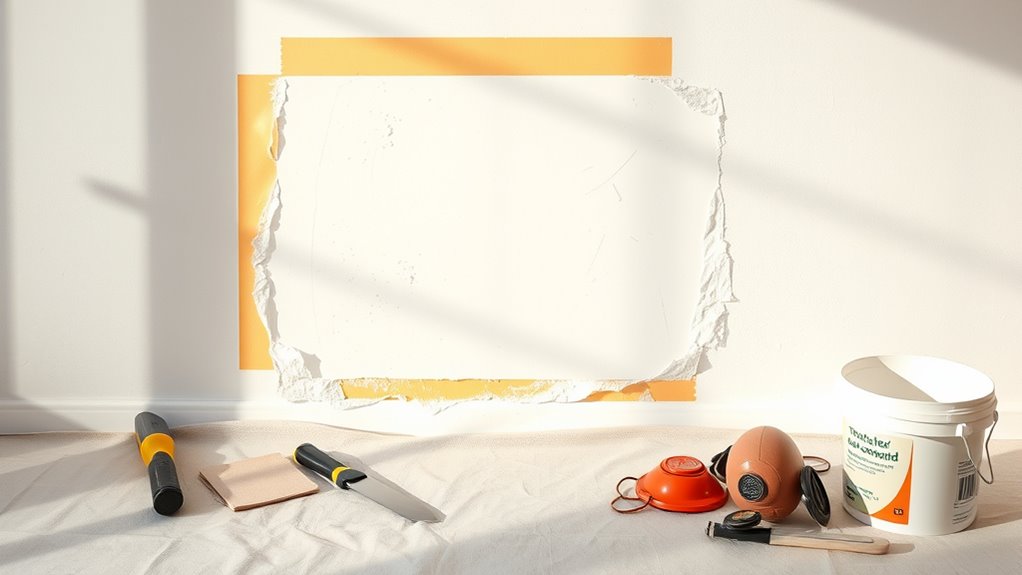
To start preparing the area for your drywall patch, clear your workspace of any clutter and gather all necessary tools like a utility knife and drywall compound.
Make sure to assess the damage thoroughly, checking for any hidden issues that might need attention.
Keeping everything organized will help you work more efficiently and achieve a better finish.
Clear the Workspace
Clearing the workspace is essential for a smooth drywall repair process. Start by removing any furniture or obstacles near the drywall area, giving yourself a little bit of room to maneuver.
Safety is key, so make certain you have easy access without tripping hazards. Lay down a drop cloth to protect your floor from dust and debris generated during the patching.
Adequate lighting is also important; confirm you can see any imperfections clearly. To minimize dust and fumes from the drywall compound, ventilate the area by opening windows or using fans.
Taking these steps will help create a safe, efficient environment, allowing you to focus on the repair without interruptions or distractions.
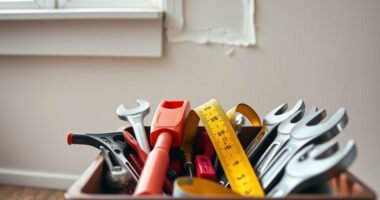
Gather Necessary Tools
With your workspace now free of obstacles, it’s time to gather the necessary tools for your drywall repair.
You’ll need a utility knife for cutting, drywall compound for patching, and a putty knife to apply the compound smoothly. A sanding sponge will help you achieve that flawless finish, while drywall primer will prepare the patched area for painting.
Don’t forget to protect your surroundings! Lay down a drop cloth or plastic sheeting to catch dust and splatters.
Make sure your work area is well-lit, so you can spot any imperfections easily. Finally, keep a damp cloth or sponge nearby for quick clean-up of any excess compound.
You’re now ready to tackle your drywall repair like a pro!
Assess Damage Thoroughly
Before diving into the repair process, you should thoroughly assess the damage to your drywall.
Start by evaluating how extensive the damage is—whether it’s a small nail hole, a larger plug, or if you need to replace entire sections. Remove any nails or screws from the damaged area, and check that the surrounding drywall paper isn’t torn or sticking up, as this impacts your repair.
Use a utility knife to scrape away any loose material or protruding paper for a smooth surface. Inspect nearby areas for additional minor damages that might need fixing too.
Finally, clean the area of dust and debris to promote better adhesion for the drywall compound, ensuring a seamless repair when you paint.
Repairing Nail Holes
Repairing nail holes is a straightforward process that can make a big difference in your walls’ appearance.
Start by removing the nails and checking that the paper around the hole isn’t raised. Scrape away any excess material and tap down any raised areas to create a smooth surface.
Begin by removing any nails and ensuring the surrounding paper is flat. Smooth out excess material for an even surface.
Next, apply a thin layer of drywall compound over the hole, scraping off any excess immediately to prevent thick buildup.
Once the first coat dries, lightly sand it and be ready to apply a second coat for that seamless finish.
For best results, use a sponge sander to guarantee even pressure, which reduces dust and gives you a smoother final surface around the repair.
Fixing Drywall Plugs
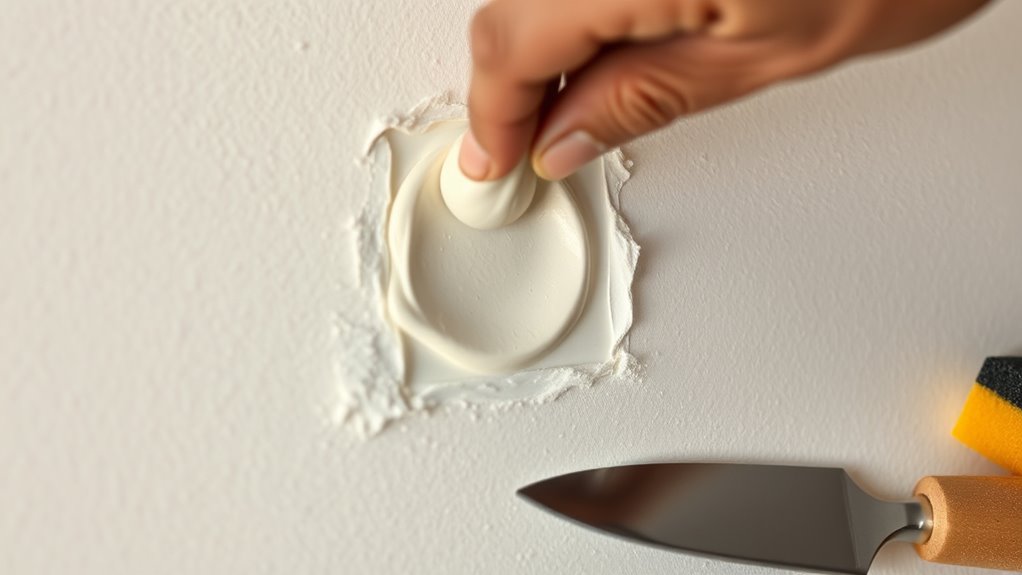
Fixing drywall plugs is essential for restoring the integrity and appearance of your walls. Start by scraping any protruding parts of the plug to guarantee a flush surface. Keep your repairs small; this helps the mud dry faster, typically within 30 to 45 minutes. Use thin layers of drywall compound to avoid excessive buildup, making sanding easier later. Proper preparation leads to a smoother finish and minimizes visible repairs after painting. Finally, sand lightly around the repair area to blend the texture seamlessly.
| Step | Action | Tips |
|---|---|---|
| 1. Scrape | Remove protruding parts of the plug | Create a flush surface |
| 2. Repair | Keep the repair small | Faster drying time |
| 3. Apply Compound | Use thin layers | Less sanding required |
| 4. Sand | Blend texture | Achieve a seamless look |
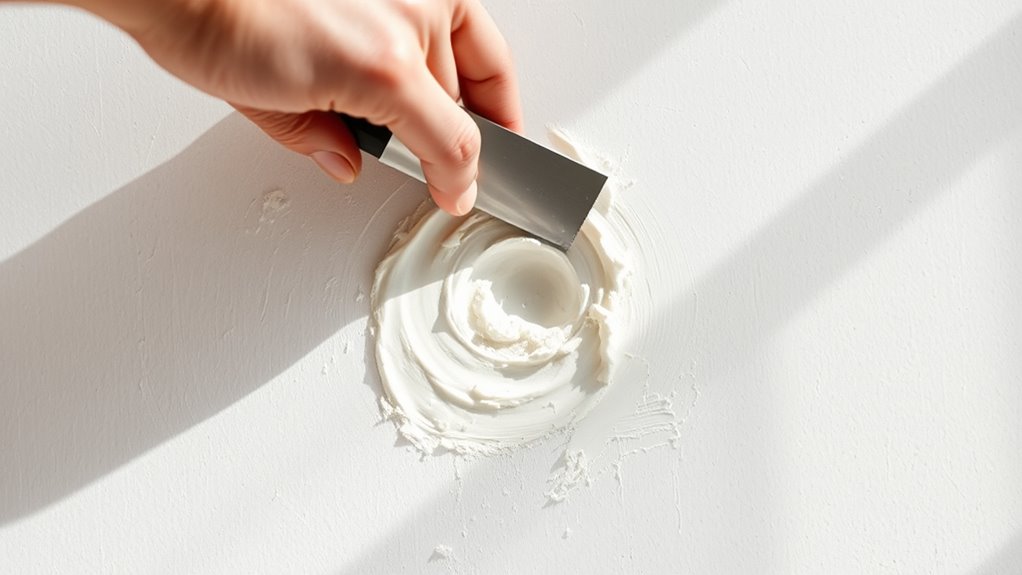
Applying Drywall Compound
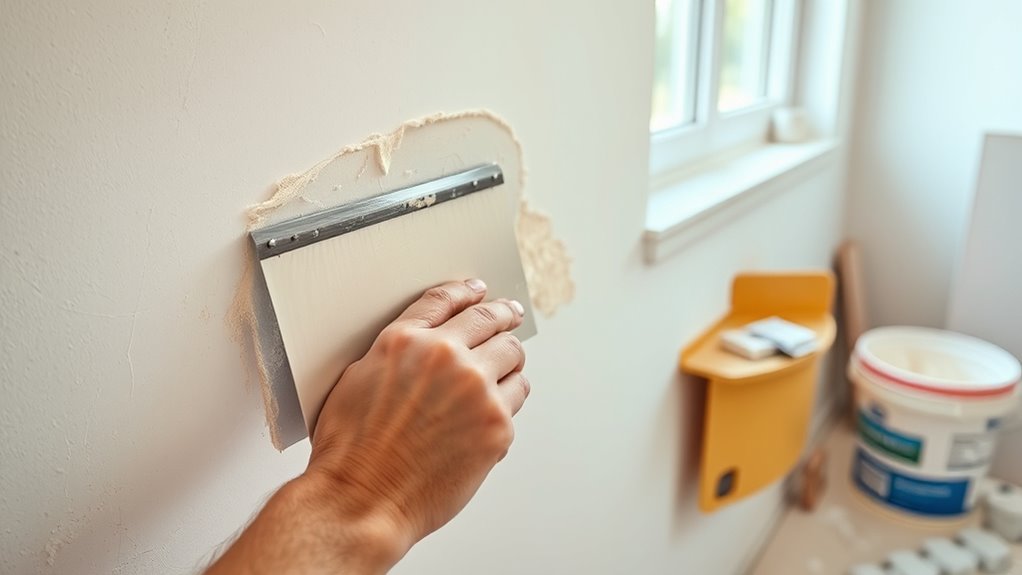
Applying drywall compound is an essential step in achieving a smooth and professional finish on your repairs.
First, make certain the area is free of dust and debris to help the compound adhere better. Use a putty knife to apply a thin layer of compound over the repair, scraping off any excess immediately to prevent thick build-up.
For nail holes, fill slightly above the surface to account for shrinkage as the compound dries. Smooth the edges into the surrounding drywall to minimize the repair’s appearance.
Allow the first layer to dry completely, which usually takes about 30 to 45 minutes for smaller repairs, before applying a second coat if needed. This guarantees a solid foundation for a flawless finish.
Sanding Techniques for a Smooth Finish
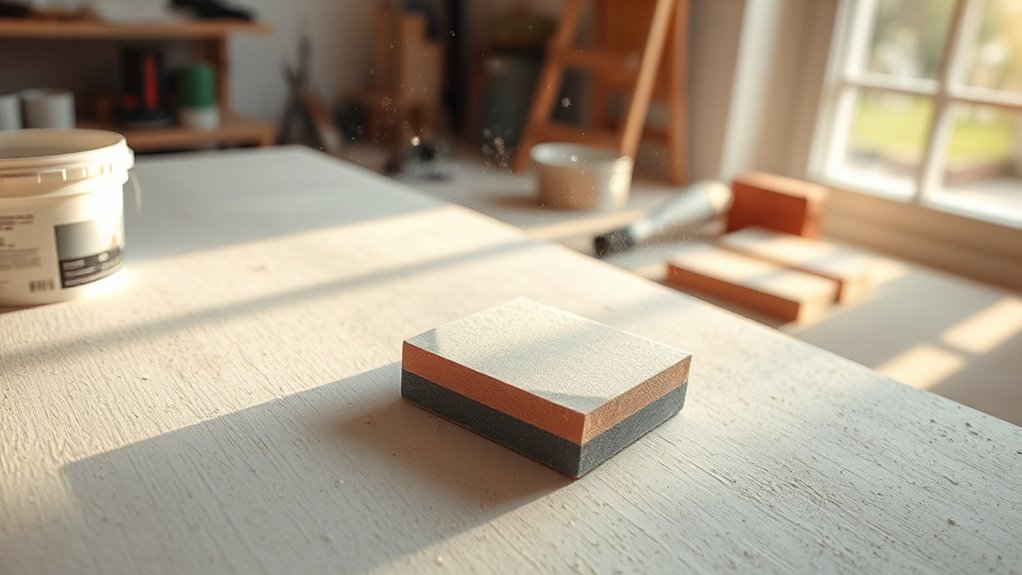
When it comes to sanding your drywall repair, using a sponge sander can really make a difference in achieving a smooth finish.
Sponge Sanding Benefits
Sponge sanding can markedly enhance your drywall repair process by providing a smoother finish with less effort. Here are some key benefits of using sponge sanders:
- Even Pressure Distribution: Sponge sanders distribute pressure evenly, helping you achieve a flawless finish.
- Reduced Risk of Uneven Surfaces: The sponge absorbs hand pressure, minimizing the chance of creating uneven areas.
- Less Dust Creation: Light sanding with a sponge generates less dust, making cleanup quicker and easier.
- Enhanced Control and Precision: Sponge sanding allows for better control, ensuring that repaired areas blend seamlessly into the surrounding surface.
With these advantages, sponge sanding not only simplifies your repair tasks but also helps create professional-quality results.
Light Pressure Techniques
Light pressure techniques are essential for achieving a smooth finish when sanding drywall. Use sponge sanders to evenly distribute pressure across the surface, preventing uneven spots.
Lightly sand the repair area to minimize dust and limit the need for extensive sanding later, keeping the surface even. Avoid pressing too hard with your fingers on the sandpaper, as this can create visible imperfections.
If you’re working on larger repairs, consider applying a second coat of drywall compound after the initial sanding to guarantee a flawless finish.
Finally, sanding around the repair area helps blend the texture, making the patched section less noticeable once you paint. These techniques will lead to a professional-looking result every time.
Priming Repaired Areas
To achieve a seamless finish after patching drywall, you should always prime the repaired areas with drywall primer or flat ceiling paint. This guarantees proper adhesion and coverage before applying your wall paint.
Here’s how to do it effectively:
- Use flat paint for priming; it helps blend the repaired areas with the surrounding texture.
- Apply primer only to the repaired spots to avoid unnecessary buildup and maintain a uniform finish.
- Lightly sand around the repair area after priming to enhance blending with the rest of the wall.
- Allow the primer to fully dry before applying your topcoat for best results and a professional finish.
Following these steps will make your repairs virtually invisible!
Painting the Repaired Section
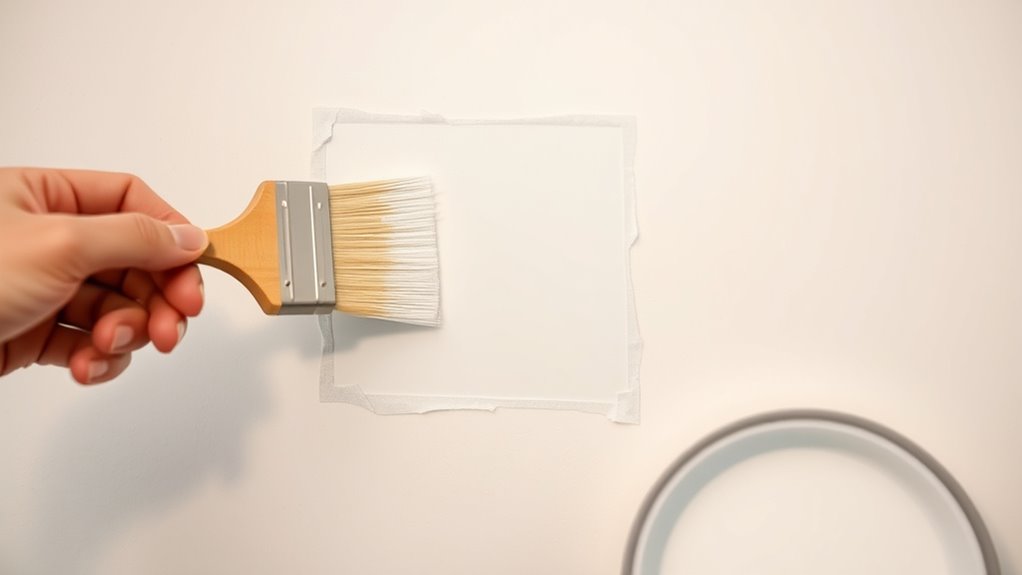
After priming the repaired area, you’re ready to paint and restore the wall’s appearance.
Always use a drywall primer first to guarantee proper adhesion and color consistency with the surrounding wall. Opt for a flat paint, as it helps blend the repaired section seamlessly with the existing texture.
When you start painting, feather the edges of the new paint into the old to avoid noticeable lines or patches. Make certain the primer is fully dry before applying your final coat, which usually takes about 24 hours.
For the best results, use a sponge or a roller that matches the nap of the surrounding wall texture to achieve a uniform finish.
Happy painting!
Tips for a Professional-Looking Finish

Achieving a professional-looking finish on your drywall repairs starts with careful preparation; you’ll want to scrape away any raised paper or excess material before applying the compound.
Follow these tips for the best results:
- Use lightweight drywall compound and apply it in thin layers, no more than a quarter-inch thick, to minimize sanding later.
- Utilize sponge sanders for an even finish, as they distribute pressure more uniformly than traditional sandpaper.
- Allow sufficient drying time between coats of compound and primer to avoid smudging and guarantee a solid finish.
- Apply a drywall primer to the repaired areas to blend the texture with the surrounding wall and enhance the final paint application.
With these steps, you’ll achieve a flawless finish that looks professionally done.
Frequently Asked Questions
How to Patch Drywall Perfectly?
To patch drywall perfectly, start by cleaning the area around the hole, removing nails and flattening the paper.
Apply a thin layer of compound, scraping off any excess. For larger repairs, make sure to trim protruding edges for a snug fit.
Let it dry before sanding lightly with a sponge sander for an even finish.
Finally, prime the patched area to blend seamlessly with the rest of the wall before painting.
How to Make a Drywall Patch Invisible?
Imagine your wall as a canvas, one with a hidden scar. To make a drywall patch invisible, start by scraping any rough edges, smoothing the surface like a painter preparing for a masterpiece.
Apply thin layers of compound, avoiding buildup, then gently sand with a sponge sander to keep it even.
Finally, prime and paint the area with flat paint, blending it seamlessly into the existing wall, restoring the canvas to its original glory.
How Do You Hide Bad Drywall Repair?
To hide bad drywall repair, start by scraping down any raised paper edges to create an even surface.
Use a sponge sander to smooth everything out, ensuring you apply even pressure.
Then, apply a thin layer of drywall compound to blend the area with the wall, avoiding thick buildups.
After sanding, prime the repaired spots with drywall primer or flat ceiling paint, and finish with flat paint to camouflage imperfections.
What Is the Best Thing to Use to Fill Holes in Drywall?
To fill holes in drywall, you’ll want to use a lightweight spackling compound or drywall compound. These options are easy to apply and sand down smoothly.
For small nail holes, a quick-drying spackling paste works well, typically drying in about 30 to 45 minutes. For larger holes, apply a patching compound in thin layers.
Remember to use a putty knife for an even layer and tap down any protruding paper before filling.
Conclusion
Just like a skilled gardener nurtures a budding plant, you’ve cultivated your drywall repairs into something beautiful. With each step, you’ve transformed unsightly damage into a seamless canvas, ready for the touch of color. Remember, patience and precision are your best tools, much like a gardener’s gentle hands. As you step back and admire your work, know that you’ve not only fixed drywall—you’ve crafted a masterpiece that will stand the test of time. Keep nurturing your skills!