
To refinish an old wooden table, start by evaluating its condition. Clean the surface thoroughly, then apply a chemical stripper and gently scrape off the old finish. Sand the table with progressively finer grits of sandpaper to prepare for staining. Afterward, apply your chosen stain, followed by several coats of protective finish, allowing each coat to dry in between. With proper maintenance, your table will shine for years to come. There's more to discover about this process!
Key Takeaways
- Assess the table's condition and clean the surface thoroughly before starting the refinishing process.
- Use a chemical stripper to remove the old finish, applying it in small sections for effective results.
- Sand the wood in the direction of the grain, starting with 150-grit and finishing with 220-grit sandpaper for a smooth surface.
- Apply a high-quality protective coating like polyurethane in thin layers, sanding lightly between each coat for optimal durability.
- Maintain the table by cleaning regularly, using coasters, and reapplying protective coat every few years to preserve its finish.
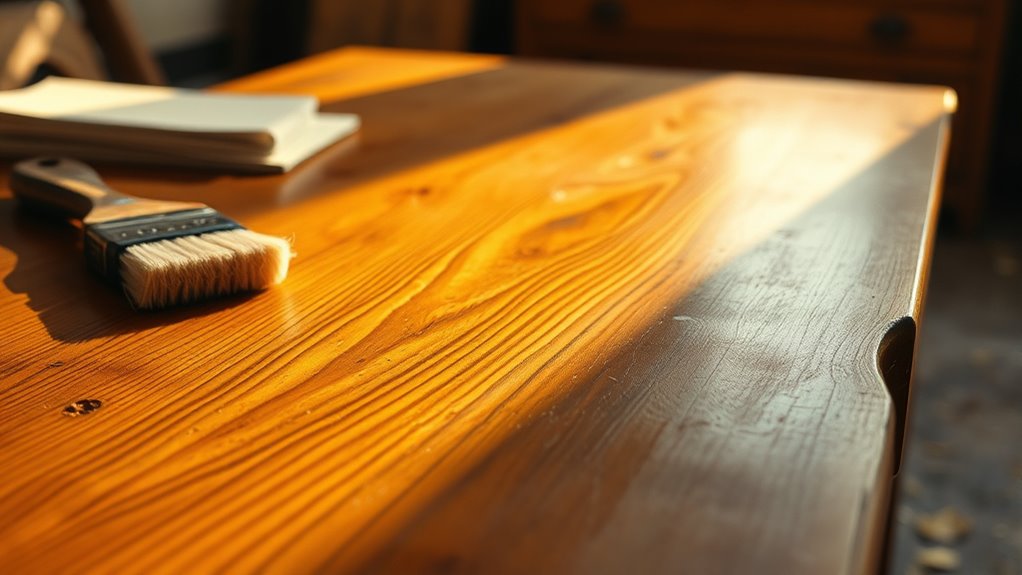
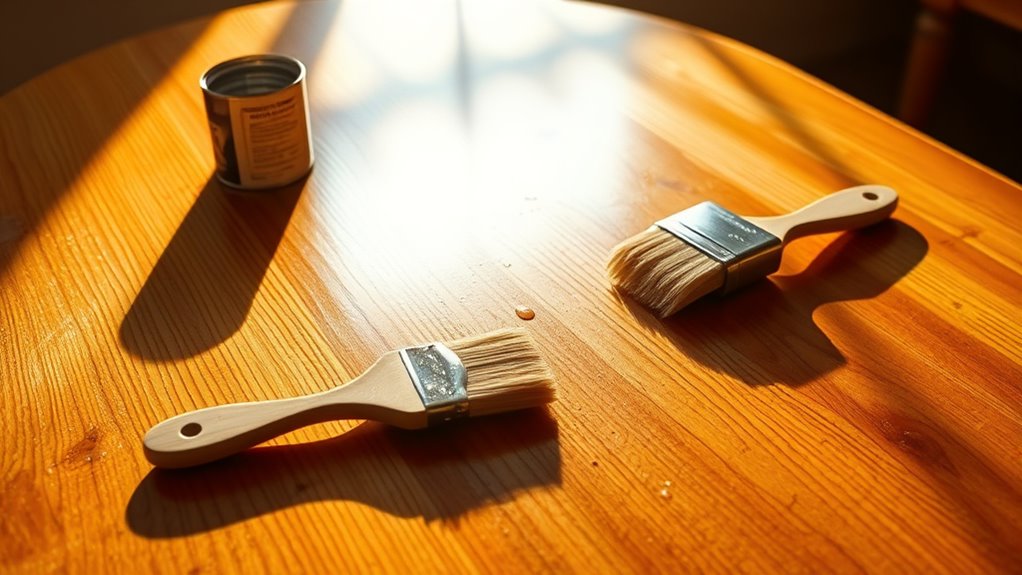
Supplies Needed to Refinish an Old Wooden Table
When refinishing an old wooden table, you'll need several key supplies to secure a successful project.
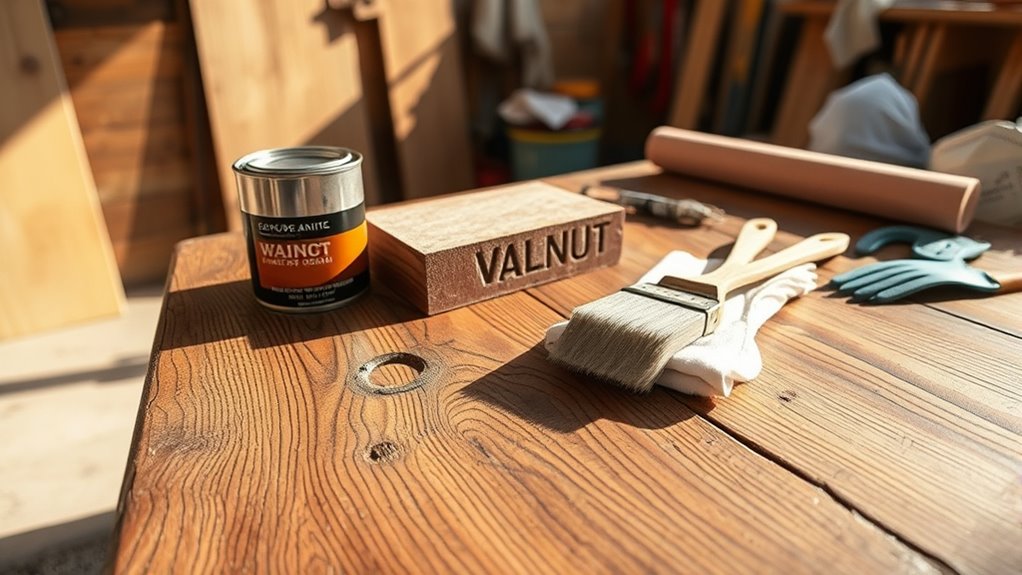
Start with a chemical stripper like Klean Strip or Citristrip to remove the old finish. A putty knife or scraper will help with that process.
You'll also want sandpaper in varying grits—80, 150, and 220—for effective surface preparation, and an orbital sander can make this easier.
Don't forget your safety gear, including nitrile gloves, a respirator, and closed-toe shoes, to protect yourself from hazardous materials.
For finishing, gather quality wood stains such as Minwax Dark Walnut and a topcoat like polyurethane.
Finally, keep wood conditioner on hand to guarantee an even application of stain. Clean rags and a spray bottle with water will also be useful.
Step 1: Assessing the Condition of Your Table
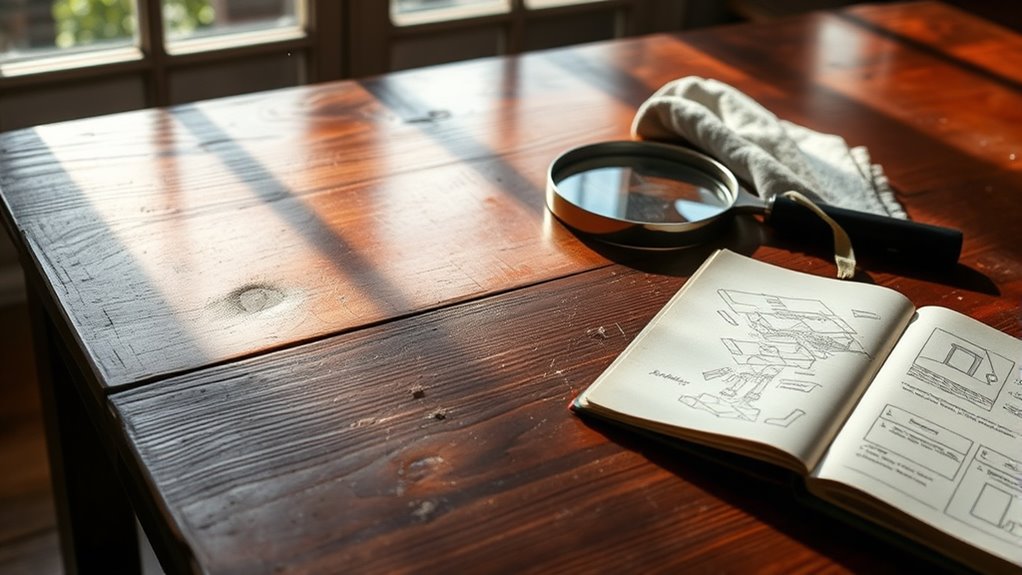
Before diving into the refinishing process, you should carefully assess your table's condition to determine the level of work required.
Start by examining the surface for any signs of damage, such as cracks, scratches, or water rings. These factors will guide your refinishing efforts.
Identify if your table is solid wood or veneer—solid wood can handle multiple refinishing sessions, while veneer may not.
Check the existing finish type; some finishes require specific stripping methods.
Take a close look at the wood grain and overall structure, as intricate designs need careful handling to avoid damage.
Finally, note any previous repairs or alterations, as these can influence your refinishing approach and the final appearance of your table.
Step 2: Cleaning the Surface
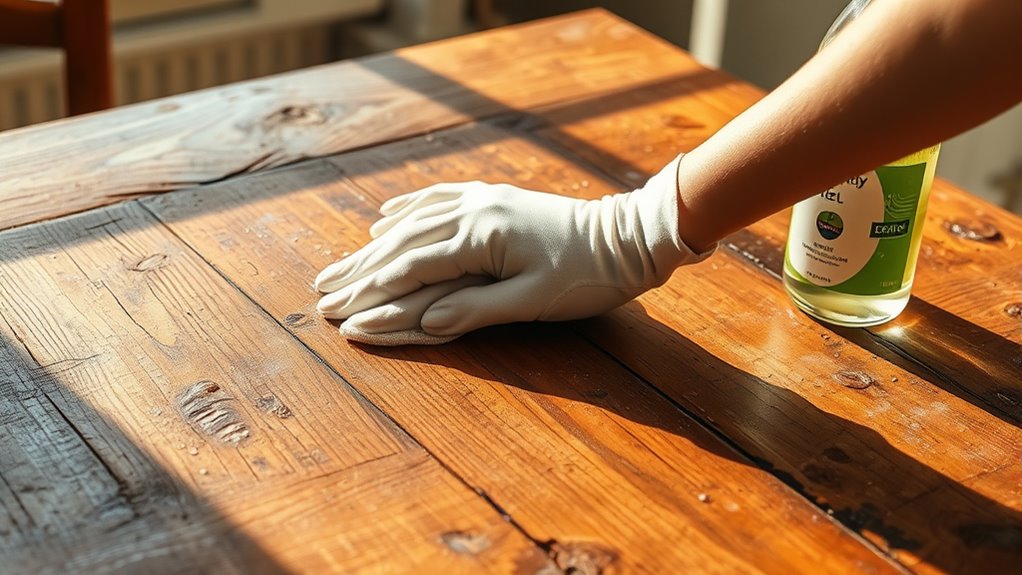
Cleaning the surface of your old wooden table is an essential step that sets the foundation for a successful refinishing project.
To start, you'll want to thoroughly clean the surface using a mixture of soap and water. This will help remove dirt, oil, and grease that could interfere with the refinishing process.
Thoroughly clean the surface with a soap and water mixture to remove dirt, oil, and grease before refinishing.
Use a soft cloth with an all-purpose cleaner to effectively tackle grime without scratching the wood. After washing, rinse the table with clean water to eliminate any soap residue.
Once you've done this, allow the surface to dry completely for at least a few hours for ideal results.
Finally, inspect the cleaned surface for any remaining imperfections like scratches or dents that need addressing before moving forward.
Step 3: Stripping the Old Finish
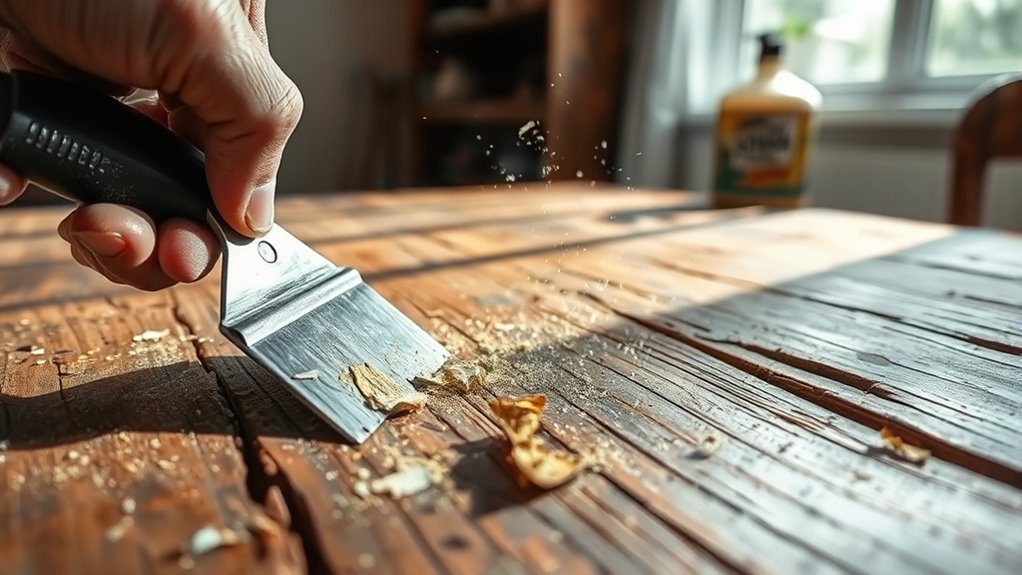
Stripping the old finish from your wooden table is crucial for achieving a smooth, fresh surface.
Start the stripping process by applying a generous layer of chemical stripper, like Citristrip, with a chip brush. Let it sit for 10-15 minutes to activate and soften the old finish. Work in small sections to prevent the stripper from drying out.
Gently scrape off the softened finish using a metal or plastic scraper, always scraping in the direction of the wood grain. For stubborn spots, reapply stripper and use steel wool to lift the remaining finish.
After scraping, neutralize residual stripper with a damp rag and inspect the surface thoroughly to confirm all old finish is removed before moving on.
Step 4: Sanding the Table
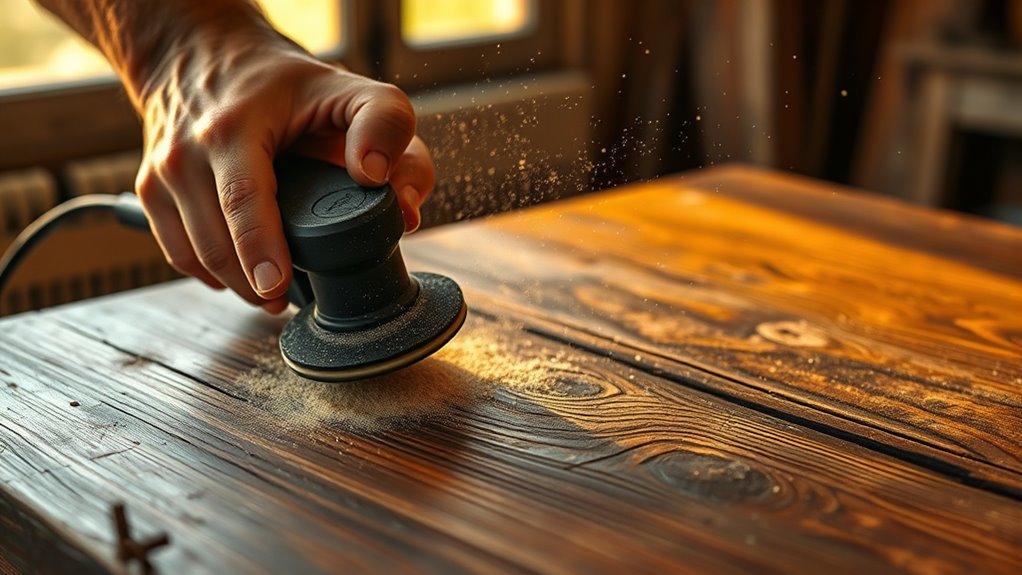
Sanding the table is a critical step in the refinishing process that helps achieve a smooth, even surface.
After allowing the wood surface to dry for 24 hours, start with 150-grit sandpaper to remove any remaining traces of the old finish. For larger flat areas, use an orbital sander for efficiency, while hand sanding is best for intricate details. Always sand in the direction of the grain of the wood to avoid scratches.
- Use coarse sandpaper first, then switch to 220-grit for a finer finish.
- Inspect the surface thoroughly after sanding.
- Verify no finish remains before you move on.
This careful sanding will prepare your table for its new coat of stain or finish.
Step 5: Preparing for Staining or Painting
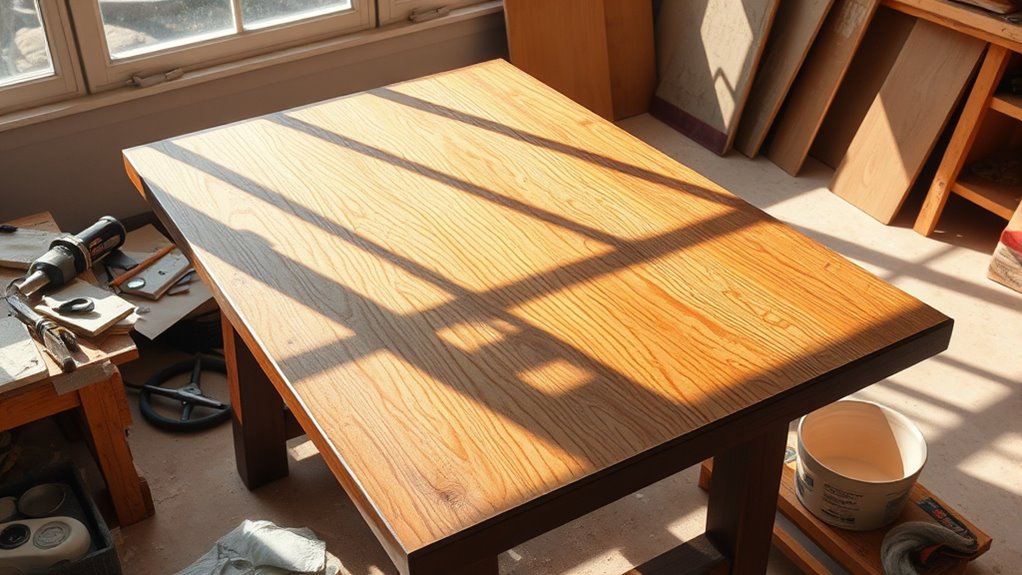
Once the table is sanded to perfection, it's time to prepare the surface for staining or painting.
First, make certain you thoroughly clean the sanded surface with a wet rag to remove all dust and debris. This step is essential for achieving a smooth finish.
Allow the wood to dry completely for a few minutes to prevent moisture from affecting the adhesion of your stain or paint. Run your hand over the surface to check for smoothness; if you find any rough spots, sand the surface again.
If you're using a coat of stain, don't forget to apply a wood conditioner beforehand to promote even absorption and avoid blotchiness.
This preparation will guarantee great results!
Step 6: Applying Stain or Paint
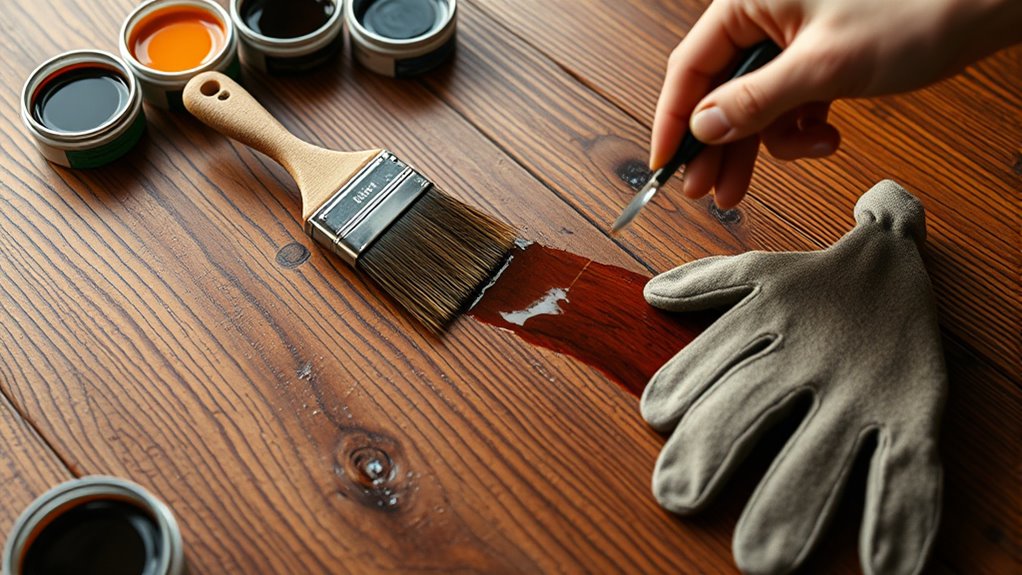
Now it's time to choose the right stain or paint that suits your table's style.
You'll want to use proper application techniques to guarantee a smooth finish, so pay attention to how you apply it.
Choosing the Right Stain
How do you guarantee your old wooden table gets the perfect finish? Choosing the right stain is essential for enhancing your wood furniture's original grain. Here are some tips to help you select the best stain:
- Consider the wood type and desired color. For instance, Minwax Dark Walnut provides a rich hue perfect for hardwoods.
- Test the stain on a small area. This way, you can see how the wood reacts and ascertain it meets your expectations.
- Be mindful of drying time. Typically, you'll need to wait 1-2 hours before applying another coat for a deeper color.
Remember to use a wood conditioner on softwoods to prevent blotchiness, and always apply your stain with a clean, lint-free rag. Additionally, certain types of wood, like oak or maple, are known for their ability to take stains well and highlight the grain beautifully.
Application Techniques Overview
After selecting the perfect stain, the next step is applying it to your old wooden table. Use a clean rag or sponge brush for even distribution, applying in the direction of the wood grain. This technique helps achieve a natural finish.
If you're working with softwoods, consider using a wood conditioner beforehand to prevent blotchiness. Once your first coat is applied, allow it to dry—typically 1-2 hours—then lightly sand the surface with 220-grit sandpaper. This enhances adhesion for future coats and guarantees a smoother finish.
Always test the stain on a small area first to confirm the color and finish meet your expectations. Following this application techniques overview will set the stage for your refinishing project.
Multiple Coats Importance
Applying multiple coats of stain or paint is crucial for achieving a rich, uniform color on your old wooden table. Each coat enhances the overall finish and allows you to adjust the shade to your liking.
For ideal results, consider these key steps:
- Allow each coat to dry completely, following manufacturer's instructions.
- Sand lightly between coats with fine-grit sandpaper (220 grit) to improve adhesion.
- Aim for at least two to three coats, especially in high-use areas, to guarantee a durable protective layer.
The final coat not only adds depth but also acts as a protective layer, preventing moisture penetration and wear.
This process ensures your table looks stunning and lasts for years to come.
Step 7: Finishing With Protective Coats
Now that your table's stained or painted, it's time to protect your hard work with the right finish.
You'll want to choose a suitable protective coating and apply it carefully to guarantee durability.
Let's look at the best techniques and tips for achieving a smooth, long-lasting finish.
Selecting Protective Coating Type
Choosing the right protective coating for your refinished wooden table can make all the difference in preserving its beauty and functionality. A water-based finish, like polyurethane, is a great choice due to its durability and low odor.
Here are some key points to take into account:
- Apply three to four thin coats for ideal protection.
- Sand lightly with 320-grit sandpaper between each coat.
- Allow proper curing time of 30 days before heavy use.
For a matte finish, think about using a hard wax oil or matte water-based polyurethane to maintain the wood's natural look.
Confirm compatibility with your stain to avoid negative reactions. Additionally, using a HEPA filter in your home can help reduce airborne pollutants while you work on your refinishing project. By selecting the right protective coating, you'll enhance both the longevity and appearance of your table.
Application Techniques and Tips
With the right protective coating selected, it's time to focus on application techniques that guarantee a flawless finish.
Start by stripping the old finish to facilitate proper adhesion. When you apply protective coats, use a high-quality polyurethane or polycrylic, applying in thin layers to prevent bubbles.
After each coat, sand lightly with 320-grit sandpaper to maintain a smooth surface. It's crucial to allow each coat to dry thoroughly according to the manufacturer's instructions—usually a couple of hours—before applying the next.
Aim for three to four coats for peak durability. Finally, let the final finish cure for at least 30 days before exposing the surface to heavy use or moisture, ensuring maximum hardness and longevity.
Daily Maintenance Tips for Your Refinished Table
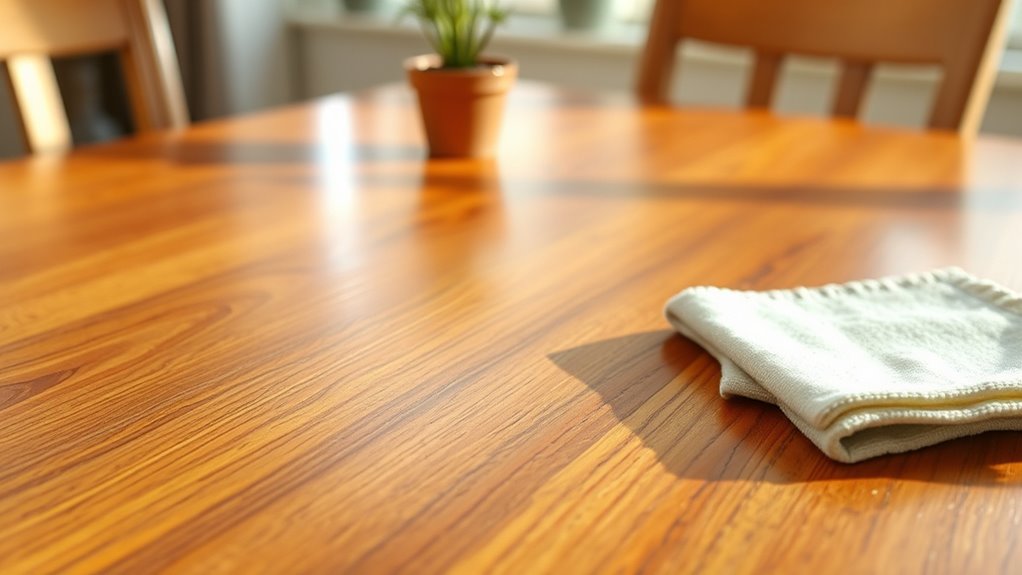
Maintaining the beauty of your refinished table requires regular attention to keep it looking its best. To guarantee your table stays in top shape, follow these daily maintenance tips:
- Clean the surface regularly with a mild soap and warm water solution to avoid dirt buildup that can damage the finish.
- Protect the table by using coasters and placemats to guard against heat, moisture, and scratches from dishes.
- Check for signs of wear and consider reapplying a protective coat of polyurethane every few years to maintain its appearance.
Remember to wipe up spills immediately with a soft cloth to prevent moisture from seeping into the wood.
Troubleshooting Common Refinishing Issues

Even after careful refinishing, issues can sometimes arise that affect your table's appearance and durability.
If you notice an uneven application of stain, sand the area lightly with fine-grit sandpaper and reapply the product carefully for a uniform look.
For stubborn scratches, grab a touch-up stain that matches the original color to fill in imperfections seamlessly.
A cloudy finish typically results from moisture trapped under the topcoat; allow it to dry completely, then sand lightly before applying a fresh coat.
If the wood has an undesirable color, test different stains on a hidden area first.
For chipping or peeling, sand the affected areas gently, clean up dust, and apply a compatible topcoat to restore protection and aesthetics.
Additionally, maintaining an organized workspace can enhance focus and minimize distractions during the refinishing process, aligning with the mental and emotional benefits of decluttering.
Frequently Asked Questions
What Is the Easiest Way to Refinish a Wood Table?
The easiest way to refinish a wood table is by using a chemical stripper like Citristrip.
You'll apply the stripper, then scrape off the softened finish.
Next, grab some 80-grit sandpaper to get rid of any leftover residue, and follow up with 180-grit for smoothness.
Don't forget to use a wood conditioner before staining to guarantee even color.
Finally, finish with a water-based polyurethane for durability, applying multiple thin coats.
How Do You Make an Old Wood Table Look New?
Did you know that refinishing old furniture can increase its value by up to 300%?
To make your old wood table look new, start by cleaning it thoroughly to remove dirt and grease.
Next, use a chemical stripper to remove the old finish, then sand the surface progressively for smoothness.
Choose a complementary wood stain and apply it evenly.
Finally, protect your work with a clear topcoat, and you'll have a beautiful, refreshed table!
How Do You Restore a Weathered Wood Table?
To restore a weathered wood table, you'll want to start by cleaning the surface with soap and water.
After that, use sandpaper to remove the old finish, working with the grain.
Check for any damage and fill cracks with wood filler if needed.
Once that's dry and smooth, apply a wood stain that suits your style.
Finally, seal your work with a protective clear coat for durability and a polished look.
Should I Sand or Strip My Dining Table?
You should consider both sanding and stripping for your dining table.
Stripping can effectively remove the old finish without damaging the wood, while sanding helps smooth out any remaining imperfections.
Start with a chemical stripper to take off most of the finish, then use 80-grit sandpaper to tackle stubborn spots.
Remember to sand with the grain for the best results, and finish with finer grits for a smooth surface before applying new stain or finish.
Conclusion
Refinishing your old wooden table can breathe new life into it, making it as beautiful as a freshly bloomed flower. By following these steps, you'll not only restore its charm but also create a piece that reflects your style. Remember, regular maintenance will keep it looking great for years to come. If you encounter any issues, don't hesitate to troubleshoot—every project has its challenges. Enjoy your stunning, revitalized table!