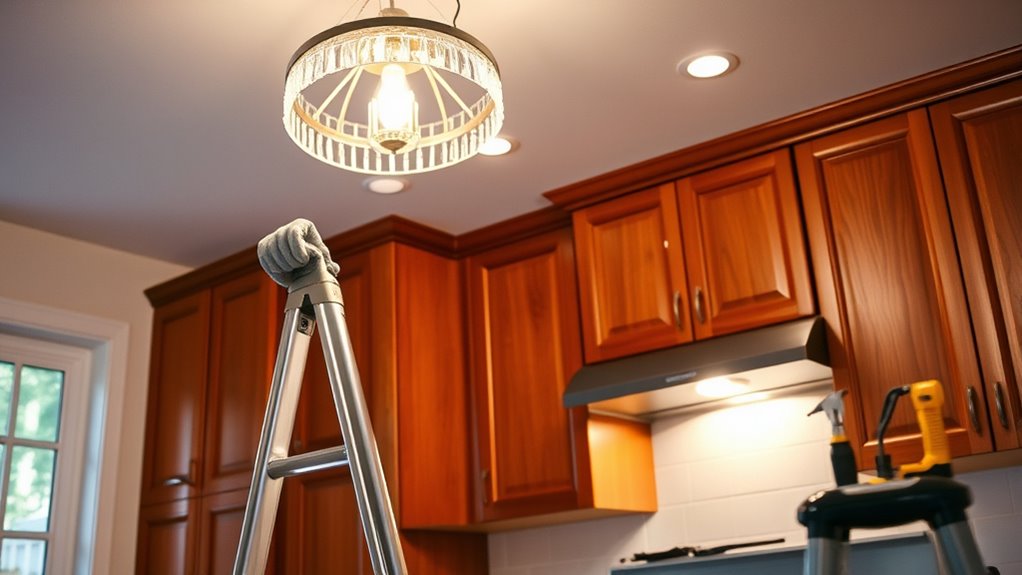

To replace a light fixture safely, start by turning off the power at the circuit panel and using a voltage tester to confirm it’s off. Gather your tools: screwdrivers, wire connectors, and more. Carefully remove the existing fixture, noting the wiring connections. Attach the new fixture per the manufacturer’s instructions, making certain secure wire connections. Restore power and test the installation. If you encounter issues, troubleshooting steps can help make sure everything’s functioning properly.
Key Takeaways
- Always turn off the power at the circuit breaker and use a voltage tester to confirm there is no electrical current before starting work.
- Wear safety goggles to protect your eyes from debris and ensure you use a sturdy ladder for safe access to high fixtures.
- Document existing wiring connections with a photo or notes for reference, ensuring proper reconnection during the installation of the new fixture.
- Securely attach the new fixture to the mounting bracket and double-check that all wire connections are tight and properly insulated.
- After installation, restore power and test the fixture to confirm proper operation, addressing any issues with connections or bulb compatibility.
Tools Required for Light Fixture Replacement
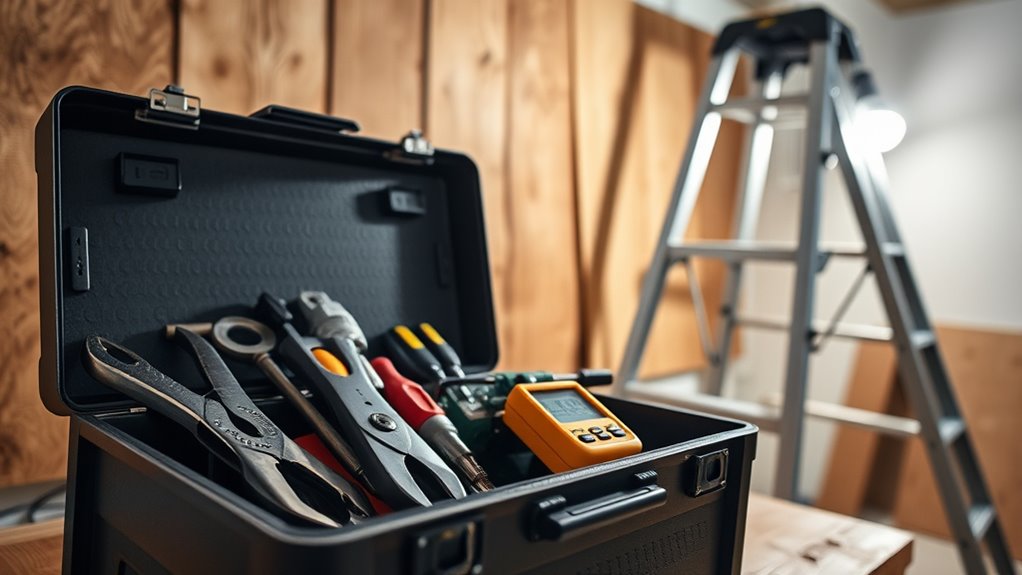
When you’re ready to replace a light fixture, having the right tools on hand makes the job much easier.
Start with a voltage tester to verify no electrical current is present. You’ll need screwdrivers—both Phillips and flathead—or a cordless drill to remove fasteners quickly.
Begin your project with a voltage tester to ensure safety, then grab your screwdrivers or cordless drill for quick fastener removal.
Wire connectors are essential for securely joining your new fixture’s wiring with the existing electrical wires in the ceiling.
Needle nose pliers can help manipulate wires, especially in tight spaces, making it easier to twist those connectors onto the fixture wires.
Finally, a step stool is necessary for safely reaching high ceilings, guaranteeing you maintain stability during the installation.
Keep your workspace clear and use a container for small screws to stay organized throughout the project.
Safety Precautions Before Starting
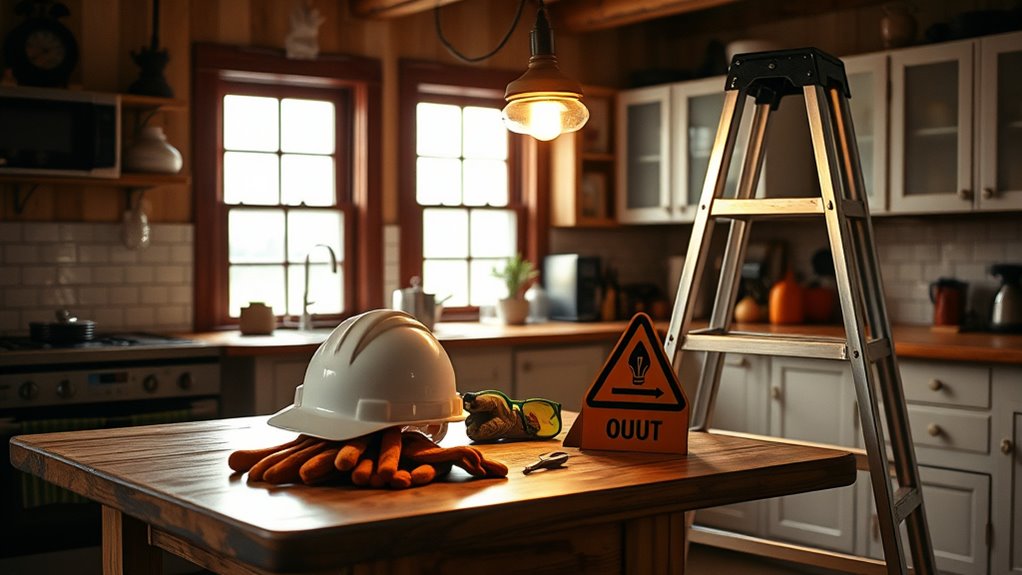
Before diving into your light fixture replacement, it’s important to prioritize safety. Follow these precautions to guarantee a smooth process:
| Safety Step | Purpose | Reminder |
|---|---|---|
| Turn off the power | Prevent electric shock | Always check the breaker |
| Use a voltage tester | Confirm power is off | Test before touching wires |
| Wear safety goggles | Protect eyes from debris | Keep them on during work |
| Use a sturdy ladder | Guarantee stability and prevent falls | Set it on level ground |
Additionally, keep a first aid kit nearby. Being prepared for accidents helps you stay safe while working on your light fixture. Prioritize these steps, and you’ll mitigate risks effectively.
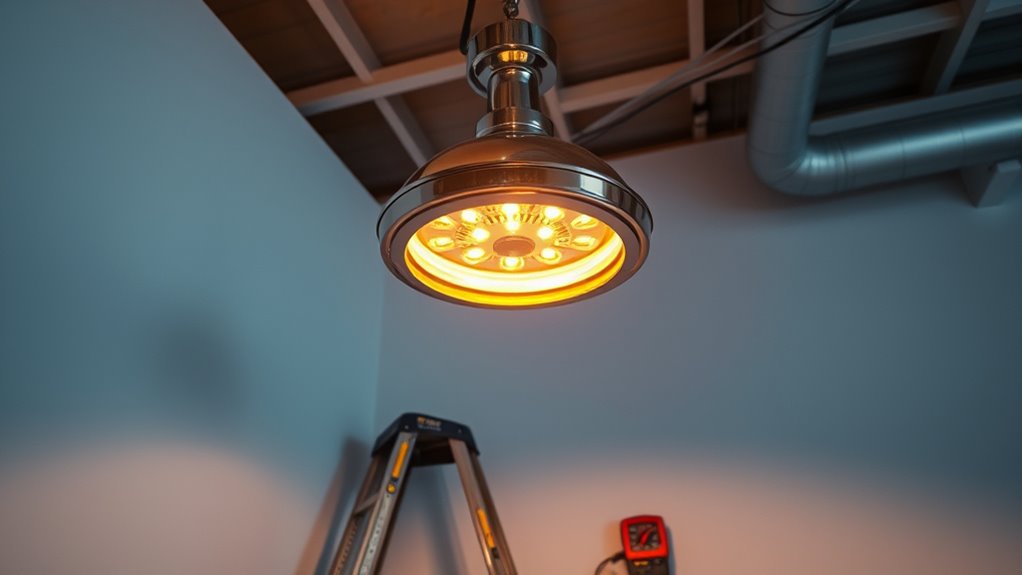
Turning Off the Power

Turning off the power to your light fixture is vital for safety during installation. Start by locating your electrical circuit panel and identifying the designated circuit breaker for the room. Flip this breaker to the “off” position to cut the power to your light fixture.
To guarantee the power is truly off, use a voltage tester on the fixture’s wires after switching off the breaker. This step is essential for confirming no electrical current is present. For additional safety, don’t forget to turn off any wall switches associated with the fixture.
If your circuit breakers aren’t labeled, turn on the existing light and switch off each circuit one by one until the light goes out, then label the breaker for future reference.
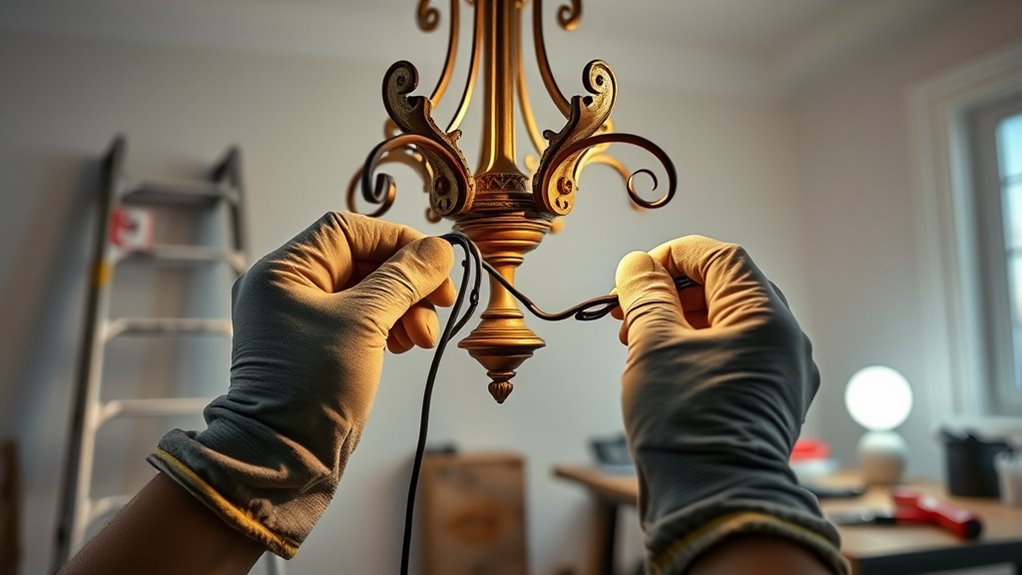
Removing the Existing Light Fixture
Before you start removing the existing light fixture, make certain you’ve turned off the power and confirmed it’s safe.
It’s vital to document the wiring connections by either taking a picture or jotting them down for reference later.
This way, you’ll keep everything organized and guarantee a smoother installation of your new fixture.
Safety Precautions First
When you’re ready to remove the existing light fixture, ensuring safety is your top priority. First, turn off the power at the circuit breaker to prevent electrical shock.
After that, grab a voltage tester to confirm no current is present in the wires. With the power off, carefully detach any removable components like light bulbs and decorative covers, placing loose screws in a plastic bag for safekeeping.
It’s essential to handle everything gently to avoid damage. While you’re at it, take note of the existing wiring connections, either by writing them down or snapping a picture.
Following these safety precautions will help you safely and effectively prepare for the installation of your new fixture.
Document Wiring Connections
To guarantee a smooth changeover to your new light fixture, documenting the wiring connections is essential. Before removing the old fixture, take a clear photo or jot down the wiring configuration for reference. Make sure the power is off and verify with a voltage tester. Carefully untwist the wire connectors, noting that black connects to black, white to white, and green or bare is your ground wire. If there are multiple wires, label them with tape to simplify installation later. Keep any loose screws or connectors in a bag to avoid losing them.
| Wire Color | Connection Type | Note |
|---|---|---|
| Black | Hot | Connect to black |
| White | Neutral | Connect to white |
| Green/Bare | Ground | Connect to ground wire |
| Red | Second hot | If applicable |
| Other | Additional | Label for reference |
Preparing for the New Fixture Installation
Before you start installing the new light fixture, make certain you’ve got all the necessary tools handy, like a voltage tester and screwdrivers.
Take a moment to read through the manufacturer’s installation instructions to verify you’re on the right track.
This preparation will help you avoid any mistakes and keep your project running smoothly.
Gather Necessary Tools
Gathering the right tools is essential for a successful light fixture installation. Start by collecting a voltage tester to guarantee safety, along with screwdrivers (flathead and Phillips) for securing the fixture.
Don’t forget wire strippers and connectors, as you’ll need them for electrical connections. A pair of needle nose pliers will also come in handy. Make sure you have a sturdy ladder or step stool to safely reach the ceiling fixture.
Before you begin, check that your new light fixture includes all necessary hardware like mounting brackets and screws. Organize your workspace by laying out all components and double-checking the manufacturer’s instructions to streamline the installation process.
With the right tools, you’re ready to proceed confidently.
Read Installation Instructions
Reading the manufacturer’s installation instructions is essential for a smooth light fixture replacement, as it helps you understand specific requirements and safety precautions. Make certain to pay close attention to compatibility notes about your new fixture and existing wiring. Diagrams in the instructions can be invaluable for wiring connections and assembly. Here’s a quick reference table for your preparation:
| Step | Action | Notes |
|---|---|---|
| 1. Read Installation | Thoroughly review the manual | Understand specific needs |
| 2. Gather Tools | Collect necessary tools | Check manufacturer instructions |
| 3. Identify Materials | List required materials | Confirm you have everything |
| 4. Follow Safety | Adhere to safety precautions | Use insulated tools |
| 5. Check Compatibility | Verify fixture compatibility | Important for successful setup |
Wiring Connections Explained
When you’re ready to connect the wires for your new light fixture, it’s important to match the correct colors to guarantee a safe and functional installation.
Connect the black wires from the fixture to the black wire in the electrical box, and the white wire to the white wire. If your fixture has a grounding wire, connect it to the grounding screw or copper wire for safety.
Before making these connections, strip about 3/4 inch of insulation from the ends of the wires. Use wire connectors to twist the wires together tightly, ensuring no exposed ends remain.
Finally, double-check all connections by gently tugging on the wires to confirm they’re secure and won’t come loose during your electrical project.
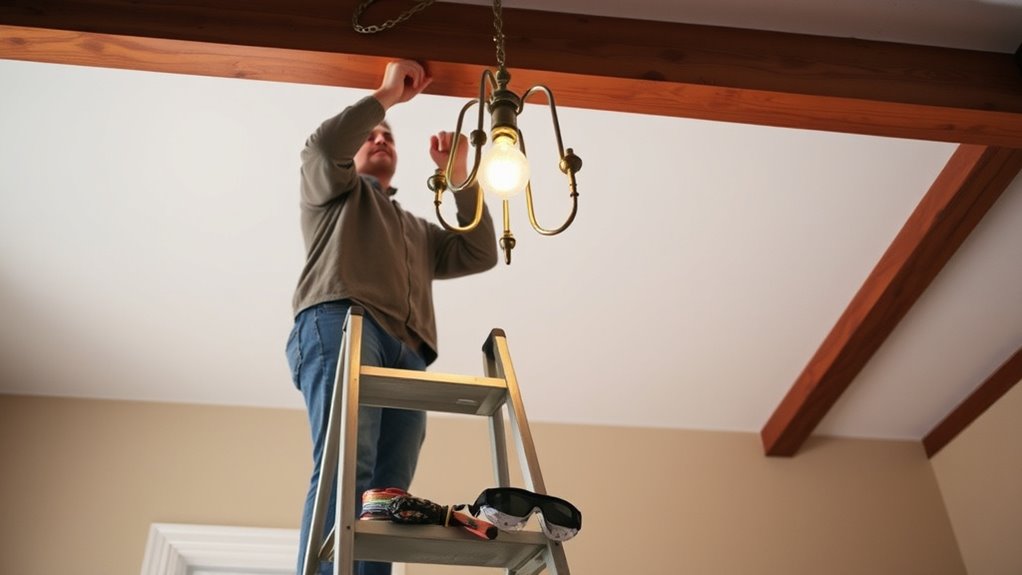
Installing the New Light Fixture
Start by measuring and cutting the wires of your new light fixture to an additional 8-10 inches for proper connections.
Next, securely attach the new mounting bracket to the electrical box, ensuring it can support the fixture’s weight.
Now, connect the ceiling wires to the fixture wires: match black to black and white to white.
Don’t forget to attach the grounding wire to the grounding screw or copper wire.
Carefully push the connected wires into the electrical box, following the manufacturer’s instructions to secure the fixture in place.
After installation, reinstall the light bulbs and turn the power back on at the circuit panel to test the functionality of your newly installed light fixture.
Securing and Adjusting the Fixture
Secure the light fixture by tightening all screws and bolts by hand, making certain not to over-tighten them to prevent any damage.
After securing, check these key aspects:
- Confirm the fixture is firmly attached to the mounting bracket.
- Verify that all wire connections are properly secured with wire nuts.
- Adjust the fixture’s height for ideal lighting and aesthetics.
- Double-check that the fixture is level for even light distribution.
If you’re installing flush-mount fixtures, press them firmly against the ceiling and secure any decorative covers to prevent wobbling.
Taking these steps not only secures the fixture but also enhances its appearance and functionality, guaranteeing a safe and visually appealing lighting solution in your space.
Testing the New Installation
Now that you’ve secured your fixture, it’s time to test your installation.
Turn the power back on at the circuit panel and flip the light switch to see if the new fixture lights up.
If it doesn’t, you’ll need to check the connections to make sure everything is wired correctly.
Power Restoration Check
Once you’ve completed the installation, it’s important to restore power at the circuit panel by switching the circuit breaker back on.
Now, it’s time to test your new light fixture.
- Turn the power on and switch the corresponding wall switch.
- Check if the light fixture emits light to confirm a successful installation.
- If it doesn’t light up, double-check all wiring connections (black to black, white to white, ground to ground).
- Use a voltage tester on the fixture’s wiring to verify power is reaching it.
If issues persist, don’t hesitate to consult a licensed electrician for assistance.
Ensuring safety and compliance with electrical regulations is vital.
Light Function Verification
After restoring power and confirming everything’s connected correctly, it’s time to test your new light fixture. Flip the light switch to see if it illuminates. If it doesn’t, double-check your wiring connections—make sure black is with black, white with white, and ground with ground. Use a voltage tester to confirm power’s reaching the fixture.
| Issue | Action Required |
|---|---|
| Light doesn’t turn on | Check wiring connections |
| Flickering light | Verify fixture compatibility |
| Dimmer not working | Confirm bulbs are compatible with dimmer |
If problems persist, consult a licensed electrician. Addressing issues early can prevent further complications and confirm your new fixture works perfectly with the right light bulbs.
Troubleshooting Common Issues
Troubleshooting common issues with your new light fixture can save you time and frustration. Here are some key points to check:
Troubleshooting your new light fixture can prevent unnecessary delays and ensure a smooth installation process.
- Confirm all wire connections (black to black, white to white, and ground) are secure.
- Verify the circuit breaker is on and the light switch is in the “on” position.
- Check for flickering or dimming; it may indicate loose connections or incorrect bulb wattage.
- Use a voltage tester to confirm power at the fixture.
If your fixture doesn’t turn on, re-examine your connections.
Buzzing sounds could suggest bulb incompatibility.
Frequently Asked Questions
How Do You Change a Light Fixture Without Getting Electrocuted?
To change a light fixture without getting electrocuted, first, turn off the power at the circuit breaker.
Use a voltage tester to verify no current flows through the wires. Wear insulated gloves and use insulated tools for added safety.
Carefully identify and connect the wires correctly—black to black, white to white, and ground to ground.
If you’re unsure about any step, don’t hesitate to consult a licensed electrician for guidance.
How to Change a Light Fixture Safely?
Changing a light fixture safely means ensuring you’re protected and confident.
Start by turning off the power at the circuit breaker—your safety’s the priority. Use a voltage tester to confirm it’s off.
Document existing connections, so you know where everything goes. Strip and connect the new wires, securing them with wire nuts.
Finally, tuck away any loose wires, turn the power back on, and test your new fixture.
You’ve got this!
Do You Need an Electrician to Replace a Light Fixture?
You don’t always need an electrician to replace a light fixture, especially if you’ve got basic electrical skills and understand wiring.
However, if you’re unsure about the compatibility of the wiring or feel overwhelmed, it’s wise to consult a professional.
For complex installations, like heavy fixtures, hiring a licensed electrician is a smart choice to guarantee safety and compliance with local codes.
Investing in a pro can save you headaches down the line.
Do You Have to Turn off Electricity to Change a Light Fixture?
When it comes to changing a light fixture, safety’s no laughing matter.
You’ve got to turn off the electricity at the circuit breaker first. Just flipping the wall switch won’t cut it; the fixture could still be live.
Always double-check with a voltage tester to verify there’s no current in the wires. Neglecting this step can lead to serious accidents.
Conclusion
Replacing a light fixture can seem intimidating, but with the right tools and precautions, it’s a manageable DIY project. Did you know that switching to energy-efficient light fixtures can reduce your energy consumption by up to 75%? By following these steps, you not only brighten your space but also save on your electricity bills. So go ahead, tackle that fixture replacement, and enjoy the benefits of a well-lit and energy-efficient home!