
To reupholster a chair in one day, start by gathering your tools and materials, including durable upholstery fabric and a staple gun. Remove the existing fabric layer by layer and check the foam for wear. Cut and prepare your new fabric, ensuring it’s ironed and properly measured. Secure the new fabric with a staple gun, add decorative trim for flair, and finish with final touches like a dust cover. There’s plenty more to learn about each step!
Key Takeaways
- Gather all necessary tools and materials beforehand to streamline the process and avoid delays.
- Remove existing fabric and inspect the chair for structural damage to address any repairs early.
- Measure and cut new upholstery fabric accurately, allowing for excess to ensure a snug fit.
- Secure the new fabric using a staple gun, starting from the center and working outward for even tension.
- Add decorative trim and finish with a dust cover on the underside for a polished look.
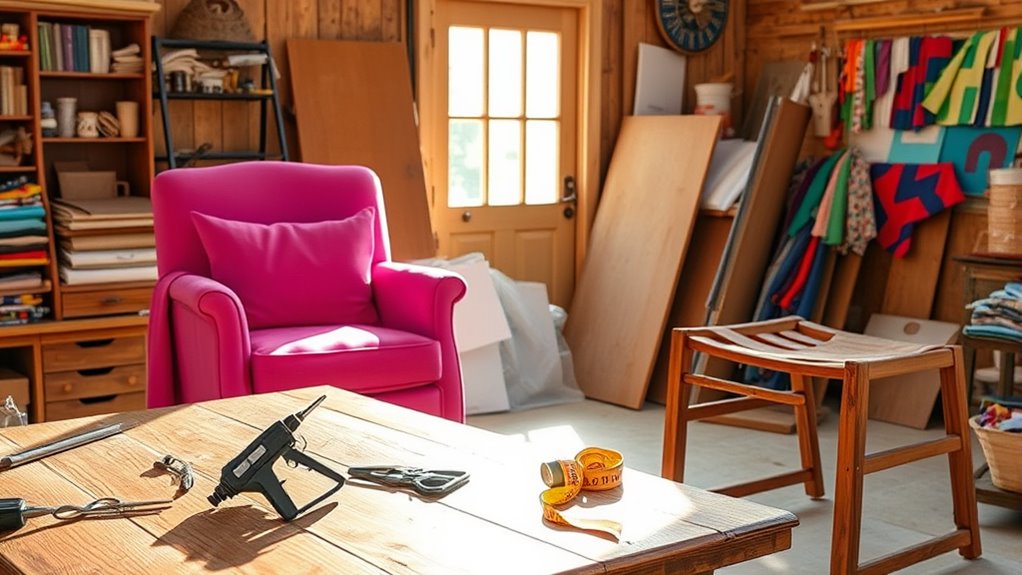
Gather Your Tools and Materials
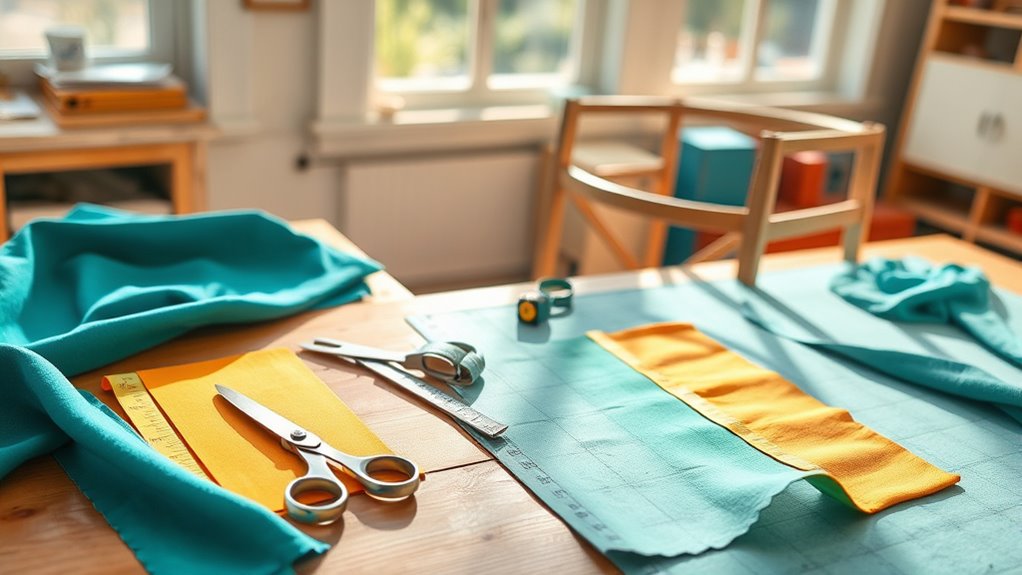
Before diving into your reupholstering project, it’s important to gather all the necessary tools and materials to guarantee a smooth process.
Start by collecting essential tools like a staple gun, fabric scissors, pliers, and a hammer.
Gather essential tools such as a staple gun, fabric scissors, pliers, and a hammer for a successful reupholstering project.
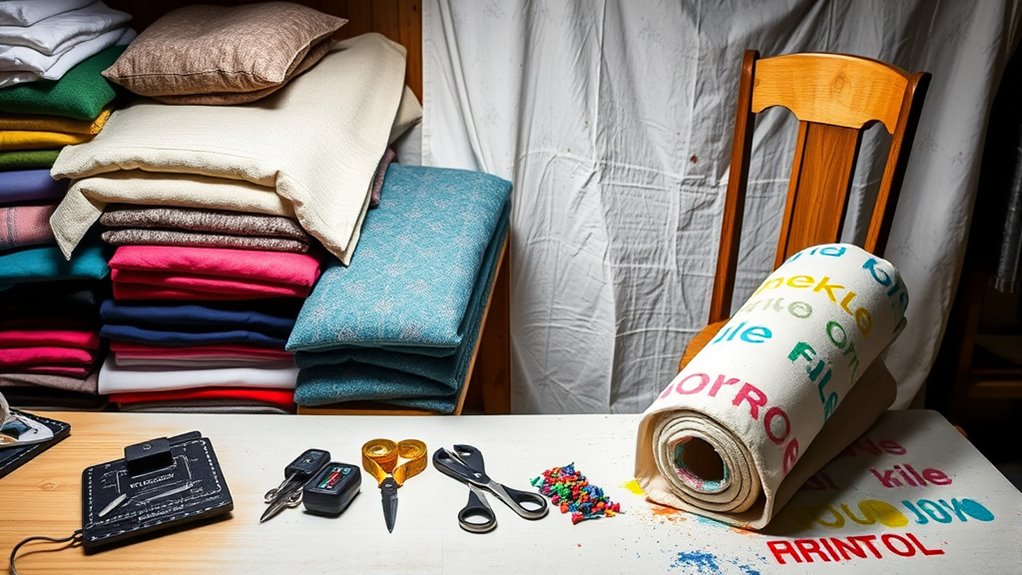
Don’t forget to pick up durable upholstery-grade fabric, making sure to account for 20% extra for adjustments.
You’ll also need extra supplies such as batting and decorative tacks, along with a black breathable fabric to finish off the edges.
If you lack basic tools, consider investing in a DIY upholstery tool kit to make sure you’re fully equipped.
Finally, focus on workspace preparation with adequate lighting and surface protection to make your reupholstering experience efficient and enjoyable.
Remove the Existing Fabric
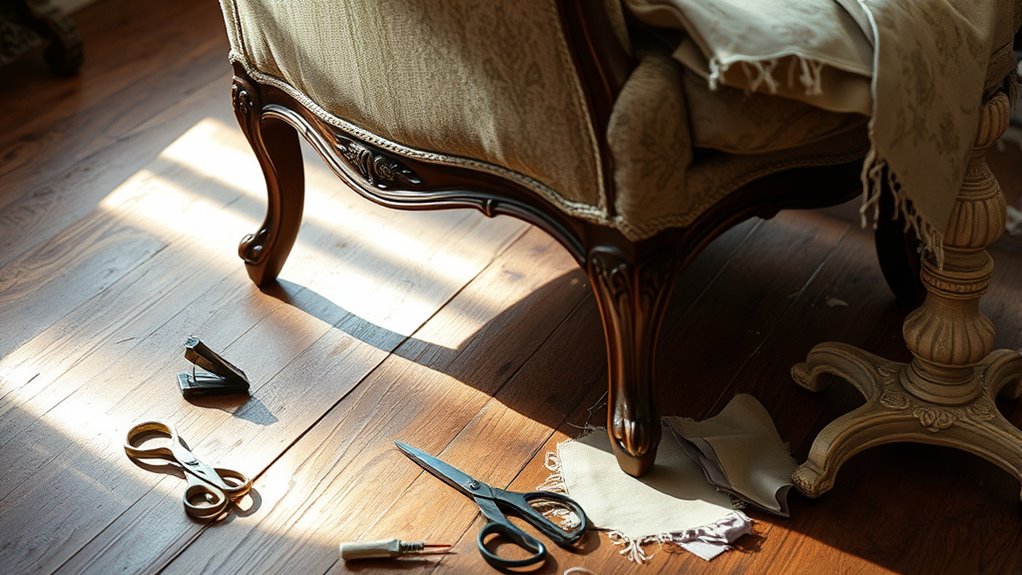
With your tools and materials ready, it’s time to tackle the existing fabric on your chair.
Start by using a staple remover or pliers to carefully extract staples and tacks from the old fabric. Be mindful not to damage the chair frame as you work.
Remove the existing fabric layer by layer, starting with visible tacks and uncovering any hidden staples. Document the process by taking photos, which will help you during reupholstering.
As you remove pieces, label and save any welting or trim to guide your new fabric cuts.
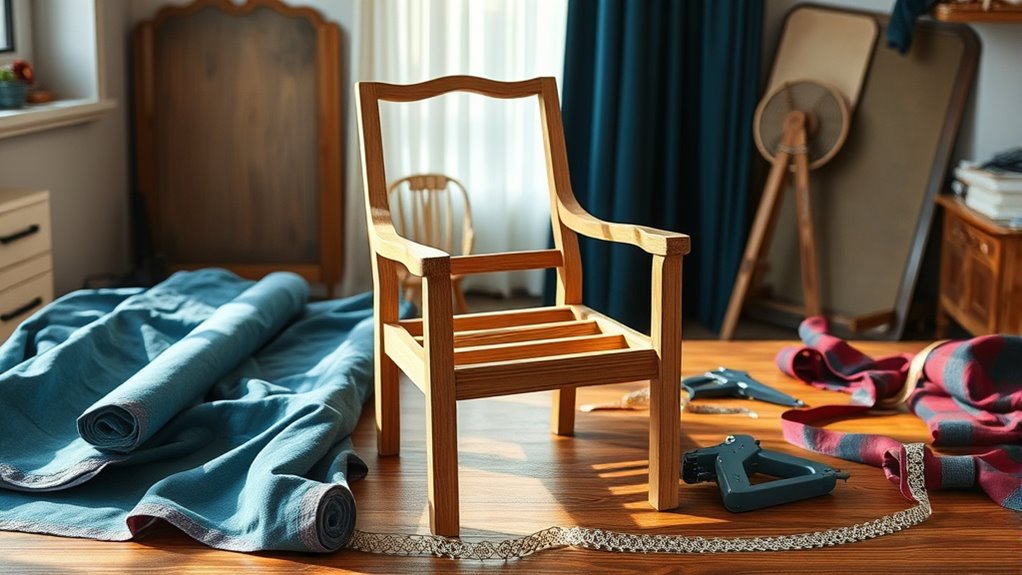
Finally, inspect the chair for any structural damage that might need fixing before you proceed. This step is essential for a successful reupholstering project.
Assess and Replace Upholstery Foam
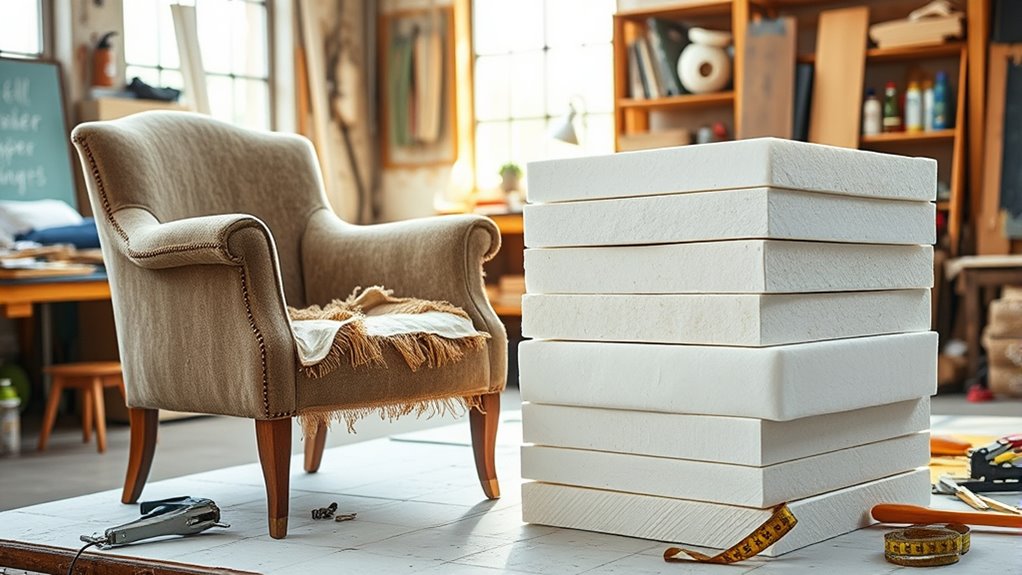
Now that you’ve removed the existing fabric, it’s time to assess the upholstery foam.
Press down on the foam to check its firmness; if it feels flat or crumbles, you’ll need to replace it.
Choosing the right high-density foam will guarantee your chair is comfortable and supportive for years to come.
Evaluating Foam Condition
Evaluating the foam condition of your chair is essential for guaranteeing comfort and longevity. Look for signs of wear like sagging, tears, or discoloration, which indicate it’s time to replace foam. Ideally, upholstery foam should be at least 1/2-inch thick, with high-density foam recommended for durability. If the foam crumbles when compressed, it’s deteriorated, jeopardizing your chair’s structural integrity. Additionally, consider how the color accuracy of the upholstery fabric can enhance the overall aesthetic of your reupholstered chair.
Before buying new foam, measure the existing foam pieces to guarantee a proper fit, considering excess trimming for snugness. Using upholstery poly wrap or batting over the foam can enhance softness and appearance.
| Signs of Wear | Action Needed |
|---|---|
| Sagging | Replace foam |
| Tears | Replace foam |
| Discoloration | Replace foam |
| Brittle or Crumbly | Replace foam |
Selecting New Foam
After checking the foam condition and identifying the need for replacement, it’s time to select new upholstery foam that meets your chair’s requirements.
Opt for high-density foam, ideally at least 1.8 pounds per cubic foot, to guarantee durability and support.
First, measure the seat and back dimensions accurately; adding an extra inch to each measurement can help achieve a snug fit.
For added comfort, consider layering upholstery poly or batting over the foam before covering it with fabric. This creates a smoother surface and enhances seating comfort.
Finally, secure the new foam in place with spray adhesive to prevent shifting and guarantee everything stays put under the new upholstery.
Cut and Prepare New Fabric
Now that you’ve chosen your fabric, it’s time to measure and cut it accurately for a perfect fit.
Remember to add a couple of inches for flexibility and guarantee clean edges by using fabric scissors.
Don’t forget to iron out any wrinkles for a polished look before you start applying it to your chair.
Choosing Suitable Fabric
When selecting fabric for your chair reupholstery project, what should you consider to secure a successful outcome?
First, choose upholstery-grade fabric that’s durable, ideally with a rub count between 10,000 and 30,000 for living room chairs. This guarantees longevity for your DIY project.
Always account for an extra 20% of fabric beyond your estimated needs; this accommodates mistakes or adjustments during cutting new fabric.
Use your existing upholstery as a template, leaving 2 to 3 inches of excess fabric around the edges for proper stapling.
Be mindful of pattern alignment—simpler patterns might make your job easier. Additionally, consider energy monitoring features that can help you keep track of energy usage if you choose appliances that require electricity for tools like staple guns.
Measuring and Cutting Fabric
To achieve a perfect fit for your reupholstered chair, you need to measure and cut the fabric carefully. Start by using your existing fabric as a template; lay the pieces flat on the new fabric and trace around them. Remember to cut 2 to 3 inches larger to allow for flexibility. If your fabric has a pattern, take your time aligning it properly before cutting. For curves, make small cuts or notches to guarantee a snug fit. Iron the fabric beforehand to remove wrinkles, guaranteeing a smooth finish. After cutting, you can use fabric glue to hold pieces together, and don’t forget to trim any excess fabric for a clean look.
| Step | Action | Tips |
|---|---|---|
| 1. Measure | Use existing fabric as a guide | Guarantee accuracy |
| 2. Cut | Cut larger than needed | Allow for mistakes |
| 3. Iron | Remove wrinkles | For a professional appearance |
| 4. Align patterns | Position carefully | Cohesive look |
| 5. Notch curves | Make small cuts | Avoid bunching |
Preparing Fabric Edges
Preparing the edges of your new fabric is essential for a polished reupholstering job. Start by cutting the fabric larger than the original pieces by 2 to 3 inches, allowing for flexibility. Use fabric scissors for precise cutting to achieve clean edges. Before cutting, iron the fabric to remove wrinkles and prevent bunching.
Here are some tips to guarantee accuracy during the upholstery process:
- Mark patterns or seams with a Sharpie or chalk.
- Create corner slits to help the fabric fit snugly around the chair.
- Aim for a professional-looking finish by securing clean edges.
- Double-check your cuts for precision before applying the fabric.
These steps will give your chair a tailored look and enhance the overall appearance.
Attach the New Fabric
Lay the new fabric over the chair, ensuring it’s centered and leaves a 2 to 3-inch excess on all sides for easier handling.
Begin attaching the fabric by using a staple gun to secure it to the chair frame, starting at the center of one side and working outward. This helps maintain even tension without any bunching.
Start securing the fabric with a staple gun from the center, working outward to ensure even tension and avoid bunching.
For the corners, cut slits in the fabric to wrap it neatly around the edges, folding it like you’re wrapping a present.
Once the fabric is secure, trim any excess. To finish, consider using decorative tacks or upholstery nails along the edges for a polished look. Additionally, you might want to create a cozy ambiance by selecting colors or patterns that reflect farmhouse aesthetics.
Finally, staple a breathable black fabric to the underside to conceal raw edges and protect the upholstery.
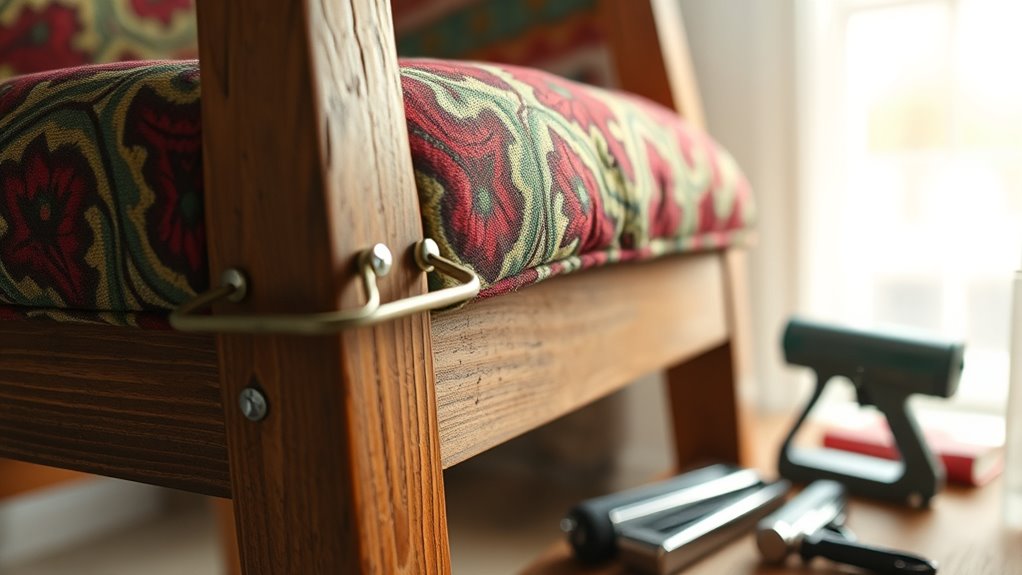
Add Decorative Trim
Adding decorative trim can elevate your chair’s appearance and give it a polished finish. To add decorative trim, start by cutting it to the desired length and securing it along the edges with fabric glue or upholstery tacks.
Begin at a corner, working in sections while pulling the trim taut for a neat appearance.
Consider these options for enhancing design:
- Piping for a streamlined look
- Fringe for a playful touch
- Gimp for a traditional feel
- Tack strips for easy application
For a professional finish, tuck any raw edges under and secure them to prevent fraying.
After attaching the trim, check for loose areas and reinforce them to guarantee durability and longevity of the decorative accents.
Final Touches and Clean-Up
Once you’ve finished upholstering your chair, it’s crucial to focus on the final touches and clean-up to guarantee a professional result.
Start by trimming excess fabric neatly, being careful not to cut into any secured areas. Next, use a piece of calico as a dust cover for the underside, folding raw edges under and securing with staples to conceal them.
Trim excess fabric carefully and use calico as a dust cover, securing it neatly to conceal raw edges.
Inspect the chair thoroughly to verify all screws and staples are clear of fabric, maintaining functionality and safety during use.
Optionally, apply a fabric protector like Scotch Guard to repel stains and keep your upholstery looking fresh.
Finally, clean your workspace by removing all fabric scraps, tools, and materials, maintaining a tidy area for future projects.
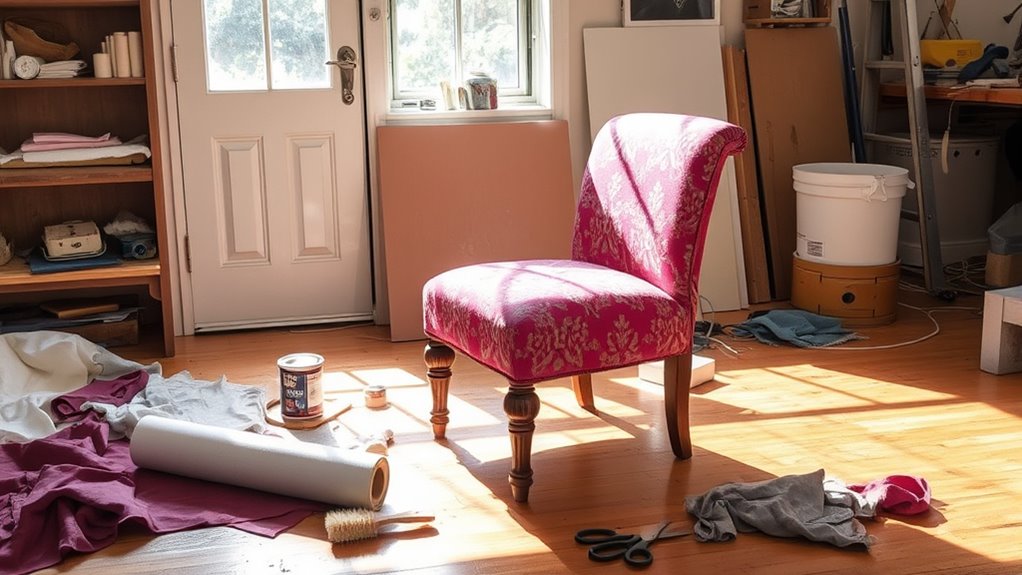
Enjoy Your Refreshed Chair
As you admire the transformation of your chair, you’ll likely feel a sense of accomplishment and pride in your handiwork.
Place your refreshed chair in a prominent spot at home, showcasing your DIY skills. Enjoy the comfort and aesthetic improvements it brings to your space.
Consider these ideas to enhance your transformation further:
- Take photos to document your journey.
- Share your makeover story on social media or DIY forums.
- Create matching accessories, like cushion covers or decorative pillows, using leftover upholstery fabric.
- Engage with a community of enthusiasts for inspiration and feedback.
Frequently Asked Questions
How Long Does It Take to Reupholster a Chair?
Reupholstering a chair can take anywhere from a few hours to a full day, depending on several factors.
If you’ve got a simple drop-in seat, you might finish in about 3 to 5 hours.
However, more complex designs could stretch that time to 6 to 8 hours or even longer, especially if you need to make structural repairs first.
Preparing by gathering your materials can help speed things up and keep you on track.
Is It Hard to Reupholster a Chair Yourself?
You might think reupholstering a chair is hard, but it’s manageable with the right approach.
If you start with simple projects, like drop-in seats, you’ll find it easier to grasp the techniques involved. Gather your tools, choose durable fabric, and follow a clear plan.
While it may take some time to get comfortable, many DIY enthusiasts find the process rewarding and can complete their projects successfully with practice and patience.
How to Reupholster a Chair for Beginners at Home?
Did you know that nearly 70% of DIYers feel more accomplished after completing a home project?
If you’re a beginner looking to reupholster a chair at home, start by gathering essential tools like a staple gun and fabric.
Carefully remove the old upholstery, using it as a template for your new fabric. Measure, cut, and secure your new material tightly to avoid wrinkles, finishing with decorative trim for that polished touch.
What Is the Average Price to Reupholster a Chair?
The average price to reupholster a chair can vary considerably.
For dining room chairs, expect to pay between $150 and $600, depending on fabric and complexity.
Larger pieces like armchairs can cost between $300 and $1,200.
If you’re considering a DIY approach, you might spend $20 to $70 per yard for fabric, plus any additional costs for structural repairs.
Always factor in the durability of the fabric to guarantee your investment lasts.
Conclusion
You’ve transformed your chair, from worn to wonderful, from drab to dazzling. You’ve gathered your tools, removed the old fabric, and replaced the foam, breathing new life into every inch. You’ve cut and prepared the new fabric, attached it with care, and added decorative trim for that perfect finish. Now, as you admire your work, you can sit back, relax, and enjoy the refreshed beauty of your chair. It’s a masterpiece you created in just one day!