
To paint a room like a pro, start by choosing quality paint suited for your space and prep the surfaces thoroughly—clean, sand, tape edges, and apply primer if needed. Use high-quality brushes and rollers, working in small sections with smooth, overlapping strokes, and maintain a wet edge to avoid lap marks. Patience and careful technique are key. Keep going to discover even more expert tips that guarantee a flawless finish.
Key Takeaways
- Select high-quality, appropriate paint and test small patches for color accuracy and lighting effects.
- Properly prepare surfaces by cleaning, sanding, taping, and priming for better paint adherence.
- Use quality brushes and rollers, applying paint in controlled, even strokes with techniques like “W” or “M” patterns.
- Work in small sections with a wet edge, allowing each coat to dry completely before applying the next.
- Pay attention to detail, maintain steady hand movements, and avoid rushing to achieve a smooth, professional finish.
Painting a room can transform your space quickly and affordably, but it requires careful preparation and the right techniques. Before you pick up a brush, you need to consider your paint selection. Choose a high-quality paint suited for your room’s purpose—flat finishes hide imperfections in ceilings and walls, while semi-gloss or satin are more durable for kitchens and bathrooms. Picking the right color is equally important; test small patches on your wall to see how the shade looks in different lighting conditions. Once you’ve selected your paint, make sure you have all the necessary supplies—brushes, rollers, painter’s tape, drop cloths, and primer if needed.
Choosing quality paint and testing colors ensures a professional finish.
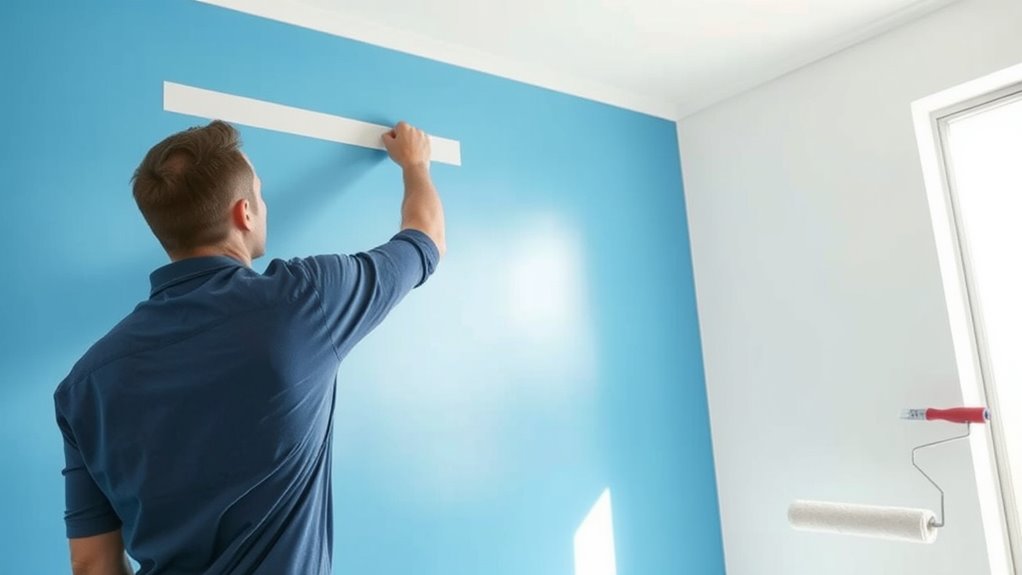
When it comes to applying the paint, your brush techniques make a significant difference in the final look. For cutting in around edges and corners, a high-quality angled brush is your best tool. Dip the brush about a third of the way into the paint, tap off excess to prevent drips, and then use smooth, controlled strokes. Work in small sections, maintaining a wet edge to avoid lap marks. Use the brush to carefully paint along edges and trim, creating a clean boundary before filling in larger areas with a roller.
Your technique with the roller is equally vital. Load the roller with paint by rolling it onto the tray’s ridges, removing excess to prevent drips. Use a “W” or “M” pattern to spread the paint evenly over the wall, then fill in the gaps with vertical or horizontal strokes. Don’t press too hard; let the roller do the work. Overlapping your strokes slightly ensures an even finish. To avoid streaks or uneven texture, keep a wet edge and work systematically across the wall.
Additionally, understanding the importance of proper surface preparation can significantly impact the longevity and appearance of your paint job, especially considering factors like color accuracy and surface texture. Preparation is key to achieving professional results. Cover floors and furniture with drop cloths, tape off trim and edges with painter’s tape, and sand any rough spots or peeling paint. If your wall has stains or uneven patches, apply a primer first. Properly prepared surfaces help the paint adhere better and result in a smoother finish.
Finally, patience and attention to detail will elevate your project. Allow each coat to dry thoroughly before applying the next, and avoid rushing the process. With your careful brush techniques, strategic paint selection, and a steady hand, you’ll create a polished, professional-looking room that transforms your entire space.
Frequently Asked Questions
What Type of Paint Is Best for High-Humidity Areas?
When choosing paint for high-humidity areas, you want a moisture resistant paint that can withstand damp conditions. Look for a mold proof coating, which helps prevent mold and mildew growth on walls. These specialized paints create a protective barrier, ensuring your space stays fresh and clean. You’ll find options in both latex and oil-based formulas, so select the one that best suits your needs and application preferences.
How Do I Fix Uneven Paint Coverage?
Fixing uneven paint coverage starts with proper paint preparation and mastering brush techniques. First, stir your paint thoroughly to guarantee consistency. Then, use smooth, overlapping strokes with your brush or roller, applying even pressure. Revisit thin areas with additional coats, blending each layer seamlessly. By focusing on consistent application and proper preparation, you’ll achieve a professional-looking finish, avoiding streaks and uneven patches for a flawless, polished appearance.
Can I Paint Over Wallpaper Safely?
You can paint over wallpaper, but it’s safer to remove it first. Start with wallpaper removal to guarantee a smooth surface. If you choose to paint directly, apply a high-quality primer to seal the wallpaper and prevent bubbling or peeling. Make sure to clean the wall thoroughly before priming. This approach helps your paint adhere better and results in a more professional-looking finish, avoiding future issues.
What Tools Are Essential for Professional Results?
To achieve professional results, you need essential tools like high-quality brushes and rollers for smooth brush techniques and even coverage. A painter’s tape guarantees clean edges, while drop cloths protect your floors. Use a good primer for better color selection and adhesion. A level or straightedge helps maintain lines, and a paint tray makes your work easier. These tools help you master brush techniques and choose the right colors for a flawless finish.
How Long Should I Wait Between Coats?
Think of your painting process as a dance, where patience sets the rhythm. You should wait about 2-4 hours between coats, depending on your paint’s drying time. During this pause, perfect your brush techniques and guarantee proper paint preparation, which build a smooth, professional finish. Rushing through causes streaks and uneven coverage, so give each layer time to set. This patience transforms your work into a masterpiece.
Conclusion
Now that you’ve mastered the essentials, painting your room becomes a canvas waiting for your touch. Think of each brushstroke as a stroke of your personality, transforming blank walls into a vibrant story. With patience and care, you’ll turn a simple space into a masterpiece. Remember, every stroke brings you closer to a room that feels uniquely yours—like a painter’s signature on a beautiful portrait. So, pick up that brush and let your creativity flow!