
To set up your projector correctly, start by measuring the ideal throw distance based on your room size and projector’s throw ratio to get a sharp, properly sized image. Mount it at the right height to avoid distortion, using level tools for accuracy. Adjust keystoning to keep the image rectangular, but avoid overcorrecting. If you keep these basics in mind, you’ll guarantee a clear, professional-looking projection—more tips to help you perfect your setup await.
Key Takeaways
- Measure your room and use the projector’s throw ratio to determine the optimal distance for desired image size.
- Mount the projector at the correct height, typically aligned with the center of the screen, to ensure sharp focus and proper alignment.
- Use keystone correction to fix trapezoidal distortion caused by projector angle, but avoid excessive adjustments that degrade image quality.
- Utilize tools like levels, tape measures, and calibration devices to achieve precise positioning and clear images.
- Consider environmental factors such as lighting and mounting options to optimize image clarity and minimize setup errors.
projector throw distance calculator
As an affiliate, we earn on qualifying purchases.
As an affiliate, we earn on qualifying purchases.
What Is Throw Distance and Why Is It Important?

Throw distance is the measurement from your projector to the screen or wall where the image is projected. This distance directly affects your image size and clarity, making it crucial for proper setup. Projection ratios help determine the ideal throw distance by expressing the relationship between the projector’s lens and screen size. For example, a projector with a 1.5:1 ratio needs 1.5 feet of distance for every foot of image width. To simplify this process, throw calculators are handy tools that quickly tell you the *best* distance based on your desired image size and projector model. Understanding throw distance ensures you place your projector correctly, avoiding distorted images or the need for awkward adjustments later. Accurate measurements are essential for achieving optimal image quality and a seamless viewing experience.
How to Measure the Perfect Throw Distance for Your Room
To find the ideal distance between your projector and screen, start by measuring the available space in your room. Accurate screen placement is essential for a sharp, well-proportioned image. Once you know the room’s dimensions, consult your projector’s throw ratio, which guides how far it should be from the screen for best image size. Use a tape measure to set the correct distance, then perform projector calibration to guarantee the image aligns correctly and fills the screen without distortion. Keep in mind that too close or too far can compromise picture quality. Adjust the projector’s position accordingly, verifying the image size and clarity. Proper measurement and calibration are key to achieving the perfect throw distance for your room. Additionally, considering the contrast ratio of your projector can help optimize image quality, especially in darker viewing environments. Understanding the throw ratio can greatly simplify your setup process and improve overall picture performance. Moreover, paying attention to keystoning adjustments can help correct image distortion caused by mounting angles. It’s also helpful to factor in the lens shift feature if your projector offers it, to fine-tune image placement without moving the device.
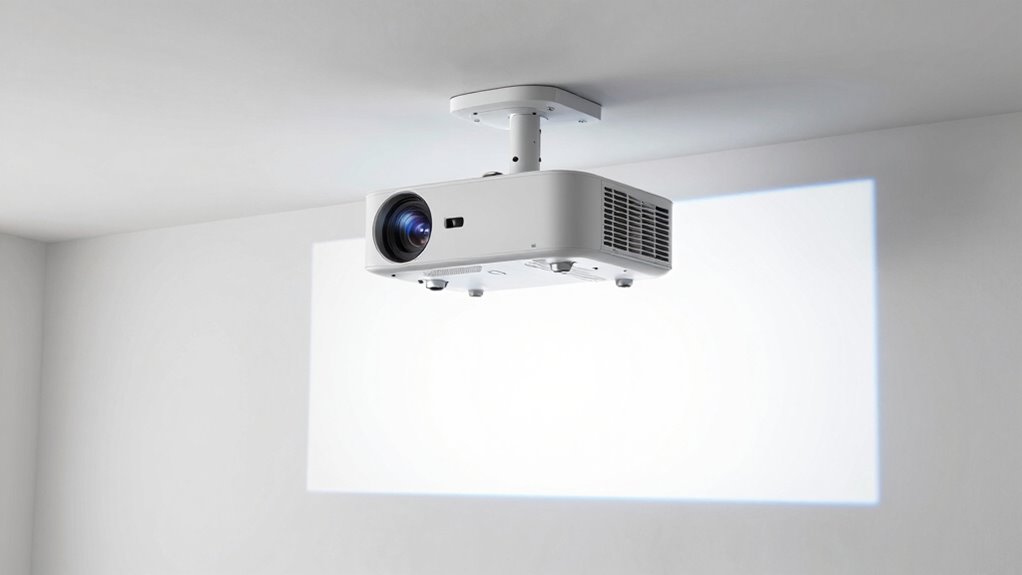
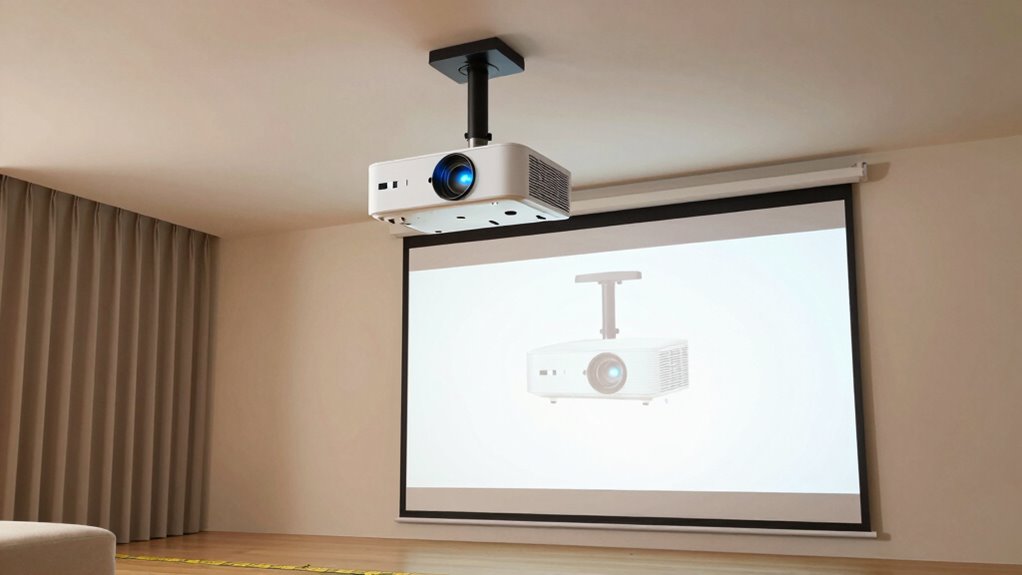
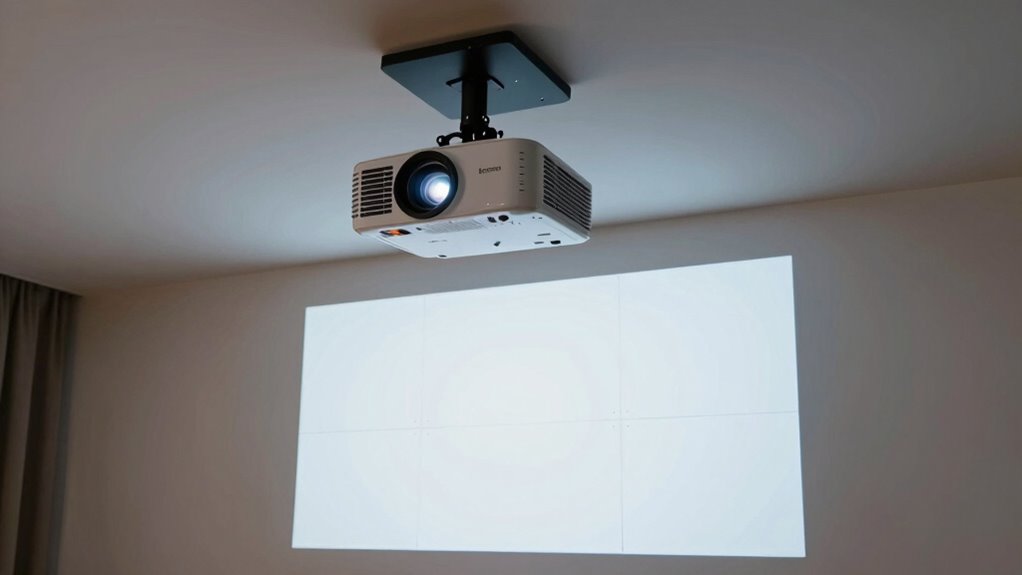
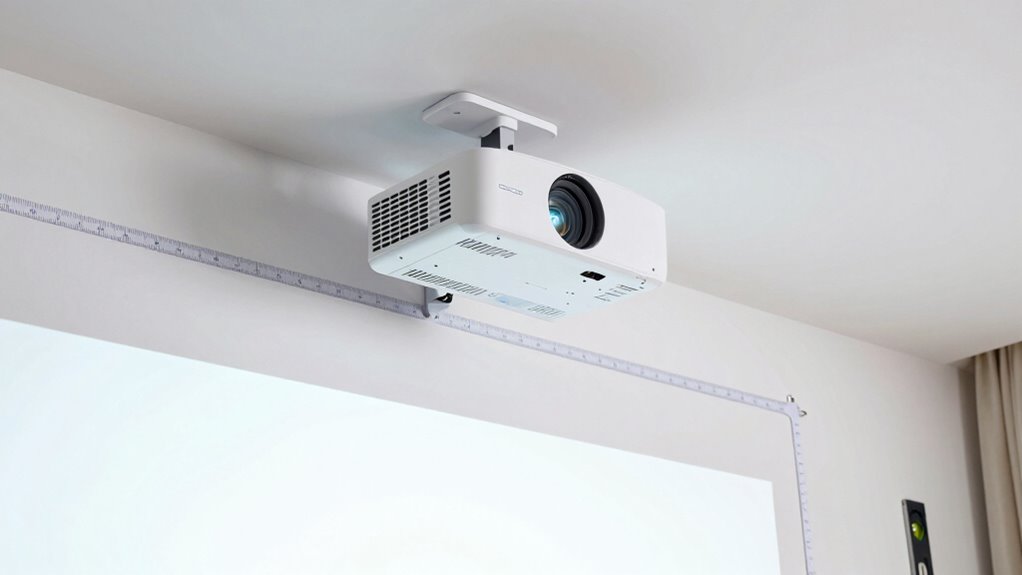
How to Position Your Projector at the Right Mount Height
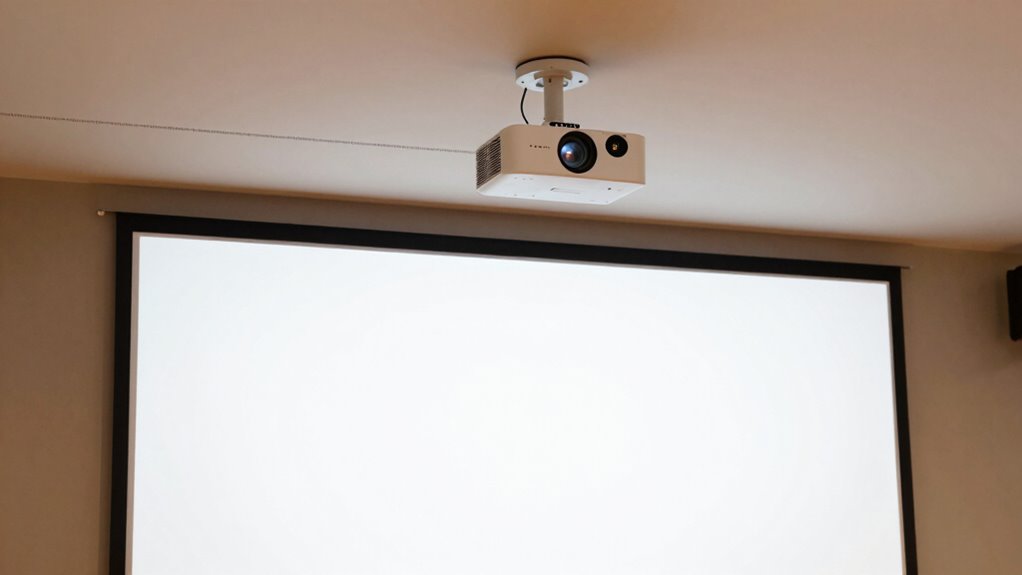
Start by measuring the distance from your wall to the ceiling to determine the ideal mount height. Then, adjust the projector’s position to ensure the image stays sharp and clear. Proper height placement makes a big difference in achieving a perfect projection.
Measure Wall to Ceiling
Before mounting your projector, you need to accurately measure the distance from the wall to the ceiling. This wall measurement helps determine the correct mount height, ensuring the projector aligns with your screen. Also, check the ceiling clearance to see if there’s enough space for mounting hardware without obstruction. Use a tape measure for precise readings. To visualize, consider this table:
| Wall Measurement | Ceiling Clearance | Mount Height |
|---|---|---|
| 8 feet | 12 inches | 5 feet |
| 9 feet | 14 inches | 6 feet |
| 10 feet | 16 inches | 7 feet |
Accurate measurements prevent misalignment and ensure a clean setup. Additionally, understanding projector placement principles can help optimize image quality and avoid keystoning issues. When positioning your projector, it’s also important to consider the throw distance, which directly impacts image size and clarity. Properly measuring and planning your setup will help achieve a professional-looking projection. Keep your wall measurement and ceiling clearance in mind for the ideal projector position. Moreover, incorporating adjustable mounting options can accommodate slight measurement variations and improve overall alignment.
Adjust for Image Sharpness
Positioning your projector at the correct mount height is essential for sharp, focused images. If it’s too high or low, lens distortion can occur, causing images to appear stretched or skewed. To improve image sharpening, verify the projector is level and aligned with the screen. Adjusting the height helps minimize keystoning and maintains proper focus across the entire image. Use a level tool or mounting bracket adjustments to fine-tune the height. When the projector is correctly positioned, you’ll notice clearer details and sharper edges. Remember, even slight misalignments can lead to blurry or distorted images. Regularly check the projector’s position and make small tweaks to maintain ideal image quality and avoid unnecessary lens distortion, ensuring your picture remains crisp and professional-looking. Proper calibration and understanding of throw distance are also crucial for optimal image clarity.
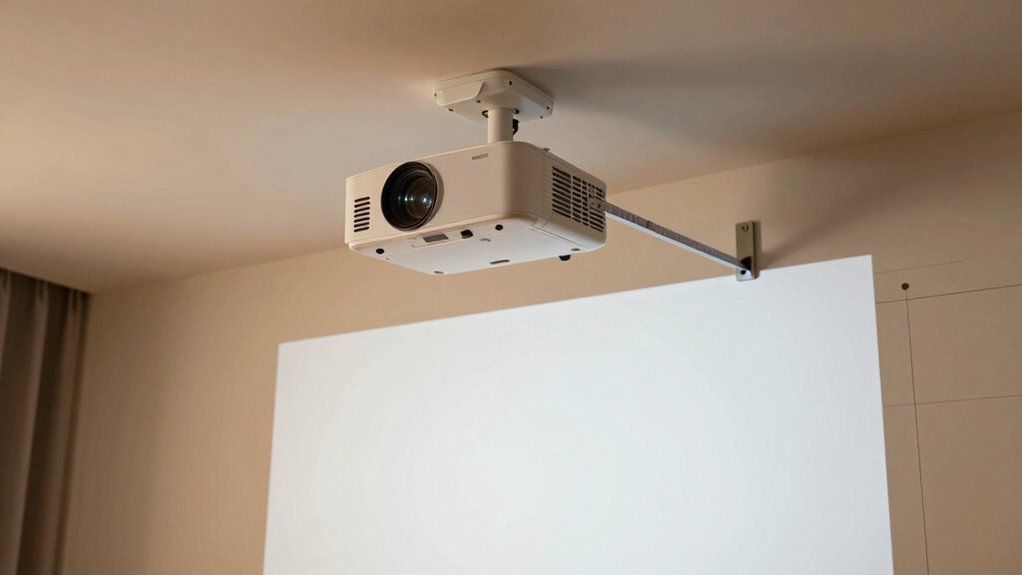
How to Correct Keystoning and Keep Your Image Straight
To keep your image straight, start by adjusting the mount angle so the projector is aligned properly. Use the keystone correction feature to fix any trapezoidal distortion caused by imperfect placement. Make sure your screen is positioned correctly to avoid unnecessary adjustments and guarantee a clear, aligned picture.
Adjust Mount Angle
Adjusting the mount angle is essential for correcting keystoning and ensuring your image stays straight. Begin by checking your ceiling alignment; a crooked mount can cause uneven angles. To fix this, loosen the mount screws slightly and tilt the projector until the image becomes rectangular. Small adjustments to the mount angle can greatly improve image quality. Use a level or the projector’s built-in grid to help guide your alignment, ensuring the projector is perpendicular to the screen. Keep in mind that a proper ceiling alignment minimizes the need for extensive keystone correction later. Once you achieve a level, straight image, tighten the mount screws securely to hold that position. Properly adjusting the mount angle creates a stable setup and reduces distortion.
Use Keystone Correction
Once you’ve aligned the projector’s mount and confirmed it’s level, you might notice the image still appears skewed or distorted. This is often due to lens distortion or the angle of projection. Use keystone correction to fix this, either digitally or physically if your projector allows. Digital correction adjusts the image shape to counteract skewing caused by the projector’s position. Keep in mind, though, that excessive keystone correction can introduce slight blurriness or reduce image quality. Also, ambient light can make these distortions more noticeable, so reducing room lighting helps improve clarity. Always try to position your projector as straight and level as possible before using keystone correction, to minimize distortion and maintain a sharp, straight image.
Position Screen Properly
Positioning your screen correctly is essential for a clear, straight image. Proper screen placement ensures your viewing angle is ideal, reducing distortion and keystoning issues. Place the screen so that it’s directly opposite your seating area, at eye level for the best viewing experience. Avoid angling the screen or mounting it too high or low, which can cause distortion or uneven image quality. Adjust the projector’s position or use keystone correction to keep the image rectangular. Remember, a straight, level screen minimizes the need for extensive adjustments and enhances overall picture clarity. Taking the time to position your screen properly ensures you enjoy a sharp, undistorted image with a comfortable viewing angle. This simple step makes a significant difference in your home theater setup.
How to Determine and Set Your Projection Size
Have you ever wondered how to choose the right projection size for your space? It starts with understanding your preferred projection orientation and the distance from your projector to the screen. Measure your room to determine the ideal throw distance, which directly affects the image size. Once you have those measurements, use your projector’s calibration settings to adjust the zoom and focus, ensuring the image fits your screen perfectly. Keep in mind that some projectors have a fixed lens, so you might need to select a model that matches your desired projection size. Remember, a larger image isn’t always better if it causes distortion or keystoning. Properly setting your projection size ensures a clear, sharp image tailored to your space.
Best Ways to Position Your Projector in Any Room
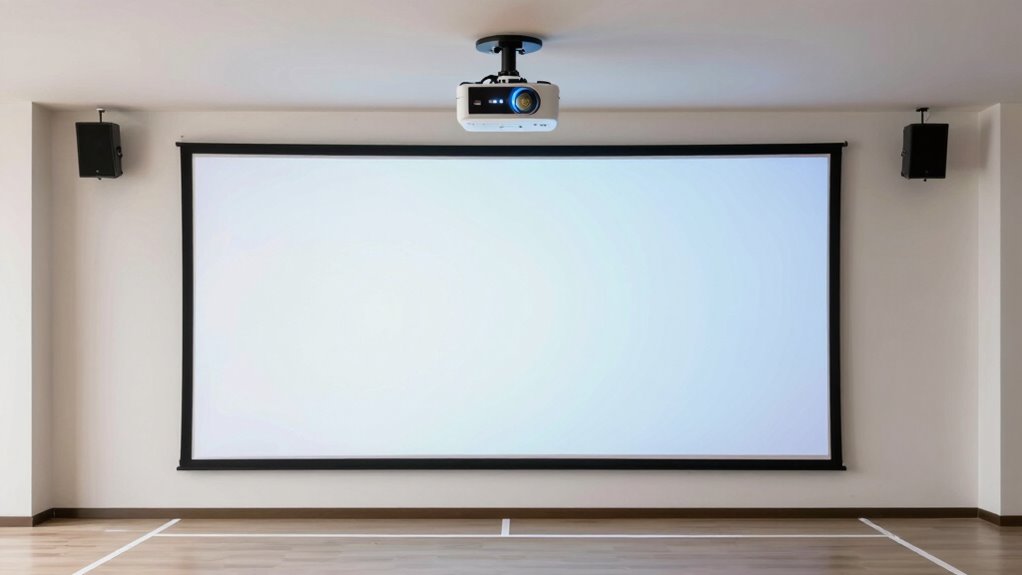
To achieve the best image quality, you need to carefully choose where to place your projector in the room. Start by considering lighting placement; avoid direct light hitting the screen, which can wash out the image. Use blackout curtains or position windows away from the projection area for maximum clarity. Next, think about speaker positioning—align speakers with the screen for clear audio, and avoid placing them where they’ll block the projector or obstruct the view. Keep the projector at a height that minimizes keystoning and distortion, typically at or slightly above the lens height. Proper placement ensures sharp images and immersive sound, creating a seamless viewing experience no matter the room layout.
Common Setup Mistakes That Hurt Image Quality

One of the biggest mistakes you can make is using the wrong throw distance, which can distort your image. Setting the projector at an improper mount height also leads to skewed or blurry visuals. Additionally, ignoring keystone adjustments results in a distorted picture that’s hard to enjoy. To enhance your setup, consider investing in smart locks and office gear that can help secure your equipment and optimize your space.
Incorrect Throw Distance
Incorrect throw distance is a common mistake that can considerably degrade your projector’s image quality. When your projector isn’t positioned at the correct distance, the image may be blurry, distorted, or too small. To avoid this, focus on proper projector placement:
- Measure the ideal distance based on your projector’s throw ratio.
- Place the projector so it’s neither too close nor too far from the screen.
- Use the projector’s lens calculator or manual guidelines for accuracy.
- Adjust the position if the image appears stretched or pixelated.
Avoid guessing your distance, as incorrect throw distance impacts clarity and sharpness. Proper projector placement ensures you get the best image quality and avoids the frustrations of blurry or warped visuals caused by incorrect throw distance.
Improper Mount Height
Have you ever noticed a blurry or distorted image even when your projector is correctly positioned? This often happens because of improper mount height. If your projector is mounted too high or too low, the image can become skewed or blurry, reducing overall quality. The key is to contemplate ceiling clearance; verify there’s enough space for the mount without compromising the ideal mount height. A mount that’s too high can cause unnecessary strain on the image, while one that’s too low might lead to obstructions or misalignment. Adjusting the mount height to match your screen’s position helps maintain a clear, sharp picture. Proper ceiling clearance also ensures stability and allows for easy adjustments, preventing image distortion caused by an incorrect mounting position.
Ignoring Keystone Adjustment
Ever assumed that simply positioning your projector correctly guarantees a perfect image? Ignoring keystone adjustment can cause significant issues. When you neglect keystone ignoring, you risk image distortion, making the picture uneven or skewed. To avoid this, consider these steps:
- Always check if your projector has keystone correction features.
- Use the keystone adjustment to align the image properly.
- Avoid excessive keystone correction, as it can reduce image quality.
- Test the image after adjustments to ensure it’s rectangular and crisp.
- Remember that improper setup can sometimes mask underlying issues, leading to ongoing image problems.
Failing to address keystone issues leads to a distorted picture that distracts viewers and diminishes overall quality. Proper keystone correction ensures your image stays true and sharp, making your setup look professional and polished.
Essential Tools and Accessories for Precise Setup

To achieve a precise and professional projector setup, having the right tools and accessories is essential. Start with cable management solutions like clips or sleeves to keep cords organized and prevent tripping hazards. These tools help maintain a clean, clutter-free space and ensure easy adjustments later. Next, consider accessories that control ambient lighting, such as blackout curtains or adjustable light dimmers, to optimize image quality. A level or laser pointer can assist in aligning the projector accurately, saving you time and frustration. Additionally, a tripod or adjustable mount ensures stable positioning. Proper tools streamline setup, improve image clarity, and make future adjustments easier. Investing in projector calibration tools and accessories can further enhance image accuracy and overall performance. Using measurement tools also helps in determining the correct throw distance and mount height for optimal projection. By investing in these essentials, you create a reliable, efficient environment for a flawless projector experience.
How to Troubleshoot Distance, Height, and Keystoning Issues
When you notice distorted or misaligned images, troubleshooting distance, height, and keystoning issues is essential for achieving a clear projection. First, check your projector’s throw distance against the screen size and materials; different screens reflect light differently, affecting image quality. Second, verify the mount height—if it’s too high or low, keystoning occurs, distorting the image. Adjust the projector’s position or use keystone correction features if available. Third, examine ambient light levels—excess light can wash out the image, making misalignments more noticeable. Fourth, ensure your screen material is suitable; matte surfaces reduce reflections that can exacerbate issues. Additionally, using proper mounting techniques can help maintain consistent alignment and image quality. It’s also helpful to consult your projector’s user manual for specific calibration tips tailored to your model. By systematically checking these elements, you can quickly identify and resolve problems to improve your projection clarity.
Tips to Maintain Your Projector Setup Over Time

Regularly maintaining your projector setup guarantees your images stay sharp and aligned over time. Start by checking your cable management—ensure cables are securely connected and organized to avoid strain or accidental disconnections that can cause image shifts. Keep the area free of dust and debris, which can affect image clarity. Managing ambient lighting is also essential; too much light can wash out your projection, so consider adding blackout curtains or adjusting blinds to control glare. Periodically verify that your projector’s mount remains stable and that the throw distance hasn’t shifted. These simple steps help prevent image distortion and maintain ideal picture quality, ensuring your setup stays effective and hassle-free over time. Additionally, understanding your measurement tools can help you fine-tune your setup for optimal performance. Regularly inspecting your mounting hardware can also prevent potential safety issues and ensure long-term stability, especially since mounts can sometimes loosen over time due to vibrations or weight shifts. Incorporating proper calibration techniques can further enhance your image quality and prolong the lifespan of your projector. Moreover, being aware of environmental factors such as temperature and humidity can help prevent equipment deterioration and maintain consistent performance.
Frequently Asked Questions
How Do Ambient Light Conditions Affect Projector Placement and Image Quality?
Ambient light substantially impacts your projector placement and image quality. Bright rooms cause washed-out images, so you should position your projector where glare mitigation is effective, like away from windows or direct light sources. Use blackout curtains or screens with high gain to reduce ambient light effects. Proper placement in darker areas makes your image sharper and more vibrant, ensuring your viewing experience isn’t compromised by unwanted glare or insufficient contrast.
What Are the Best Projector Mounting Options for Different Room Types?
Imagine your projector floating effortlessly in the perfect spot. For most rooms, a ceiling mount offers a sleek, unobtrusive solution, ideal for clear sightlines and minimal interference. If you prefer a more flexible setup, a wall bracket allows easy repositioning, especially in smaller or irregular spaces. Choose a ceiling mount for a clean look and stability, or a wall bracket for convenience and adaptability in various room types.
How Does Screen Type Influence Optimal Throw Distance and Setup?
Your screen material greatly influences ideal throw distance and setup because different types, like matte or high-gain screens, reflect light differently. You need to take into account projector compatibility to make sure the projector’s brightness and resolution match the screen’s properties. For instance, a high-gain screen may require a shorter throw distance for bright images, while a matte screen might need a longer distance for even light distribution, enhancing your viewing experience.
Can Adjustable Mounts Improve Setup Flexibility and Image Alignment?
Yes, adjustable mounts greatly enhance setup flexibility and image alignment. They allow you to easily tweak the projector’s height, angle, and position, ensuring a perfect fit for your space. With adjustable mounts, you can quickly correct keystoning or misalignment, saving time and effort. This flexibility makes it easier to achieve ideal image quality, especially in rooms with uneven surfaces or changing furniture arrangements.
What Safety Precautions Should I Take During Projector Installation?
Think of installing your projector like wiring a delicate circuit—safety comes first. You should unplug power before handling cables, secure all cables to prevent tripping hazards through proper cable management, and guarantee electrical safety by avoiding overloads. Use a sturdy ladder if mounting high, and double-check the fixture’s stability. These precautions protect you from accidents and keep your setup running smoothly, just like a well-maintained electrical system.
Conclusion
Remember, a well-set projector is like a good foundation—everything else falls into place. Pay attention to throw distance, mount height, and keystoning, and you’ll enjoy sharp, aligned images. Regularly check your setup and make adjustments as needed. As the saying goes, “a stitch in time saves nine,” so taking a little extra effort now guarantees your home theater looks great for years to come.