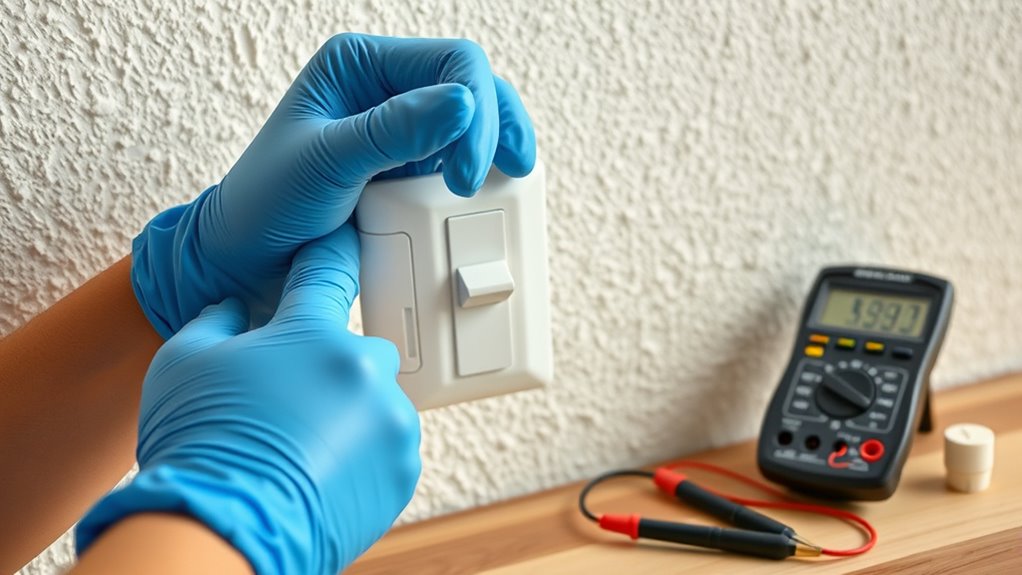

To replace a light switch safely, start by turning off the power at the circuit breaker and using a voltage tester to make sure it’s off. Remove the switch cover, carefully disconnect the wires, and snap a photo or note the wiring setup. Connect the new switch securely, ensuring the grounding wire is attached properly. Once everything’s in place, restore power and test the switch. Keep going, and you’ll learn all the essential steps to do it right.
Key Takeaways
- Turn off power at the circuit breaker and verify the circuit is de-energized with a voltage tester.
- Remove the switch cover plate and unscrew the existing switch carefully, noting wiring connections.
- Connect the new switch’s terminals to the existing wires, ensuring proper grounding and secure connections.
- Tuck wires neatly into the electrical box, then secure the switch and replace the cover plate.
- Restore power, then test the switch to confirm proper operation and safety.
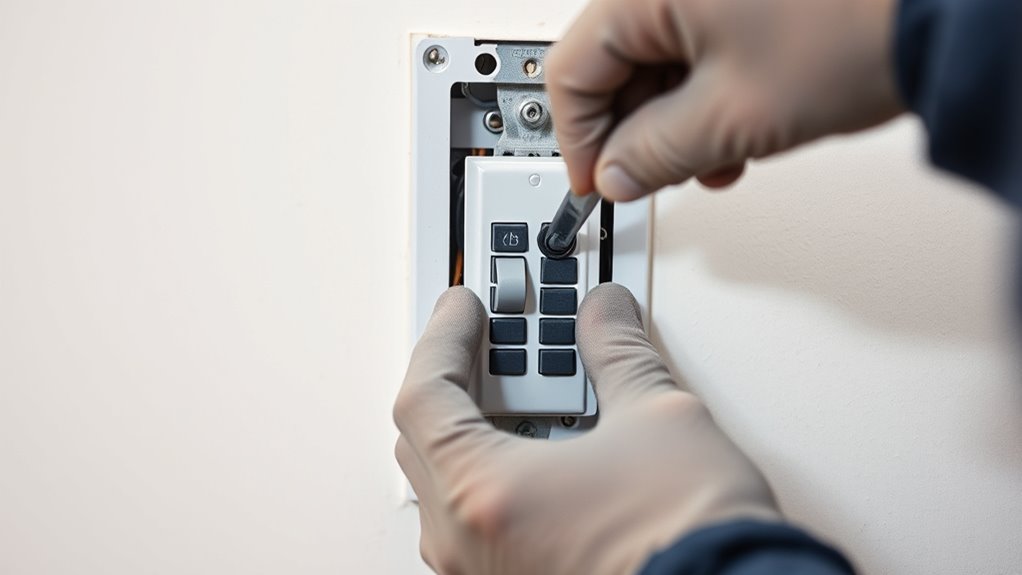
Replacing a light switch is a straightforward task, but safety should always come first. Before you begin, turn off the power at your circuit breaker to eliminate the risk of electric shock. Use a voltage tester to double-check that the switch circuit is de-energized. Once confirmed, you can remove the switch cover plate and carefully unscrew the existing switch from the electrical box. As you do this, pay close attention to the wiring and how it’s connected, so you can replicate it with your new switch.
When selecting a replacement switch, consider the switch toggle types available. There are single-pole switches, which control one fixture from a single location, and multi-location switches, often used for stairways or large rooms. Some switches have a dimmer feature, allowing you to adjust light brightness. Make sure the new switch matches your needs and is compatible with your wiring setup. Also, check whether it requires grounding. If your home’s wiring includes a grounding wire—typically a bare copper or green wire—you’ll want to incorporate proper grounding methods. Grounding is essential for safety, providing a path for electrical faults. If the existing switch or box lacks a grounding connection, you may need to upgrade your wiring or install a grounding clip to ensure safety.
Once you’ve chosen the right switch and confirmed all grounding methods are in place, connect the wires to your new switch. Typically, the black (hot) wire connects to the switch’s terminal, while the white (neutral) wire may be connected to a terminal or left capped off unless the switch requires a neutral connection. The grounding wire should be attached to the green screw or grounding clip on the switch. Be sure to tighten all connections securely, but avoid overtightening, which can damage the terminals. After wiring, carefully tuck the switch into the electrical box, making sure no wires are pinched or overly bent, and screw it in place. Replace the cover plate, turn the power back on, and test your new switch to ensure it operates correctly.
Throughout the process, remember that working with electrical components involves risks. If you’re unsure about grounding methods or switch toggle types, or if the wiring seems complicated, don’t hesitate to call a licensed electrician. Prioritizing safety keeps your home and your family protected while you upgrade your lighting controls. Additionally, understanding the importance of contrast ratio can help ensure your new switch setup provides the best visual environment for your space.
Frequently Asked Questions
Can I Replace a Light Switch Without Turning off the Power?
You might wonder if you can replace a light switch without turning off the power, but for electrical safety, it’s not advised. Working on live wires risks electrical shock or fire, especially during DIY home repair. Always turn off the power at the breaker before starting. This simple step protects you and ensures a safe, effective switch replacement, making your DIY project safer and more successful.
What Tools Are Necessary for Replacing a Light Switch?
To replace a light switch, you’ll need a few essential tools. Grab wire strippers to carefully remove insulation from the wires, making sure you don’t damage them. A voltage tester is vital to confirm that the power is off before working. Additionally, have a screwdriver handy to loosen or tighten the switch’s screws. These tools help you work efficiently and safely, ensuring the job gets done correctly.
How Do I Identify the Correct Wiring Connections?
When identifying wiring connections, start by understanding wire color codes: black or red usually indicate hot wires, white is neutral, and green or bare copper is ground. Use wiring diagrams for your specific switch and electrical setup to guarantee correct connections. Carefully trace each wire’s path and match it to the diagram, making sure you understand which wire connects to which terminal, reducing the risk of errors during installation.
Is It Safe to Replace a Dimmer Switch Myself?
You wonder if it’s safe to replace a dimmer switch yourself. While DIY troubleshooting can be rewarding, electrical safety should always come first. If you’re comfortable working with wiring, turn off the power, verify connections, and follow manufacturer instructions carefully. However, if you’re unsure or uncomfortable, it’s best to consult a professional. Respect your skills, prioritize safety, and avoid hazards—your home and well-being depend on it.
What Should I Do if the Switch Still Doesn’T Work After Replacement?
If your switch still doesn’t work after replacing it, start troubleshooting electrical issues by turning off the power and inspecting the wiring. Use circuit testing tools to check for proper voltage and connections. Make certain the wires are securely attached and that no loose or damaged wires are present. If the problem persists, consider consulting an electrician to diagnose possible underlying electrical issues and ensure safety.
Conclusion
Once you’ve turned off the power and carefully replaced the switch, you’ll feel a quiet confidence in your hands. Imagine the smooth click of the new switch, like a secret handshake with your home’s electrical heart. With each flick, light dances softly on the walls, illuminating your space safely and beautifully. You’ve transformed a simple task into a moment of mastery, turning a mundane task into a subtle act of craftsmanship that brightens your day and your home.