
To start composting in your kitchen, choose a suitable bin that fits your space and needs, whether indoor or outdoor. Use bedding like shredded newspaper or coconut coir and layer kitchen scraps such as vegetable peels and coffee grounds. Keep the bin moist, aerated, and avoid adding meats or dairy to prevent odors. Proper setup and maintenance speed up composting and control smells. Keep going to discover more tips for successful home composting.
Key Takeaways
- Choose a suitable compost bin considering space, budget, and whether you want indoor or outdoor composting.
- Use vermicomposting with red wigglers for faster, nutrient-rich compost in a moist, dark environment.
- Set up the system with proper bedding, moisture control, and layer kitchen scraps on top for efficient decomposition.
- Maintain proper moisture, avoid adding meats or dairy, and monitor worm activity to ensure system health.
- Home composting reduces waste, produces valuable soil amendments, and supports a sustainable, eco-friendly lifestyle.
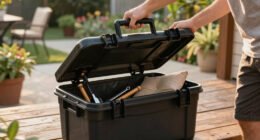
Starting your own compost at home is an easy and eco-friendly way to reduce waste and enrich your garden soil. It’s a simple process that can be both rewarding and sustainable, especially when you understand the basics of composting. One of the key decisions you’ll face early on is choosing the right compost bin. Your selection will influence how efficiently your compost breaks down, how easy it is to maintain, and how well it fits into your space. Consider your available area, budget, and the type of composting you want to do. For small kitchens, a compact countertop bin or a dedicated indoor compost container works well. If you have outdoor space, a larger bin or even a tumbler might be more suitable. Look for bins with proper aeration and easy access for adding scraps and harvesting finished compost. Some bins come with built-in systems to help control moisture and odors, making them ideal for indoor use.
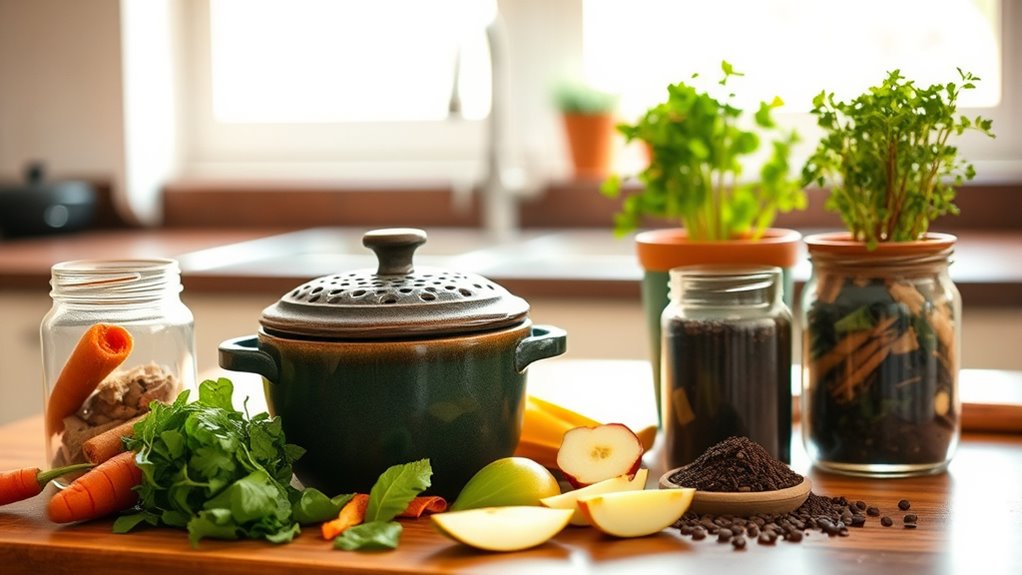
Once you’ve selected your compost bin, diving into vermicomposting techniques can really accelerate your composting success. Worm composting, or vermicomposting, involves using specific types of worms—mainly red wigglers—to break down organic waste quickly. These worms thrive in a moist, dark environment, which makes a well-chosen bin even more important. When setting up your vermicomposting system, ensure your bin has proper drainage and bedding material like shredded newspaper or coconut coir. Keep the bedding moist but not soaked, and layer your kitchen scraps—vegetable peels, coffee grounds, eggshells—on top. Worms will consume this material, turning it into rich, nutrient-dense compost in a matter of weeks. Regularly check the bin for moisture levels and worm activity; healthy worms are a good sign your system is functioning well. Additionally, choosing the right compost bin can significantly impact the efficiency and odor control of your system.
Incorporating vermicomposting techniques into your routine can be simple once you get the hang of it. You’ll want to avoid adding meats, dairy, or oily foods, as these can cause odors and attract pests. Instead, focus on plant-based scraps and shredded paper or cardboard for bedding. Over time, the worms will produce castings—an excellent fertilizer for your plants. Remember, patience is key. With proper compost bin selection and vermicomposting techniques, you’ll turn kitchen waste into valuable soil amendment, reducing household trash and supporting your garden’s health. By starting small and learning as you go, you’ll soon enjoy the benefits of home composting and contribute to a greener lifestyle.

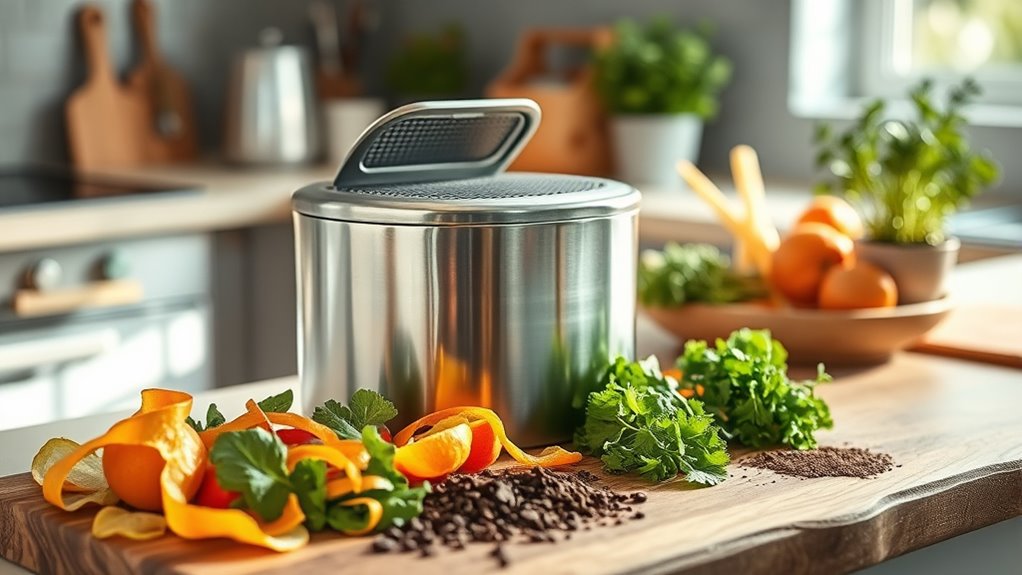
Utopia Kitchen Countertop Compost Bin 1.3 Gallon, Stainless Steel, Silver
- Capacity: 1.3 Gallon stainless steel bin
- Durability: Scratch, crack, and chip resistant
- Odor Control: Includes charcoal filters for natural smell trapping
As an affiliate, we earn on qualifying purchases.
As an affiliate, we earn on qualifying purchases.
Frequently Asked Questions
How Long Does It Take to See Compost in a Kitchen Bin?
You can expect to see compost in your kitchen bin within a few weeks, depending on your composting timeline and how often you add materials. The kitchen bin delay varies based on factors like temperature and moisture, but generally, you’ll notice some compost formation after 2 to 4 weeks. Regular turning and proper balance of greens and browns help speed up this process, making your compost ready sooner.
Can I Compost Cooked Food Scraps Safely at Home?
You might wonder if composting cooked food scraps is safe, especially since I once hesitated with leftovers myself. Generally, cooked food isn’t recommended for home composting because it can attract pests and violate composting guidelines. To keep your compost safe and efficient, focus on vegetable peels and coffee grounds. If you do include cooked scraps, make sure they’re buried deep, and monitor for pests, following food safety and composting guidelines carefully.
What Are the Best Materials to Start Composting With?
You should start composting with browns like dried leaves, paper, and cardboard, along with greens such as vegetable scraps and coffee grounds. Use composting bins to keep materials organized, and remember to practice waste separation by removing plastics and non-biodegradable items. This helps create a healthy compost. By combining these materials properly, you’ll produce rich soil, reduce waste, and make your composting efforts more effective.
How Do I Prevent Odors From My Indoor Compost Bin?
To prevent odors from your indoor compost bin, focus on odor control by adding a layer of dry materials like shredded paper or sawdust after each addition. Guarantee proper bin placement—keep it in a well-ventilated, cool spot away from your living area. Regularly turn the compost to aerate it, and avoid overloading the bin with wet waste. These steps help keep odors at bay and maintain a fresh-smelling compost system.
Is It Necessary to Turn or Aerate Compost Regularly?
Imagine you’re composting in your kitchen and wonder if you need to turn it regularly. Yes, you should perform compost turning or use aeration techniques to keep the process active. Turning the compost introduces oxygen, speeding up decomposition and preventing odors. For example, a homeowner found that weekly compost turning reduced smell and improved compost quality. Regular aeration guarantees your indoor compost stays healthy and odor-free, making your kitchen smell fresh.
Conclusion
Now that you know the basics, your composting journey is just beginning. Imagine turning kitchen scraps into rich soil—what other surprises could nature hold? With each bin, you’re closer to reducing waste and nurturing your garden. But beware: the true magic happens when you master the art of patience and balance. Are you ready to unleash the full potential of your compost? The secret awaits—dive in and discover what’s possible.