
To paint your front door like a pro, start with a mild weather day and check for local paint regulations. Clean and lightly sand the door for better adhesion, then remove hardware and protect the area with drop cloths. Apply a quality primer if needed, followed by two to three thin coats of high-quality exterior paint. Avoid common mistakes like skipping prep work to guarantee a long-lasting finish. There’s more to perfecting your technique that you’ll want to explore.
Key Takeaways
- Choose a mild day in spring or fall for optimal painting conditions and check for any local color restrictions.
- Thoroughly clean and lightly sand the door to ensure proper paint adhesion and a smooth finish.
- Apply a coat of primer if needed, then use high-quality exterior paint, applying two to three thin coats for durability.
- Protect surrounding areas with drop cloths and painter’s tape, ensuring clean edges and avoiding messes.
- Allow adequate drying time between coats and address any imperfections before painting for a professional look.
Considerations Before You Get Started
Before diving into painting your front door, it’s essential to contemplate a few key factors that can make the process smoother.
Start by selecting a mild weather day in spring or fall, as extreme temperatures and moisture can interfere with your project.
Choose a mild day in spring or fall for optimal painting conditions, avoiding extreme temperatures and moisture.
Check local codes or HOA rules for any color restrictions to avoid surprises later.
You’ll want to make sure the door is completely dry and protected from unexpected precipitation during and after painting to prevent damage.
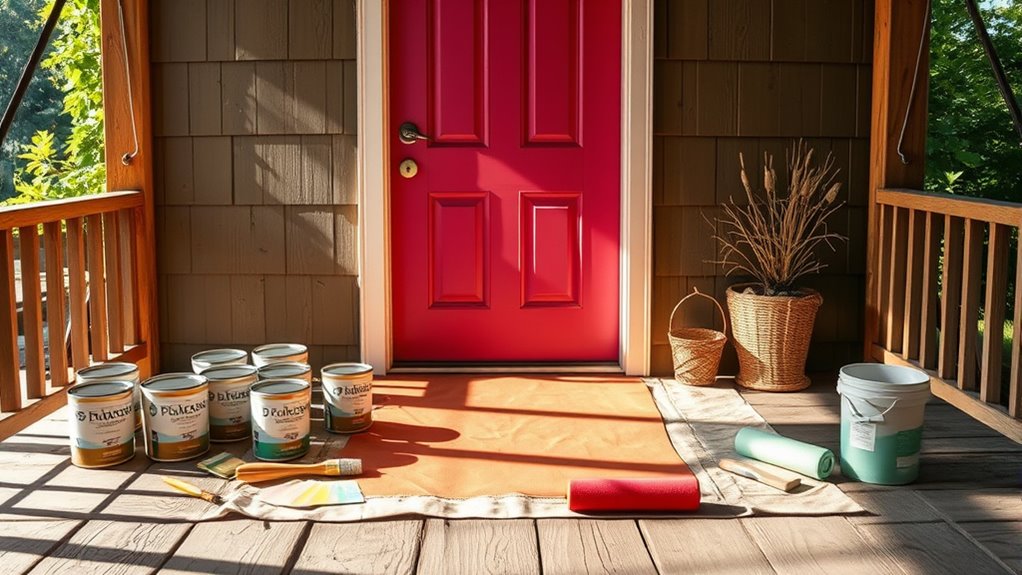
Utilize a Paint Calculator to determine how much exterior paint you’ll need, accounting for two to three coats of paint for a lasting finish.
Opt for high-quality exterior paint to achieve a professional look and the desired high-gloss finish, enhancing durability and resistance to fading. Additionally, ensuring your door is adequately insulated can improve energy efficiency and contribute to lower carbon emissions throughout your home.
Importance of Preparation

Preparation is key to achieving a flawless paint job on your front door, as it lays the foundation for the entire project.
Start with thorough cleaning; wash the door with warm, soapy water to remove dirt and grime. This guarantees better paint adhesion and a smoother finish.
Don’t skip sanding—lightly sand the door with 120-grit sandpaper to smooth out imperfections and prepare the surface. Proper preparation enhances the longevity of your paint job, reducing the need for frequent maintenance.
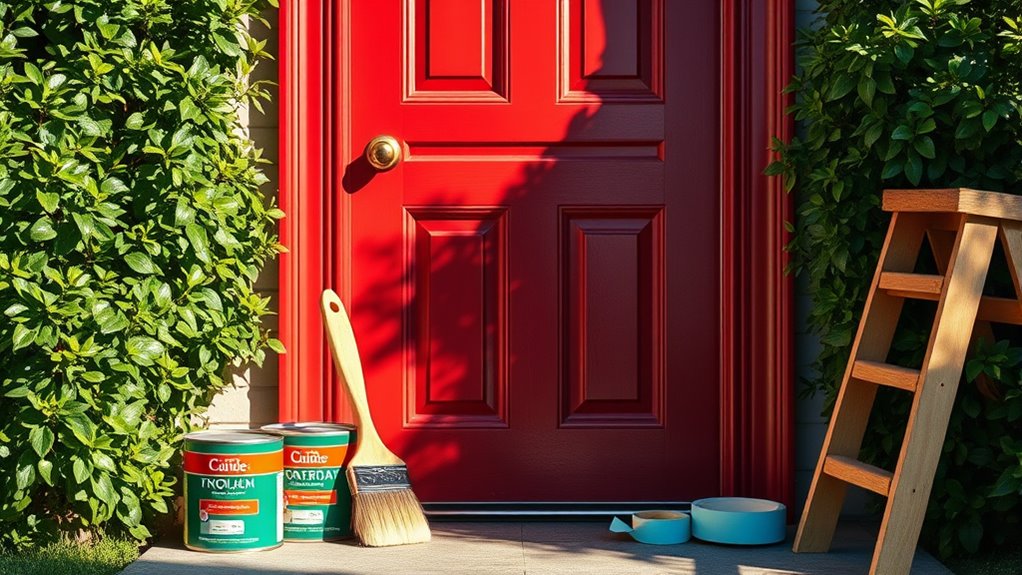
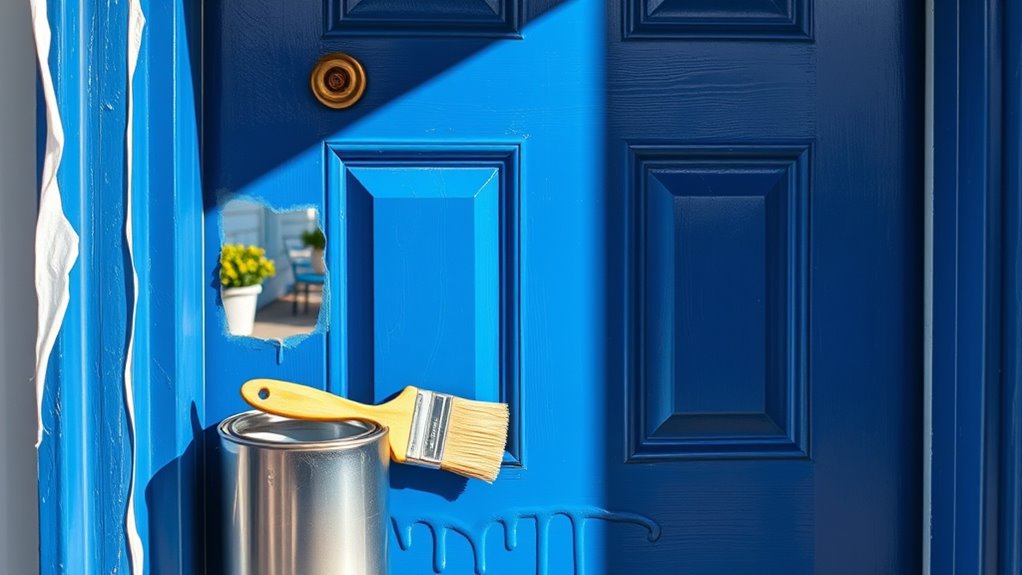
Remember to remove door hardware and protect surrounding areas with drop cloths and painter’s tape for a professional outcome.
Skipping these steps can lead to flaking paint and unsatisfactory results, making preparation vital for a successful project.
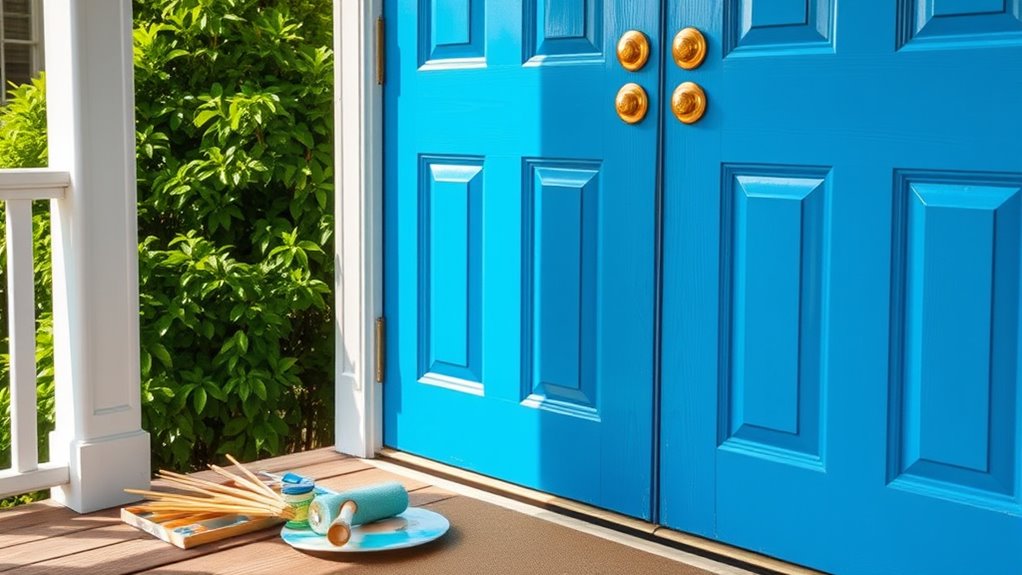
Choosing Quality Materials
Choosing quality materials is essential for a successful front door painting project. Start with high-quality exterior paint, as it guarantees durability and resists fading.
Satin finishes are recommended for their washability and protection, but if you prefer a bold look, consider semi-gloss or high-gloss finishes. Just remember, these require more maintenance.
Always opt for paint specifically formulated for outdoor use, since interior paints can chip and crack when exposed to the elements.
Select paint designed for outdoor applications to prevent chipping and cracking from environmental exposure.
When selecting your paint, acrylic resin or latex-based options offer ease of use and quick drying times, while oil-based paints provide a high-gloss finish and superior chipping resistance.
Don’t forget to invest in good paintbrushes for a professional application of those coats of paint.
Steps to Prepare and Paint the Door
To successfully paint your front door, start with a thorough cleaning using warm soapy water, ensuring the surface is dry before you proceed.
Next, lightly sand the door with 120-grit sandpaper to remove any old paint and smooth out imperfections.
If the door is unpainted or you’re covering a dark color, apply a coat of primer for better adhesion.
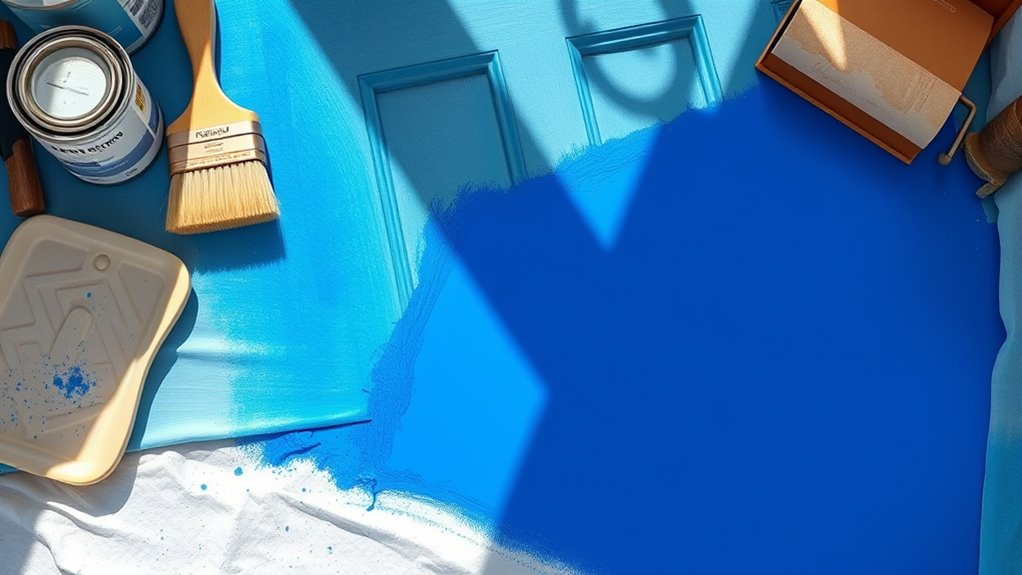
Then, use a high-quality exterior paint, applying two to three thin coats for durability.
An angled paint brush works best for detailed edges, while a roller is ideal for larger flat areas.
Don’t forget to protect surrounding surfaces with a drop cloth and painter’s tape, removing the tape after the paint dries for clean lines. Additionally, consider using eco-friendly paint options that minimize environmental impact and promote sustainability.
Common Mistakes in Painting Front Doors
While painting your front door can dramatically enhance your home’s curb appeal, several common mistakes can undermine your efforts.
One major error is skipping necessary surface preparation, like cleaning and sanding, which can lead to poor paint adhesion and future peeling.
One critical mistake is neglecting surface preparation, which can result in inadequate paint adhesion and eventual peeling.
Rushing through the application of at least two coats without allowing proper drying time often results in streaks and uneven coverage.
Additionally, neglecting painter’s tape can create messy edges that look unprofessional.
Don’t forget to address nicks or dents beforehand; failing to do so compromises the finish.
Finally, painting over a shiny surface without sanding can inhibit paint adhesion, leading to peeling and premature wear.
Avoid these pitfalls to achieve a stunning front door.
Frequently Asked Questions
How Do You Paint a Front Door Like a Professional?
To paint your front door like a pro, you’ll want to start by cleaning and sanding the surface.
Choose a high-quality exterior paint with a satin or semi-gloss finish for durability.
Use an angled brush for edges and a roller for flat areas, applying two to three thin coats.
Don’t forget to tape off surrounding areas and let each coat dry properly.
Finally, wait until the last coat is dry before reattaching hardware.
Is It Better to Paint a Front Door With a Brush or Roller?
When it comes to painting a front door, think of your tools as dance partners. A roller glides smoothly over large areas, creating a graceful finish, while a brush waltzes into the corners and edges, adding precision where it counts.
You’ll want to use both: the roller for efficiency and the brush for that perfect touch. With this dynamic duo, your door will shine like a polished gem, catching every eye that passes by.
How to Paint a Front Door Without Brush Marks?
To paint your front door without brush marks, start by using high-quality paint with a smooth finish, like semi-gloss or satin.
Use a roller for the large areas and a brush for edges. Apply thin coats and allow them to dry properly between layers.
Maintain a wet edge while painting to avoid lap marks. Finally, lightly sand between coats to smooth out any imperfections, ensuring a flawless finish.
What Are the Three Colors Not to Paint Your Front Door?
If you think painting your front door black in a warm climate is a good idea, think again!
It’s a heat magnet! You’ll want to avoid neon colors, too; they clash with classic aesthetics and scream for attention in all the wrong ways.
Finally, steer clear of ultra-light shades like white; they’ll show every smudge and dirt, requiring constant upkeep.
Stick to timeless colors to keep your door looking fabulous for years!
Conclusion
Now that you’re armed with the right tips, you can transform your front door from drab to fab. Don’t rush the prep work, as it’s the foundation for a pro-like finish. While a vibrant color can make your home stand out, neglecting quality materials can lead to a dull, peeling mess. So, take your time, choose wisely, and soon enough, your front door will not only welcome guests but also reflect your personal style beautifully.