
Light swaps are a simple way to instantly refresh your home’s lighting. You can easily replace outdated fixtures with modern options like bold chandeliers or backlit sconces. Just be aware of electrical requirements and safety when installing. This creative activity not only enhances aesthetics but also fosters a sense of community as you craft and share ideas with others. With proper planning, you’ll elevate your space effortlessly. Find out how to make the most of your light swap experience.
Key Takeaways
- Start by assessing your current fixtures and choosing modern options that enhance aesthetics and functionality in your space.
- Ensure you understand the electrical requirements, as many fixtures may need three wires for proper installation.
- Plan a crafting timeline, allowing ample time for material gathering and project completion with fellow participants.
- Collaborate with others for creative ideas, inspiring unique designs and overcoming challenges together during light swap events.
- Prioritize safety by seeking professional assistance for complicated installations and handling electrical work carefully.
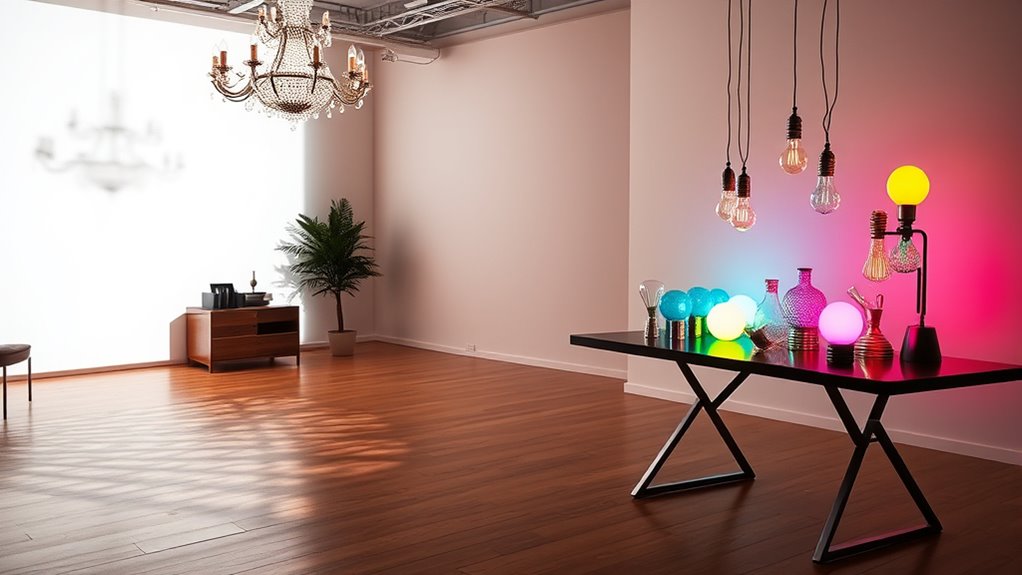
Light swaps can transform your space, making it both stylish and functional. If you’re tired of outdated fixtures, consider participating in a light swap event. These gatherings encourage you to replace old lighting with modern options like backlit disc sconces or bold chandeliers. Not only will you elevate the aesthetic of your home, but you’ll also gain practical insights from others who share your passion for design.
When it comes to installations, you’ll want to make sure you’re aware of the electrical requirements. Many fixtures may need three wires for proper connection, which can complicate the installation process. If you’re unsure about handling electrical work, don’t hesitate to call in a professional. After all, safety should always come first, especially when integrating new designs with your home’s electrical system.
Participating in a light swap isn’t just about trading fixtures; it’s also a chance to get creative. You might explore crafting your own light-based items, like fairy lights, and share those ideas with fellow participants. This collaborative environment fosters a sense of community and encourages everyone to think outside the box.
As you discuss your projects, you’ll find inspiration in the experiences of others, which can help you overcome any challenges you might face in your own crafting endeavors.
The timeline for light swaps typically includes a sign-up period followed by crafting deadlines. This helps ensure everyone is on the same page regarding project completion. By sticking to this schedule, you can plan your crafting sessions efficiently, allowing ample time to gather materials or seek help if needed.
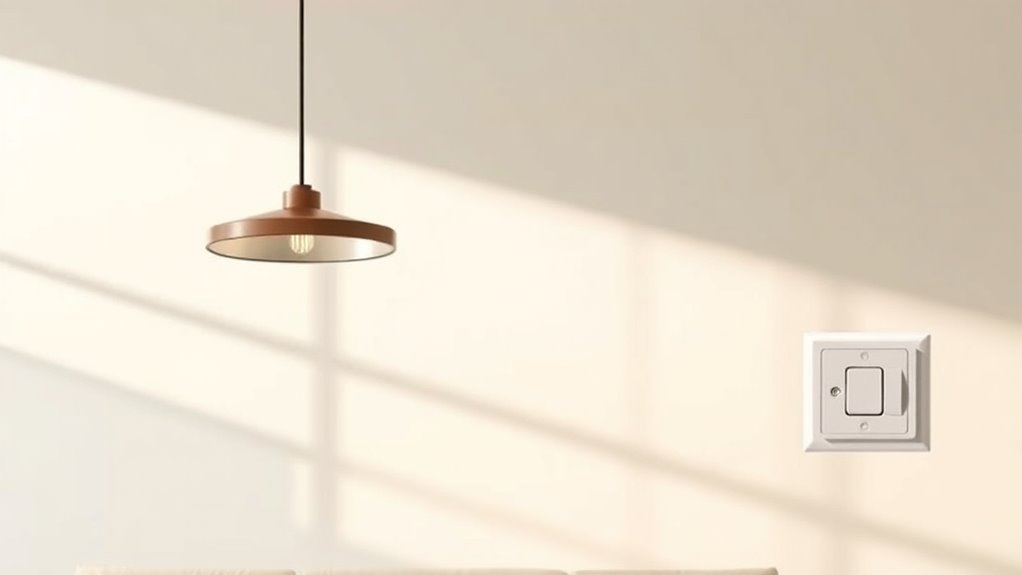
As you prepare for your light swap, remember to consider the space where you’ll be installing your new fixture. Think about how the new lighting will impact the room’s ambiance and functionality. Whether you’re aiming for a cozy atmosphere or a statement piece, every choice you make will contribute to the overall vibe of your home.
Frequently Asked Questions
How Easy Is It to Change a Light Switch?
Changing a light switch is pretty easy and usually takes just 5 to 15 minutes.
You’ll need a few basic tools, like a screwdriver and electrical tape. Before you start, make sure to turn off the power at the circuit breaker to stay safe.
When you remove the old switch, you’ll find three wires to disconnect and reconnect to the new switch.
Once everything’s secure, restore power and test it out!
How Does a Light Switch Work Simple?
Think of a light switch as the gatekeeper to your room’s brightness. When you flip it on, you’re opening the gate, allowing electricity to flow through the circuit and light up your space.
The switch connects or disconnects electrical contacts using a simple pivot mechanism. It has three terminals: one for incoming power, one for the outgoing light, and a ground wire to keep things safe.
It’s a straightforward yet essential part of your home’s lighting system.
What Is the Rule for Light Switches?
The rule for light switches is straightforward. You should install them at a height of 48 inches for easy access.
They must be placed at entry points or in convenient spots for operation. Ensure each switch is rated for the circuit’s voltage and amperage to avoid hazards.
When replacing, match the switch type with the existing wiring.
Finally, always mount switches securely in junction boxes to protect the wiring and ensure safety.
Is Changing a Light Fixture Easy?
Changing a light fixture can be easy, especially with modern designs that simplify installation.
You’ll likely need just basic tools like screwdrivers and pliers. Start by turning off the power at the circuit breaker for safety. Depending on the fixture, you might complete the task in 15 minutes to an hour.
While simple replacements are often manageable on your own, more complex fixtures might need a professional’s touch for proper installation and safety.
Conclusion
In conclusion, light swapping doesn’t have to be complicated. By following the simple steps outlined, you can easily enhance your space with just a few changes. Isn’t it amazing how a little creativity can transform the atmosphere in your home? So, why not give it a try? Embrace the simplicity of light swap and watch your environment come alive. With just a few adjustments, you’ll create a warm, inviting ambiance that reflects your unique style.