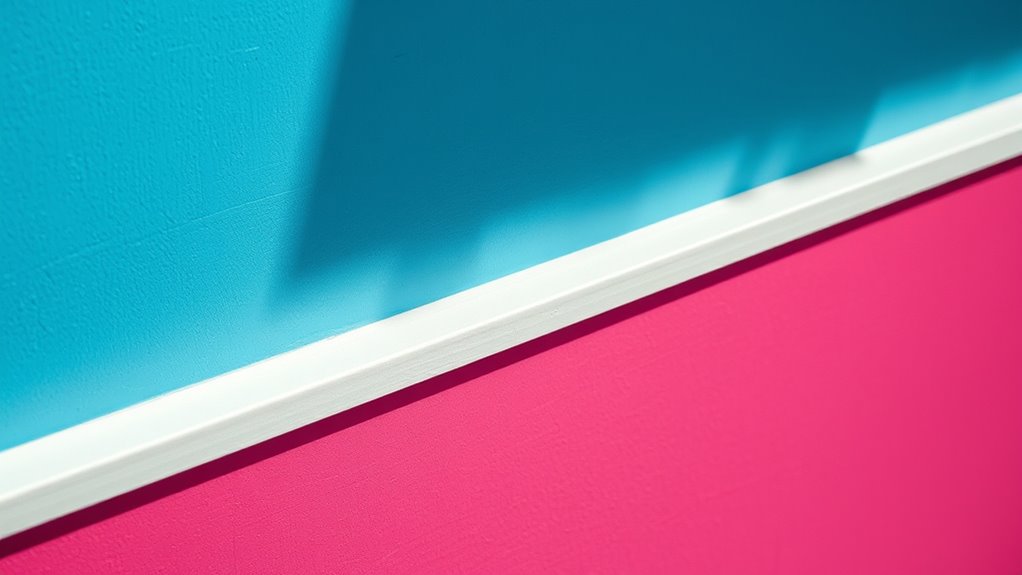
To achieve paint edge perfection, start by using high-quality masking tape and seal the edges to prevent paint seepage. Choose an angled European brush for precision, and avoid overloading it with paint. When cutting in, take your time and ensure the paint’s dry to the touch before tape removal. For textured surfaces, apply paintable silicone for sharper edges. With careful attention to these techniques, your walls will look professionally finished. Discover more tips to elevate your painting skills.
Key Takeaways
- Use high-quality masking tape, applied firmly, to create sharp edges and prevent paint seepage.
- Choose an angled brush for better control when cutting in around edges.
- Apply paintable silicone along the tape edge on textured surfaces for cleaner lines.
- Allow paint to dry before removing tape to avoid tearing and ensure a flawless finish.
- Focus on patience and attention to detail for improved overall project quality and aesthetics.

Have you ever wondered how to achieve flawless paint edges that elevate your project? Mastering the art of paint edge perfection isn’t just about skill; it’s about using the right techniques and materials. With a bit of preparation and the right tools, you can create straight lines that will make your walls look professionally finished.
Start by preparing your workspace. Use high-quality masking tape, as it provides better adhesion and prevents paint seepage. When you tape the edges, press the tape down firmly to ensure it sticks well. For added protection, you might even consider applying a layer of ceiling paint along the tape edge. This seals the tape and minimizes the chance of the new wall color bleeding under the tape, which can ruin your crisp edges.
Once the ceiling paint dries completely, it’s time to bring out your paint brush. Opt for an angled European finishing brush for better control when cutting in edges. Using the right brush not only enhances precision but also makes it easier to navigate difficult areas. When you dip your brush into the paint, be careful not to overload it, as this can cause drips and uneven lines. Instead, remove excess paint by lightly tapping the brush against the rim of the paint can.
After you’ve cut in around the edges, let everything dry sufficiently before removing the tape. Patience is key here; if you pull the tape too soon, you risk tearing the paint and ruining your hard work. Wait until the paint is dry to the touch, allowing it to cure completely for the best results.
For textured surfaces, applying paintable silicone along the tape edge can provide an even sharper definition. This step is especially useful as it helps prevent any seepage that can occur due to the uneven texture, ensuring your edges remain clean and sharp.
In home improvement projects, achieving those flawless edges not only boosts the appearance of your walls but also reflects your attention to detail. By following these steps, avoiding common mistakes, and using the right materials, you’ll create paint edges that not only look great but also elevate your entire project.
Frequently Asked Questions
How Do Painters Get Perfect Edges?
To get perfect edges, you’ll want to start by applying tape along the edges.
After that, paint over the tape with the existing wall color to seal it. Make sure the initial coat dries completely before removing the tape for sharp lines.
Using high-quality brushes, especially angled ones, gives you better control.
If you’re working on textured surfaces, consider adding paintable silicone along the tape edge for added protection against seepage.
Do Paint Edgers Really Work?
Do paint edgers really work? Well, they can be effective, but it often comes down to your technique and the surface you’re painting.
You might find that they help create straight lines around windows and doors without the mess of tape. However, some users report issues like pad detachment, so it’s crucial to use them correctly.
Lightly applying paint to the pad can really make a difference in achieving a clean finish.
What Paint Finish Shows the Most Imperfections?
When you’re choosing a paint finish, flat or matte finishes tend to show the most imperfections. Their lack of sheen makes any unevenness or flaws more noticeable.
Satin finishes can also reveal some issues, but they do a better job of masking minor imperfections due to their slight gloss.
If you want to minimize visibility of flaws, consider using gloss or semi-gloss finishes, as their reflective qualities help divert attention from surface irregularities.
How to Fix Edges After Painting?
Fixing edges after painting can feel like untangling a knot, but it’s manageable!
If you’ve got messy lines, grab a razor blade to trim away the excess paint. For small touch-ups, use an artist’s brush to blend in the existing color.
If brush strokes are visible, lightly sand the edges with fine-grit sandpaper before repainting.
To prevent future mishaps, ensure your tape is applied correctly and sealed with paint first.
Conclusion
Achieving paint edge perfection is all about precision and a steady hand. With the right techniques, you can transform your space from drab to fab, just like a knight in shining armor revamping their castle. So, grab your brush and painter’s tape, and don’t shy away from taking your time. Remember, it’s those sharp edges that’ll make your hard work shine through. Now go ahead, paint with confidence, and watch your masterpiece come to life!


