Patching drywall like magic is easier than you think. First, cut out the damaged section into a neat shape and use it as a template for your new piece. Secure it with a support board and screw it in tight. Cover the seams with mesh tape and joint compound, feathering the edges for a smooth finish. Once dry, sand it to perfection and prime it before painting. Stick around to discover more tips for a flawless result!
Key Takeaways
- Cut out the damaged drywall section cleanly to create a perfect fit for the new patch.
- Secure the new drywall piece with a support board for added stability and flush alignment.
- Use mesh tape and joint compound to reinforce seams, ensuring a smooth transition between the patch and existing wall.
- Sand the patched area thoroughly between layers of joint compound for a flawless finish.
- Prime and paint the patched area, matching the wall’s texture and color for a seamless look.

Patching drywall can seem daunting, but with the right approach, you can restore your walls to their former glory. Start by assessing the damaged area. To patch a hole effectively, you’ll first need to cut the damaged section into a square or rectangular shape. This creates a clean edge, making it easier to work with. Use this cut-out as a template to cut a new piece of drywall that fits snugly into the hole.
Next, it’s crucial to secure the patch. You can do this by placing a support board behind the wall to give your patch something to grip. Screw the new piece of drywall into this support, ensuring it’s flush with the surrounding surface. This prevents any gaps that could ruin the overall look of your wall.
Secure your patch by adding a support board behind the wall, ensuring a flush, gap-free finish for a seamless look.
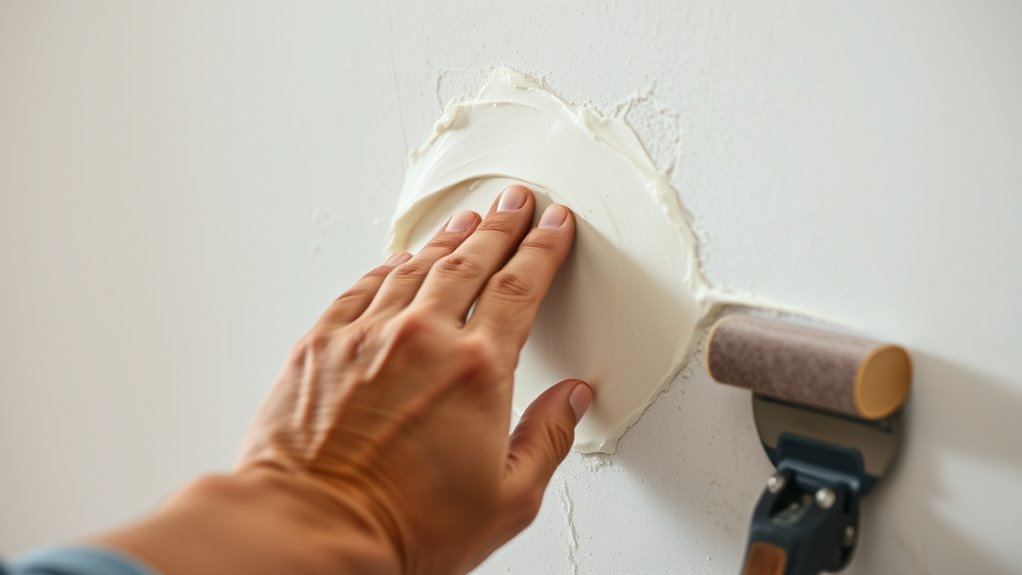
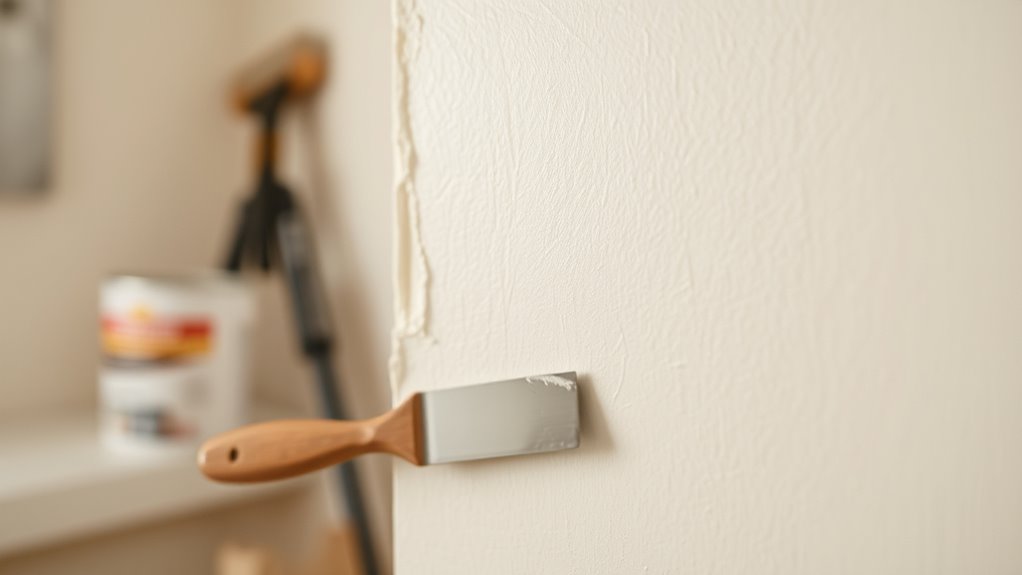
Now the fun begins with the finishing touches! Reinforcing the seams is essential for a seamless appearance. Apply mesh tape over the edges of your patch. This will help hold everything together. Then, grab your joint compound, often referred to as mud. Spread a layer over the tape and the edges of the patch using a putty knife. Make sure to feather the edges so it blends in smoothly with the existing wall. Allow this layer to dry completely before moving on to the next step.
Once the joint compound has dried, it’s time for sanding. Using sanding sponges, smooth out the surface to achieve that perfect, smooth finish. Don’t rush this process; it’s crucial for blending the patch into the wall. If needed, apply additional layers of joint compound, sanding between each application. This will help you achieve a flawless surface that looks like it’s always been there.
When you’re satisfied with the smoothness, it’s time to prime and paint the area. Choose a primer that matches your wall’s finish and use a higher nap roller for textured surfaces. This ensures consistency in texture and color, making your patch blend seamlessly with the rest of the wall.
With a bit of patience and attention to detail, you can patch drywall like magic, transforming an eyesore into a beautifully restored wall that looks as good as new.
Frequently Asked Questions
What Is the Best Method for Patching Drywall?
The best method for patching drywall involves cutting a clean square around the damaged area.
Make sure your patch fits snugly. Use fiberglass mesh tape for better adhesion, then apply multiple thin layers of joint compound, letting each dry before sanding.
If you’re dealing with larger patches, secure wooden braces behind the drywall for added support. This approach minimizes movement and helps prevent future cracking, giving you a smooth, professional finish.
How to Make Drywall Patch Match Texture?
To make your drywall patch match the texture, first choose a technique that resembles the existing surface, like knockdown or slap brush.
You can use spray texture or a brush to replicate the pattern. For knockdown, apply the spray and lightly flatten it after it dries a bit.
Don’t forget to practice on scrap drywall to get the consistency right before you tackle the actual patch.
Once it’s dry, you can prime and paint for a seamless finish.
How to Make a Drywall Patch Invisible?
To make a drywall patch invisible, start by ensuring it’s flush with the wall. Secure it with screws, then apply joint compound smoothly over the edges.
Cover seams with drywall tape to prevent cracks. Use multiple thin layers of joint compound, feathering the edges for a seamless transition.
Once dried, sand the patch with fine grit sandpaper and wipe it clean. Finally, prime and paint to blend it perfectly with the surrounding wall.
What Is the Best Thing to Fill Holes in Drywall?
When it comes to filling holes in drywall, think of it like a magician pulling a rabbit from a hat.
For small holes, grab lightweight spackling paste; it dries quickly and needs little sanding.
Larger holes? Use a patching compound with fiberglass mesh tape for added strength.
If you’re dealing with deep cracks, hot mud‘s your best bet; it hardens fast and sands easily.
Choose wisely, and your walls will look as good as new!
Conclusion
In the end, patching drywall isn’t just about fixing holes; it’s about restoring your space, reclaiming your walls, and reviving your home. With a little practice, you’ll master the techniques, gain confidence in your skills, and transform imperfections into seamless finishes. So grab your tools, embrace the process, and remember: every patch is a step toward a more polished, more beautiful living environment. You’ve got this, and your walls will thank you!


