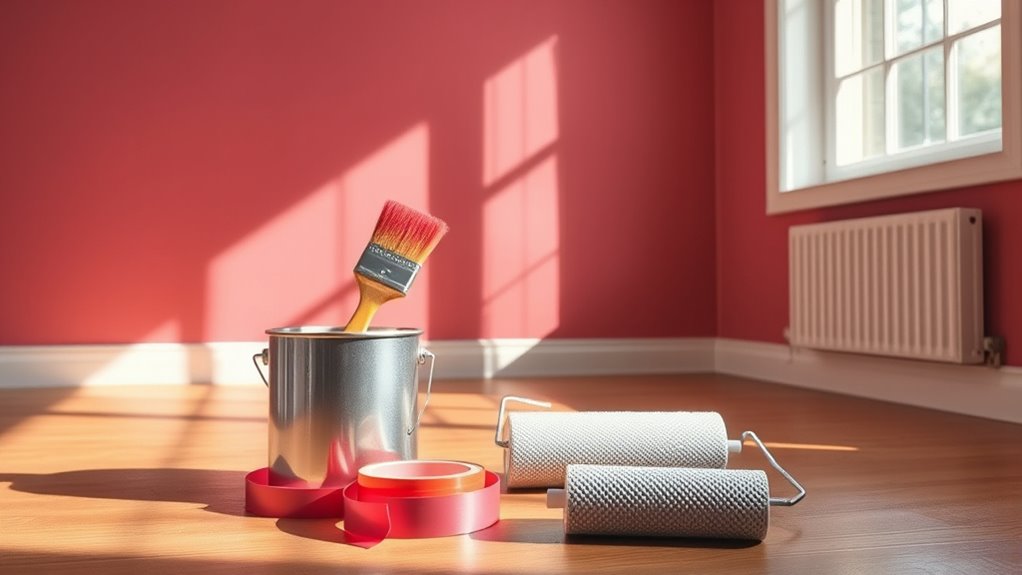
To paint your walls like a pro, start by gathering high-quality materials and prepping the space. Clear furniture, clean the walls, and fix any imperfections. Mask areas you don’t want painted with tape. Use a roller for large areas and a brush for edges. Apply thin, even coats and let them dry properly before touching up. Finally, consider how to achieve a flawless finish. There’s more to learn to make your painting project a success!
Key Takeaways
- Begin by preparing the space: clear furniture, clean walls, and gather all necessary materials for painting.
- Inspect and repair wall imperfections with spackle, sanding smooth before painting for a flawless finish.
- Use painter’s tape to mask off edges and protect areas you don’t want painted, ensuring clean lines.
- Apply paint in thin, even coats using a roller for large areas and a brush for edges, maintaining a wet edge.
- Allow proper drying time between coats, inspect for missed spots, and clean up thoroughly for a professional-looking result.
Necessary Materials

When you’re gearing up to paint your walls, having the right materials at hand makes all the difference.
Start with high-quality primer and paint to guarantee a lasting finish. You’ll need 2 to 2.5-inch angled paintbrushes for edges and shedless rollers for larger surfaces, along with a paint tray for easy access.
Begin with top-notch primer and paint for durability, and ensure you have angled brushes and shedless rollers ready for a smooth application.
Painter’s tape is crucial for masking off areas and achieving clean lines. Don’t forget spackle and a spackle knife to fill in holes and imperfections.
Sanding those patched areas smooths them out, while a tack cloth helps remove dust for better adhesion.
Finally, drop cloths are essential to protect your floors and furniture from unwanted paint splatters.
With these materials, you’re ready to tackle your painting project!
Prepare Walls for Painting
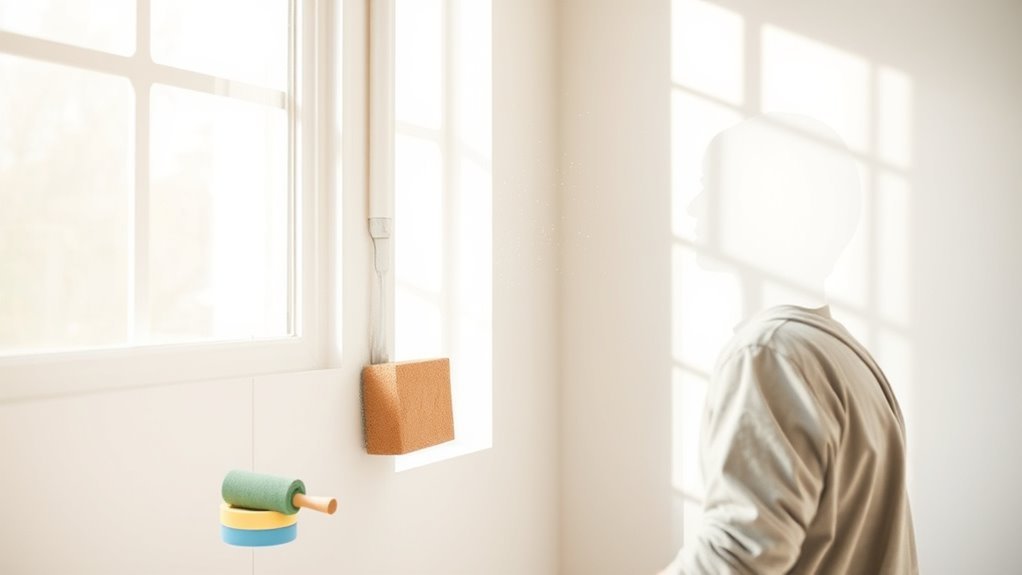
Before you start painting, clear and clean the space around your walls.
Next, inspect for any imperfections and repair them to guarantee a smooth finish.
Finally, choose the right conditions for painting to achieve the best results.
Clear and Clean Space
Preparing your walls for painting starts with creating a clear and clean space. First, move furniture out of the room and push larger pieces to the center, covering them with plastic. Next, inspect the walls for cracks, holes, or stains, and fill these imperfections with spackle. After filling, sand any patched areas with fine 220-grit sandpaper to guarantee a smooth surface. Use a tack cloth to clean up dust from sanding, achieving a clean surface for ideal paint adhesion. If necessary, spot prime patched areas, especially over dark walls or stains, to guarantee even paint coverage. This preparation helps prevent paint drips and assures a professional finish.
| Task | Materials Needed | Tips |
|---|---|---|
| Move Furniture | Plastic covers | Protect from dust and paint |
| Inspect the Walls | Spackle, putty knife | Look for cracks and stains |
| Sand Patched Areas | 220-grit sandpaper | Guarantee smoothness |
| Clean Surface | Tack cloth | Remove all dust |
| Spot Prime | Primer | Use for dark walls |
Repair Wall Imperfections
After you’ve cleared and cleaned your space, focus on repairing wall imperfections to guarantee a smooth finish.
Start by inspecting your walls for cracks, holes, and stains. Use a putty knife to fill holes and cracks with spackle, applying it in an X-motion to avoid divots. Leave a small mound for sanding later.
Once the spackle dries, sand smooth the patched areas with fine-grit sandpaper until they’re flush with the wall. After sanding, wipe down the walls with a tack cloth to remove dust that could interfere with paint adhesion.
If your walls are stained or you’re painting over dark colors, apply a primer to the repaired areas to enhance paint coverage and prevent imperfections from showing through.
Choose Optimal Conditions
To achieve the best results when painting your walls, it’s vital to choose ideal conditions that enhance paint adhesion and drying time. Start by inspecting walls for cracks, holes, or stains, and make certain to clean surfaces thoroughly with trisodium phosphate or a mild soap solution to remove dirt. Proper ventilation is essential; open windows and use fans to help paint dry faster and improve adhesion. If you’ve filled holes, sand those areas smooth with fine-grit sandpaper. Finally, consider spot priming patched areas, especially when shifting between paint colors.
| Step | Action | Purpose |
|---|---|---|
| Inspect Walls | Check for cracks and stains | Guarantee a smooth surface |
| Clean Surfaces | Use TSP or mild soap solution | Maximize paint adhesion |
| Guarantee Ventilation | Open windows and use fans | Enhance drying time |
How to Paint a Wall
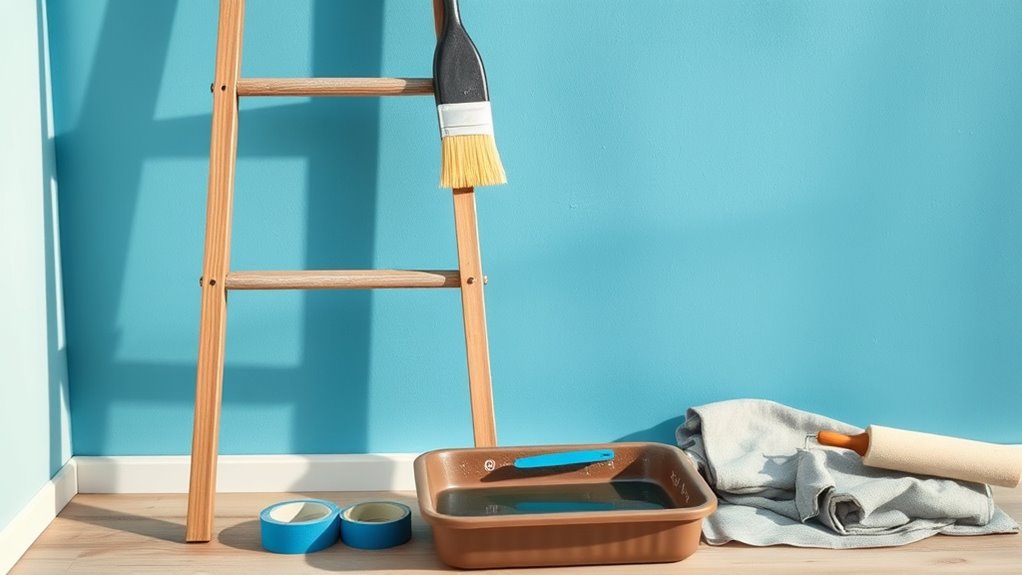
Now that you’ve prepped your walls, it’s time to transform your space with paint.
Start by protecting your furniture and floors, then apply effective painting techniques for a flawless finish.
Let’s explore the best ways to paint your walls like a pro!
Prepare the Room
Preparing the room for painting is essential, as it sets the stage for a smooth and successful project. Start by clearing the room of all furniture and fixtures to prevent damage and guarantee easy access to the walls.
Use drop cloths to protect the floors and any remaining items from spills and splatters. Next, inspect the walls for imperfections like cracks or holes; repair these using spackle and a putty knife, followed by sanding for a smooth finish.
Don’t forget to apply painter’s tape along the edges of trim, windows, and doors to achieve clean lines. Finally, provide proper ventilation by opening windows and using fans to create an ideal environment for painting and drying.
Apply Paint Techniques
Once the room is prepped and ready, it’s time to apply your paint with technique and precision.
Start by using painter’s tape to cover areas you don’t want to paint and protect your floors with drop cloths. Pour your paint into a tray for even distribution, then grab a 2-inch angled brush to cut in along the edges and corners of the walls.
Next, use a roller to apply paint in a W-pattern, working in small 3-by-3-foot sections to maintain a wet edge and avoid visible lines.
Allow at least two hours for the first coat to dry before applying a second coat. Remember to remove the painter’s tape while the paint is still wet for clean lines.
Cover Areas You Don’t Want Painted
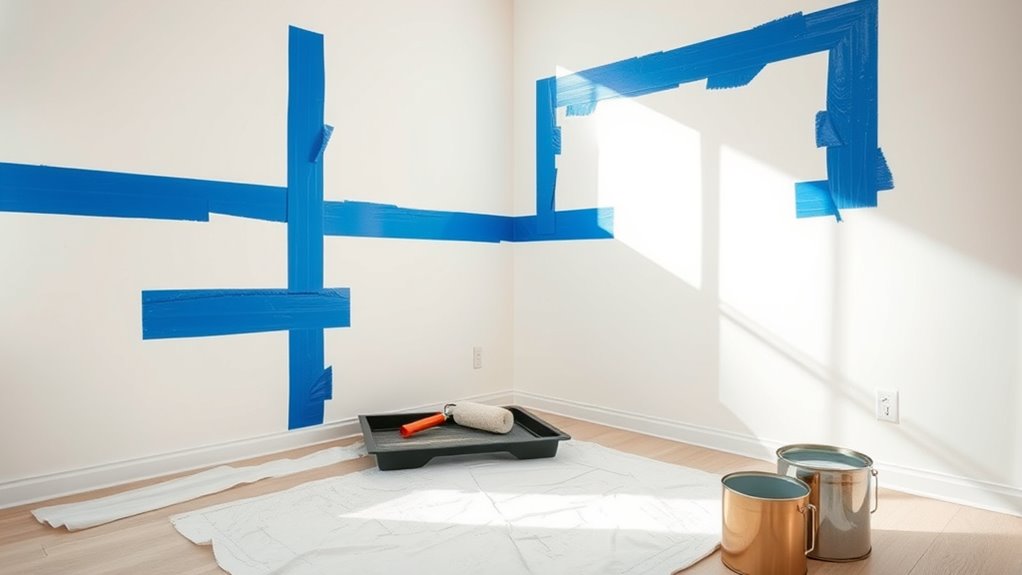
Before diving into your painting project, it’s essential to cover areas you don’t want painted to achieve a professional finish. Start by using blue painter’s tape to mask off trim, molding, and fixtures; this guarantees a clean edge and prevents paint seepage. Press the tape firmly, especially on textured surfaces, to secure it in place.
Next, cover floors and furniture with drop cloths or tarps to protect them from spills. For areas with intricate details, use a small artist brush to carefully paint around edges before rolling on the main color.
Protect your floors and furniture with drop cloths, and use a small brush for detailed edges before applying the main color.
Finally, remove painter’s tape while the paint is still wet for the cleanest lines.
- Use painter’s tape for masking
- Cover floors with drop cloths
- Remove tape for sharp edges
Paint Along the Trim
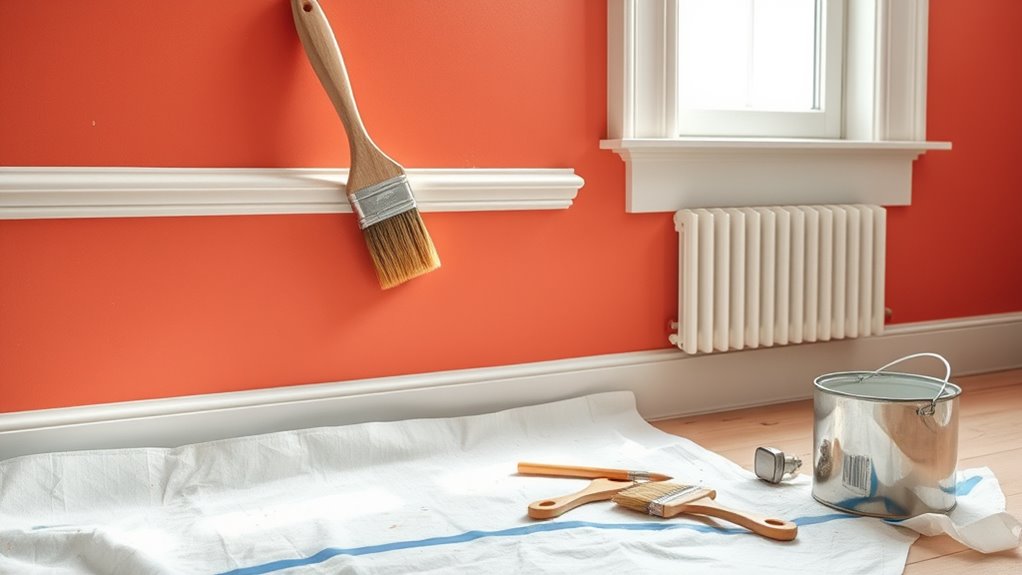
As you start painting your walls, focusing on the trim is essential for achieving a clean and professional look.
Begin by applying painter’s tape along the trim and baseboards, guaranteeing a tight seal to prevent paint from seeping underneath. Use a high-quality angled brush to carefully paint along the edges, creating a 2-3 inch strip for even coverage.
Work in small sections, moving from the trim outward to avoid smudging the fresh paint. This technique minimizes the risk of paint bleed and helps you achieve clean lines.
Finally, remove the painter’s tape while the paint is still wet. This guarantees you maintain those sharp edges and enhances the overall quality of your paint job.
Paint the Ceiling
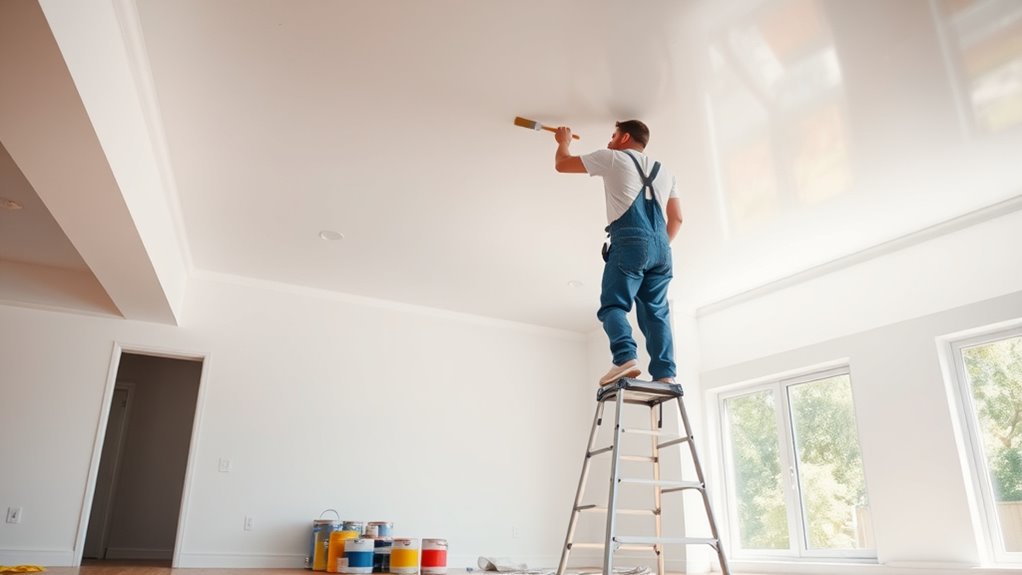
After you’ve perfected the trim, it’s time to tackle the ceiling. Start with a roller and extension pole to cover large areas efficiently. Work in 3-by-3-foot sections using a W pattern for even distribution.
For edges and corners, use an angled sash brush to guarantee crisp lines and avoid drips.
To make your painting experience smoother, remember to:
- Open windows for ventilation to help the paint dry faster.
- Apply a second coat only after the first has completely dried, usually a couple of hours.
- Remove painter’s tape while the paint’s still slightly tacky for a clean finish, preventing peeling.
With these steps, you’ll achieve a professional-looking ceiling.
Drying Time
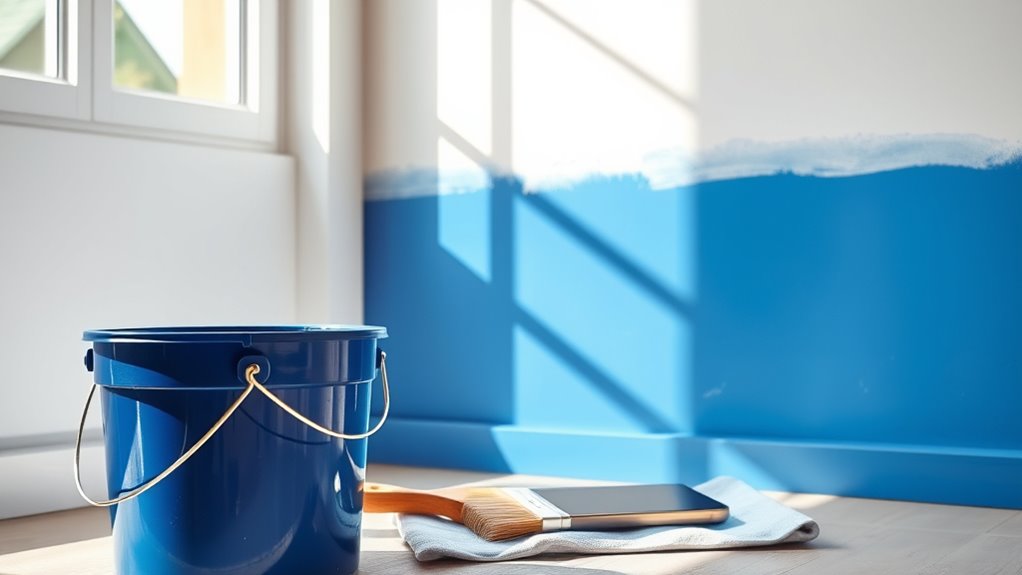
Understanding drying time is essential for achieving a flawless paint job. After applying your first coat of paint, you should allow at least two hours of drying time before you apply a second coat.
Keep in mind that humidity and temperature can affect this period. For latex paint, it typically dries to the touch in about an hour, but you’ll want to wait longer for a smooth finish.
Humidity and temperature influence drying times; latex paint dries to the touch in about an hour, but a longer wait ensures a smooth finish.
On the other hand, oil-based paint can take up to six hours to feel dry, with a full cure time of up to a day.
To avoid peeling paint or damage, refrain from touching your freshly painted surface until it’s fully cured, which can take several days depending on the paint type.
Frequently Asked Questions
How to Paint Walls Like a Pro for Beginners?
To paint walls like a pro, start by prepping your space. Clear out furniture and cover the floors.
Check your walls for any imperfections and fill holes as needed. Use high-quality brushes and rollers, keeping a wet edge for even application.
If necessary, apply primer before painting. Finally, apply at least two coats of paint, waiting a couple of hours between each.
Remove the painter’s tape while the paint’s still tacky for clean lines.
How to Paint a Room Like a Pro Professionally?
They say, “A good paint job is worth a thousand words.”
To paint a room like a pro, you need to prep thoroughly. Move your furniture, cover the floors, and clean the walls for better paint adhesion. Fix any imperfections using spackle and sand them smooth.
Use quality brushes and rollers for even coverage, and paint systematically from ceiling to trim. Don’t forget to remove tape while the paint’s still wet for crisp edges!
In What Order Should I Paint My Walls?
When you’re painting your walls, start with the ceiling to catch any drips.
After that, tackle the walls, working from the top down to keep things tidy. Use a W-pattern for even coverage, which helps blend the paint seamlessly.
Once the walls are done, move on to the trim and baseboards for a clean finish.
Finally, save the windows and doors for last to avoid smudging your hard work.
How to Paint Walls Professionally?
Imagine painting your walls like a skilled artist crafting a masterpiece.
To paint professionally, you’ll want to prep the room by removing furniture and cleaning the walls. Use painter’s tape for clean lines, then cut in around edges with an angled brush before rolling on the paint in a W-pattern.
Allow adequate drying time between coats, and remove the tape while the paint’s still tacky for that perfect finish.
You’ve got this!
Conclusion
Now that you’ve got the hang of painting your walls like a pro, it’s time to admire your handiwork—just like a caveman discovering fire! By following these steps, you’ve transformed your space with ease. Remember, practice makes perfect, so don’t hesitate to tackle your next painting project. Whether you’re revitalizing a room or going for a bold new look, you’ve got the skills to make it happen. Happy painting!
