
To hang wallpaper as a beginner, start by preparing your walls—clean thoroughly and smooth out any imperfections. Measure and cut your wallpaper strips, ensuring you account for pattern matching and set aside enough length. Apply adhesive evenly if needed, then carefully align each strip, smoothing out bubbles from the center outward with a smoothing tool. Use a seam roller for tight seams and trim excess at the top and bottom. For more tips, keep exploring the proper techniques for a professional finish.
Key Takeaways
- Prepare walls thoroughly by cleaning and smoothing for optimal adhesion.
- Measure, cut, and align wallpaper strips, considering pattern repeats for seamless matching.
- Apply adhesive evenly and fold strips (“book”) to activate the glue before hanging.
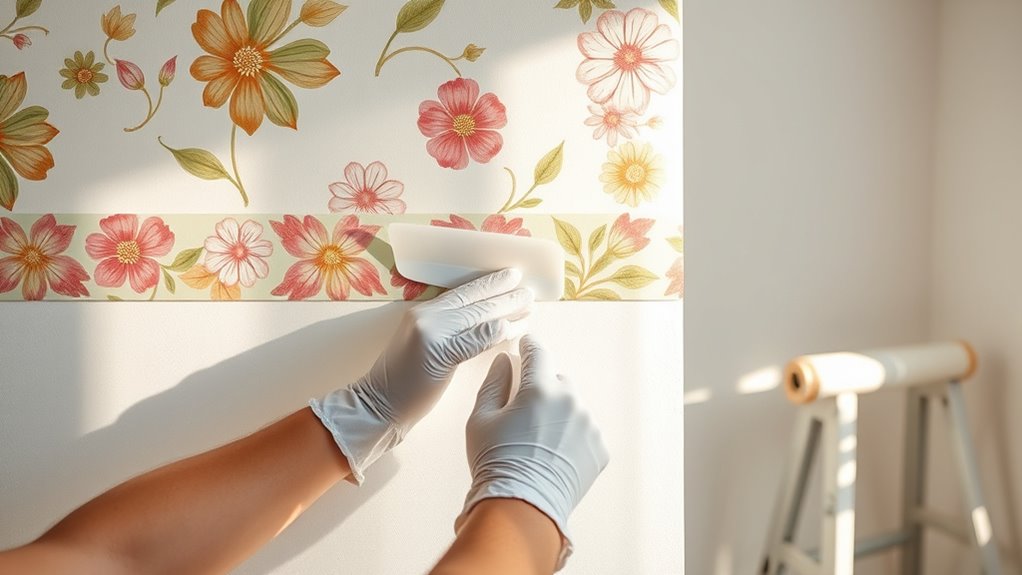
- Carefully position the wallpaper, smoothing out bubbles from center to edges with a smoothing tool.
- Trim excess at the top and bottom with a utility knife for a clean, professional finish.
Hanging wallpaper might seem intimidating at first, but with the right preparation and techniques, you can achieve a professional-looking finish. The first step is understanding your wallpaper patterns. Whether you’re working with patterns that need to align perfectly or a simple design, knowing how your pattern repeats helps ensure your wallpaper looks seamless. Take a close look at the packaging or the wallpaper roll to identify the pattern repeat length. This will guide you in cutting your strips accurately and aligning the designs properly.
Next, gather the tools needed for the job. Basic supplies include a measuring tape, a level or straightedge, a pencil, a utility knife, a smoothing tool or brush, and a wallpaper paste or adhesive if you’re using unpasted wallpaper. A seam roller can also help press down edges and seams smoothly. Having all these tools ready before you start makes the process much smoother and prevents unnecessary interruptions. Keep a damp cloth nearby for quick clean-up of any paste or adhesive spills.
Before applying the wallpaper, prepare your wall by cleaning it thoroughly to remove dust, grease, or any peeling paint. A smooth, clean surface ensures the wallpaper adheres properly and reduces the risk of bubbles or wrinkles. If your walls are uneven, consider applying a primer or a leveling compound beforehand. Once your walls are ready, measure the height from the floor to the ceiling and cut your wallpaper strips slightly longer than this measurement. It’s better to have a little extra length initially; you can always trim the excess after the wallpaper is hung.
When you’re ready to hang, start by applying the adhesive if your wallpaper isn’t pre-pasted. Use a roller or brush to evenly coat the back of the strip, then fold it in on itself (booking) for a few minutes to activate the adhesive. Align the first strip carefully at the corner or a straight edge, ensuring it’s level. Smooth it out from the center outward with your smoothing tool to eliminate bubbles and wrinkles. If your wallpaper has patterns, take extra care to match the design at the seams. Use a seam roller to press down edges firmly, and trim any excess at the top and bottom with your utility knife after the wallpaper is in place.
Additionally, understanding how the self-watering plant pots function can inspire you to approach your wallpaper project with patience and precision, ensuring each step is completed carefully for the best results. With patience and attention to detail, hanging wallpaper can become a satisfying DIY project. Following these steps and understanding the importance of wallpaper patterns and the tools needed will help you achieve a polished, professional look in your space.

Art3d Smoothing Tool Kit for Applying Peel and Stick Wallpaper, Vinyl Backsplash Tile
【Set of basic tools】: Package includes craft art knife with 5 replaceable blades, red smoother, blue smoother with…
As an affiliate, we earn on qualifying purchases.
As an affiliate, we earn on qualifying purchases.
Frequently Asked Questions
What Tools Are Essential for Hanging Wallpaper?
When hanging wallpaper, you’ll need a tools checklist to guarantee success. Essential tools include a measuring tape, a level, a utility knife, and a smoothing tool or brush. Don’t forget safety gear like gloves and goggles to protect yourself. These tools help you measure accurately, cut cleanly, and smooth out the wallpaper, making the process easier and safer. Always check your tools before starting to avoid any delays or mishaps.
How Do I Prepare My Walls Before Wallpapering?
Ever wonder if your walls are ready for wallpaper? Proper wall preparation involves cleaning the surface thoroughly to remove dust, grease, or peeling paint. Sand any rough spots and fill holes or cracks with spackle. Make sure the wall is dry and smooth. Don’t skip surface cleaning, as it helps the wallpaper adhere better and lasts longer. Preparing your walls properly guarantees a flawless finish and a smoother wallpapering experience.
Can I Hang Wallpaper Over Painted Walls?
Yes, you can hang wallpaper over painted walls, but first, consider the wall texture and whether wallpaper removal might be necessary if the paint is peeling or uneven. Smooth out any bumps and clean the surface thoroughly. If your walls have a rough texture, use a primer or a lining paper to create a smooth surface. This guarantees the wallpaper adheres well and lasts longer, giving your space a fresh look.
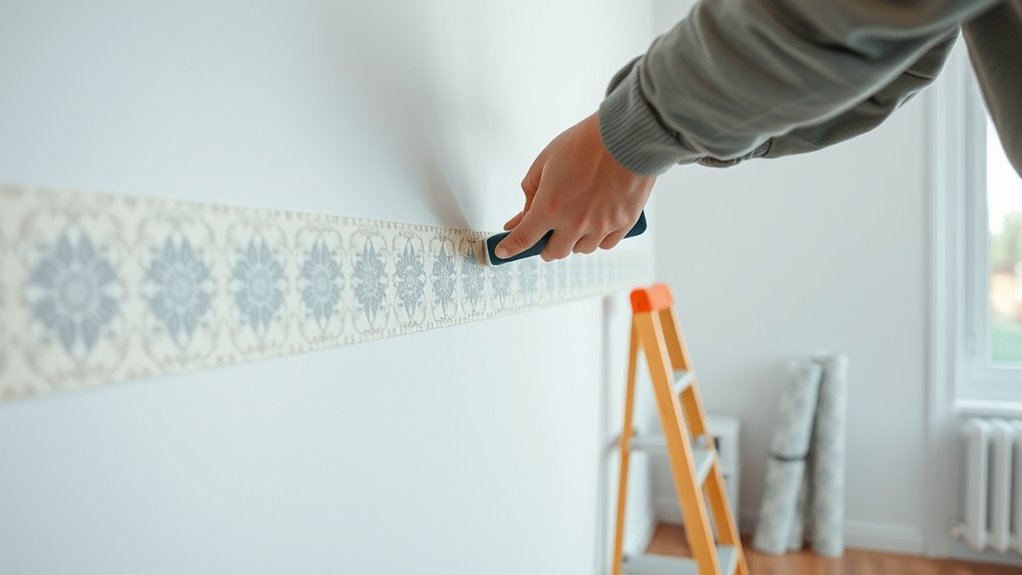
How Do I Match Patterns on Wallpaper Seams?
Think of pattern matching on wallpaper seams as fitting puzzle pieces together. You’ll want to focus on seam alignment, lining up the patterns precisely so they flow like a continuous mural. Carefully match the designs at each seam, gently adjusting as needed before sticking. Patience is your best tool here; a steady hand guarantees your wallpaper looks seamless, turning your wall into a work of art where patterns dance flawlessly from one strip to the next.
What Should I Do if the Wallpaper Tears During Hanging?
If your wallpaper tears during hanging, don’t panic. Start with gentle wallpaper repair by carefully trimming or patching the tear. Use seam smoothing techniques to blend the repair area seamlessly with the surrounding wallpaper. Apply a small amount of wallpaper adhesive if needed, then press and smooth the seam to guarantee it stays flat. Taking your time with these steps helps maintain a professional look, even if accidents happen.
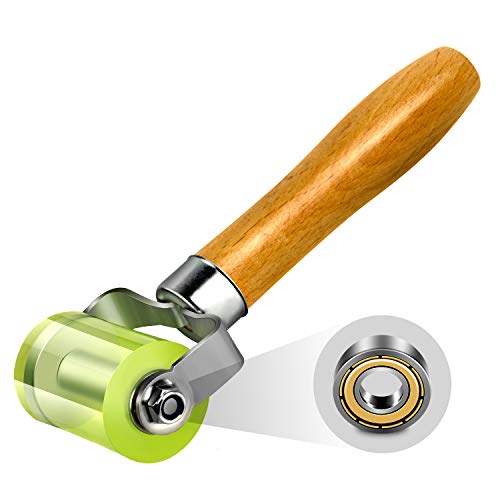
LUMITECO Bearings Equipped Automotive Car Audio Sound Deadening Application Wheel Roller, Heat Abatement Mat Wallpaper Application PU Smoothing Tool Seam Roller
【Upgraded Bearings Equipped】This seam roller is constructed by durable polyurethane(PU) roller held to a wooden handle with a…
As an affiliate, we earn on qualifying purchases.
As an affiliate, we earn on qualifying purchases.
Conclusion
Now that you know the steps, hanging wallpaper becomes less like a formidable task and more like transforming your space into a work of art. With patience and a steady hand, you’re turning blank walls into vibrant stories. Imagine peeling back the paper to reveal a fresh, new room—like unwrapping a gift. It’s a simple act that creates a lasting impression, blending your vision with a splash of creativity. Your wall is ready to tell its new story.
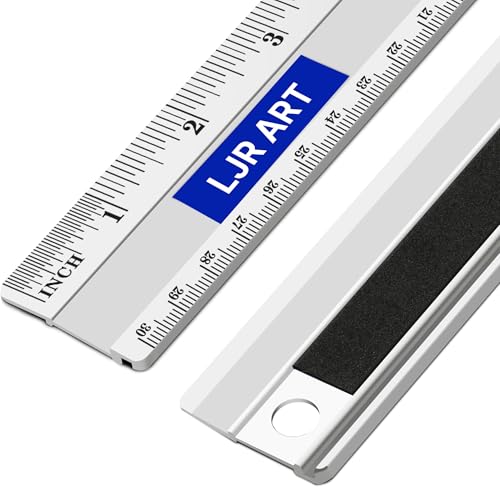
LJR ART 12 Inch Aluminum Cutting Ruler, Dual Scale Inch/Metric Measuring Tool with Precision Markings, Lightweight Straight Edge for Architects, Students, Engineers, and Designers
DUAL UNIT MEASUREMENT SYSTEM – This 12 inch ruler features both inch and centimeter scales, allowing precise measurement…
As an affiliate, we earn on qualifying purchases.
As an affiliate, we earn on qualifying purchases.

Zinsser 97501 Paste Brush
6", wallcovering paste brush, use for spreading wallcovering & border adhesive, complete with handy bucket hook, dips right…
As an affiliate, we earn on qualifying purchases.
As an affiliate, we earn on qualifying purchases.