
Installing a DIY sliding barn door is a great way to add rustic charm while saving space in your home. Start by measuring your doorway precisely and choosing hardware that supports your door’s weight and style. Secure the track to a sturdy header or ceiling mount, ensuring it’s level for smooth operation. Add a floor guide to prevent swinging. For detailed steps and tips, keep going—you’ll discover how to make your project both functional and stylish.
Key Takeaways
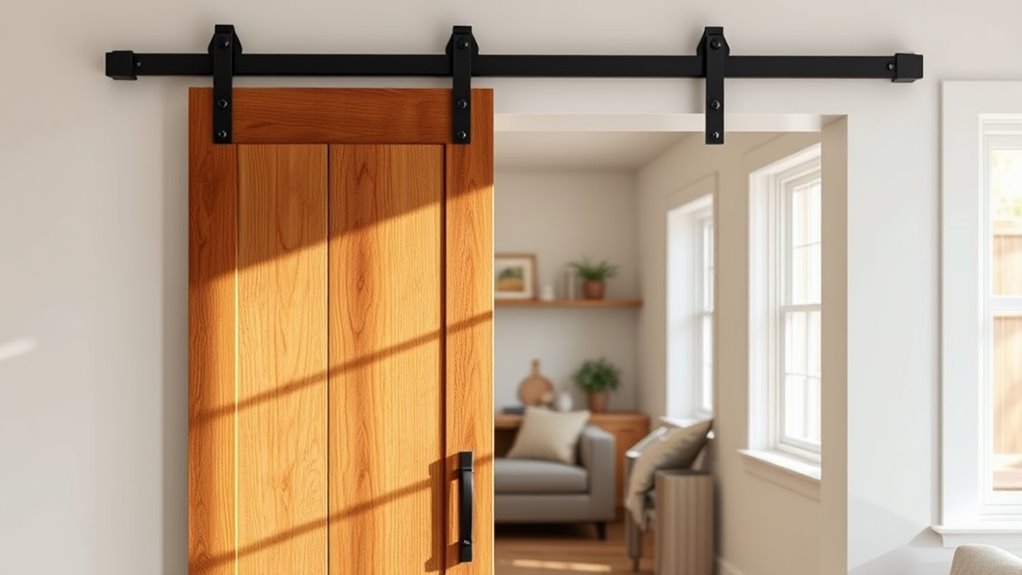
- Choose stylish hardware finishes like matte black or antique to enhance character and match your décor theme.
- Measure doorway accurately and extend the track beyond the opening for full space utilization.
- Install a sturdy header board and level the track for smooth, reliable sliding motion.
- Select a track system that supports your door’s weight and allows for adjustments to prevent sagging.
- Add a floor guide to keep the door aligned and prevent swinging, maximizing space and function.
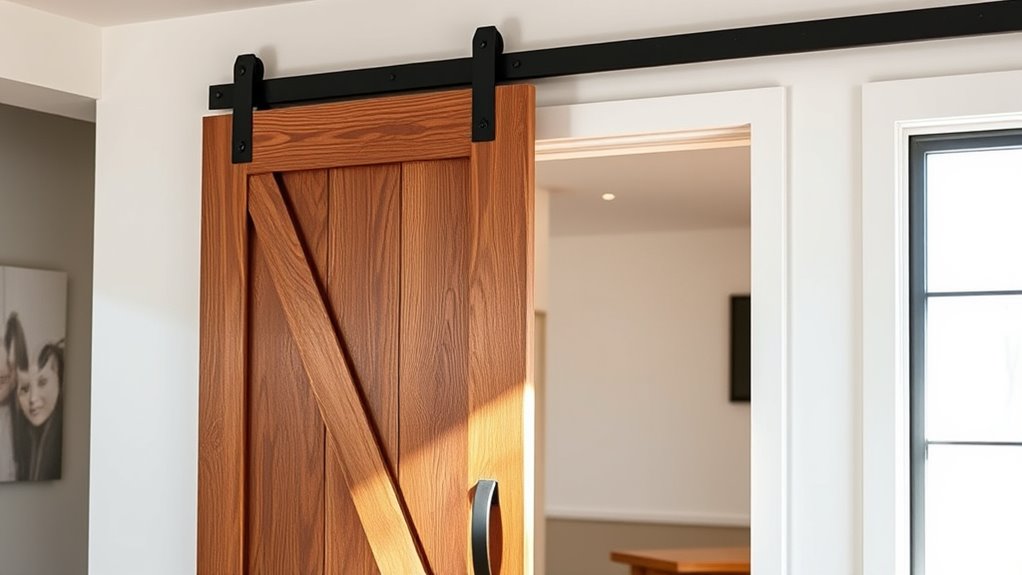
Are you looking to add a rustic charm and functionality to your space? A DIY sliding barn door offers a perfect solution, blending style with practicality. Not only does it create a focal point, but it also saves space compared to traditional swinging doors. To get started, you’ll need to explore your hardware options, which are vital for both the look and the smooth operation of your barn door. You can choose from various styles like matte black, brushed nickel, or antique finishes to match your décor. Consider whether you want a track system that’s concealed or exposed for a more rustic appearance. Once you pick your hardware, it’s essential to follow proper installation tips to guarantee your door functions flawlessly and remains secure over time.
First, measure your doorway accurately. You want the track to be wider than the door itself, typically about 6-12 inches on each side, so the door can slide fully open. When selecting hardware options, pay attention to the weight capacity; heavier doors require sturdier tracks and rollers. If you’re using reclaimed wood or heavier materials, make sure your hardware can support that weight to prevent sagging or damage. Additionally, look for adjustable rollers that allow you to fine-tune the door’s height and alignment after installation. This flexibility can make a significant difference in achieving a smooth sliding motion.
In terms of installation tips, start by securing the header board or ceiling mount with appropriate anchors, especially if you’re installing on drywall. Use a level to ensure the track will hang straight, which is vital for smooth sliding. Pre-drill holes for the track to prevent splitting the wood, and attach the hardware tightly to handle the door’s weight. When hanging the door, double-check that it glides freely without obstruction. To make adjustments easier later, keep extra screws and tools handy during installation. If you’re installing a floor guide, position it at the bottom to prevent the door from swinging out, but make sure it doesn’t interfere with the sliding motion.
Frequently Asked Questions
What Tools Are Essential for Installing a Sliding Barn Door?
To install a sliding barn door, you need hardware essentials like a sturdy track, rollers, and mounting brackets. Don’t forget a level, drill, screwdriver, and measuring tape for precise placement. Safety precautions are crucial—wear goggles and gloves, and secure the door during installation. These tools will help you achieve a smooth, secure fit while keeping the process safe and efficient.
How Do I Choose the Right Door Size for My Space?
They say “measure twice, cut once,” and that’s especially true when choosing a door size. To get it right, consider your door thickness and hardware clearance—these factors guarantee smooth operation and proper fit. Measure your opening’s width and height accurately, then add extra space for hardware and wall clearance. This way, your sliding barn door will function perfectly, adding character without compromising space.
Can I Customize the Barn Door’s Style and Finish?
Yes, you can definitely customize your barn door’s style and finish. You have plenty of options for style personalization, from rustic, modern, to farmhouse looks. Plus, with custom finish options like paint, stain, or distressed coatings, you can match your decor perfectly. Just choose your preferred style and finish, and you’ll create a unique, personalized sliding barn door that adds character to your space.
What Are Common Mistakes to Avoid During Installation?
Imagine hanging your barn door, but forget to take into account door weight and hardware compatibility. You might end up with a crooked installation or hardware that can’t support the door’s weight, causing damage or safety issues. To avoid this, double-check the hardware specifications for weight limits and ensure it’s compatible with your door. Proper measurement and leveling are essential, so take your time and follow the manufacturer’s instructions carefully.
How Do I Maintain and Clean My Sliding Barn Door?
To maintain and clean your sliding barn door, regularly check the hardware for looseness and apply lubricant to keep the moving parts smooth. Use a soft cloth and mild soap or wood cleaner for cleaning techniques, avoiding harsh chemicals that could damage the finish. Wipe down the track and rollers to prevent dust buildup, ensuring your door functions properly and looks great. Consistent care will extend its lifespan and keep it operating seamlessly.
Conclusion
Now, as you step back and admire your DIY sliding barn door, you see more than just a functional feature—you see charm, character, and space transformed. You’ve crafted a piece that slides smoothly, adds warmth, and defines your style. With every glide, you’re reminded of your effort and creativity. This door isn’t just a project completed; it’s a reflection of your vision, your skill, and your home’s new heartbeat—functional, beautiful, uniquely yours.