To build DIY floating shelves in a weekend, start by gathering your materials, like wood, screws, and shelf brackets. Cut your wood to size and drill holes for dowels. Next, locate wall studs for support and assemble the brackets with wood glue and screws. Install the brackets on the wall, then place your shelves on top and secure them. Finally, finish with your choice of stain or paint for a polished look. There’s more to explore for a flawless finish!
Key Takeaways
- Gather all materials, including wood, hardware, and tools, to streamline the building process and ensure you have everything on hand.
- Measure and cut wood to desired dimensions, drilling holes for dowels before sanding for a smooth finish.
- Locate wall studs accurately using a stud finder to ensure secure shelf installation and mark positions for mounting.
- Assemble and install invisible shelf brackets, ensuring they are level and securely attached to the studs for stability.
- Apply stain or paint for aesthetics, allowing adequate drying time and applying a clear coat for protection and durability.
Gather Your Materials
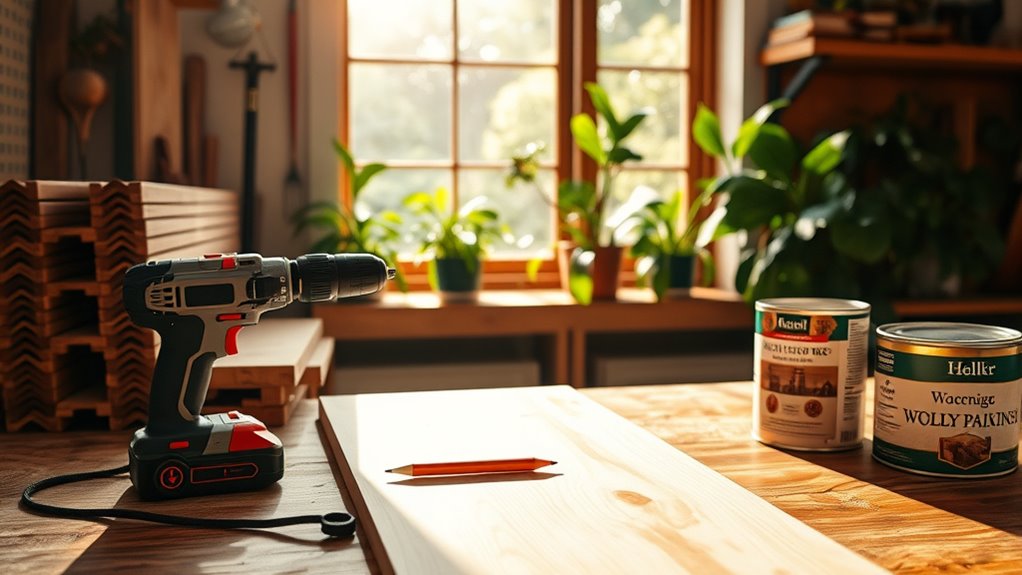
To kick off your DIY floating shelves project, gather all your materials.
Start by selecting your wood type—Southern yellow pine, birch plywood, or any scrap wood will work, as long as it’s at least ¾ to 1 inch thick for stability.
Selecting the right wood type is crucial; choose Southern yellow pine, birch plywood, or sturdy scrap wood for stability.
You’ll need essential hardware too, like wood screws (3-inch and shorter), ½ inch oak dowels, and invisible shelf brackets if you prefer that installation method.
Don’t forget your tools; have a drill, finish nailer, stud finder, and possibly a table saw on hand for cutting wood to size.
Finally, measure your space accurately to determine the ideal shelf dimensions, aiming for around 24 x 11 x 2 inches for the best fit and function.
Prepare the Shelves

Now that you’ve gathered your materials, it’s time to prepare the shelves.
Start by selecting the right wood and cutting it to your desired dimensions.
Once that’s done, you’ll create holes for secure installation and get everything ready for a smooth finish.
Material Selection Guide
Choosing the right materials for your floating shelves is essential to guarantee both stability and style. For a sturdy build, select wood types like birch plywood, Pine Boards, or scrap wood, ensuring a thickness of around ¾ to 1 inch. Keep the dimensions about 24 inches long and 11 inches deep to balance aesthetics and support.
To assist with your material selection, here’s a quick comparison:
| Material | Weight Capacity |
|---|---|
| Birch Plywood | High |
| Pine Boards | Moderate |
| Scrap Wood | Variable |
Don’t forget to use a stud finder to locate the best spots for installation. Finally, finish your shelves with pre-stain conditioner and quality wood stain for a polished look.
Cutting and Shaping
Start by gathering your selected wood, ensuring it’s the right thickness for durability. Aim for boards around ¾ or 1 inch thick.
Next, measure and cut the shelf boards to your desired width and length, typically 18-24 inches to span across two wall studs for solid support. Use a circular saw for precise cutting.
If you’re incorporating dowels, cut them into 4-inch pieces. Mark and drill holes in the shelf boards at 2 inches from each end and the center for a snug dowel fit.
After cutting, sand the edges of the boards and dowels for a smooth finish, which helps during assembly.
For added stability, consider attaching a back support to the shelf using ripped strips or scraps.
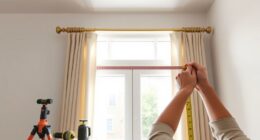
Preparing for Installation
As you prepare for installation, measuring the desired location for your floating shelves is essential to confirm they’re both functional and visually appealing.
Make sure your shelves span at least two wall studs for maximum support. Select your wood—ideally ½ inch thick birch plywood or pine boards—and gather all necessary materials, including floating shelf brackets and finishing supplies.
Cut the plywood to your desired dimensions, typically around 24 x 11 x 2 inches. Use a stud finder to locate and mark the studs accurately, then drill holes for the brackets in those marked spots.
Don’t forget to sand the edges and apply a pre-stain conditioner followed by your chosen stain for a smooth finish before installation.
Locate the Wall Studs
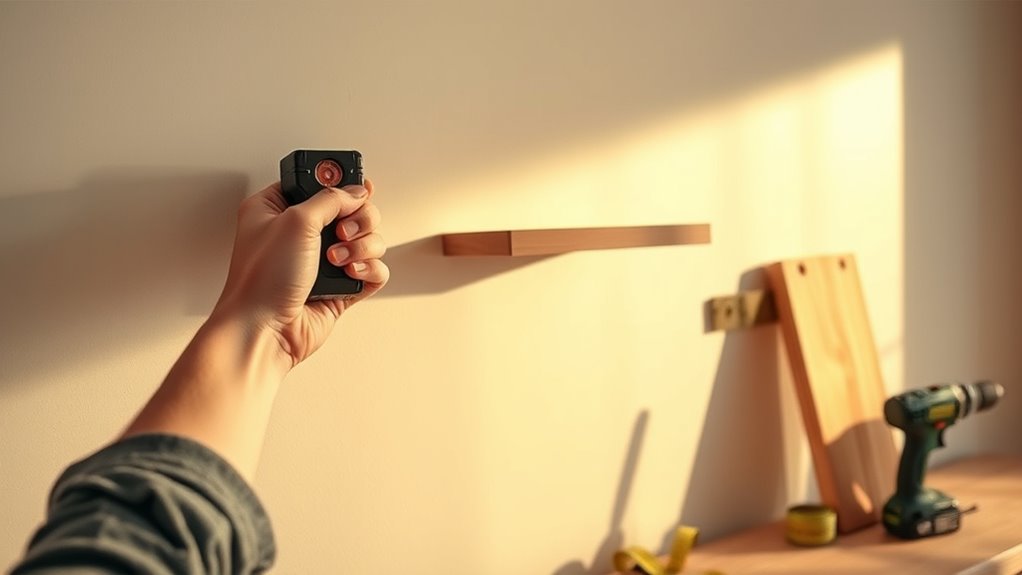
To guarantee your floating shelves are secure, start by using a stud finder to locate the wall studs, which are usually spaced about 16 inches apart.
Once you’ve found them, measure and mark their positions to guide your screw placement.
This step is essential for providing the necessary support for your shelves.
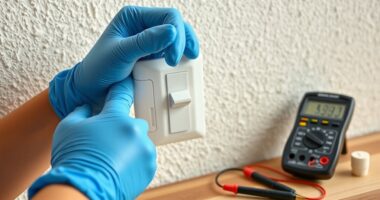
Use a Stud Finder
When you’re ready to install your floating shelves, using a stud finder is essential for ensuring a secure setup. Properly locating the studs allows you to hang your shelves safely, especially when they’ll hold much weight.
Here’s how to use a stud finder effectively:
- Place it flat against the wall and move it horizontally until it signals a stud.
- Mark the edges of the stud with a pencil to find its center.
- Verify the stud’s location by tapping the wall; a solid sound indicates a stud, while a hollow sound means empty space.
Aim to drill two per shelf for stability, ensuring a sturdy installation that won’t sag under pressure. Additionally, ensure that your shelves can support the intended weight by considering the weight impacts maneuverability of your chosen materials.
Happy building!
Measure Stud Spacing
After marking the stud locations, measuring the spacing between them is the next step. Typically, wall studs are spaced 16 inches apart on center, so use your stud finder to verify their positions.
It’s important to secure your floating shelves directly to these studs behind the drywall for maximum strength, especially if you plan to support a significant amount of weight. Mark each stud’s location with a pencil, making installation easier later.
If your shelf design requires spanning a larger distance, consider purchasing additional supports or brackets from your hardware store to prevent sagging. Additionally, ensure that your shelves are properly secured to prevent sagging to avoid accidents and damage to your belongings.
Always confirm that your shelves are stable and secure to avoid accidents and damage to your belongings.
Build the Shelf Brackets
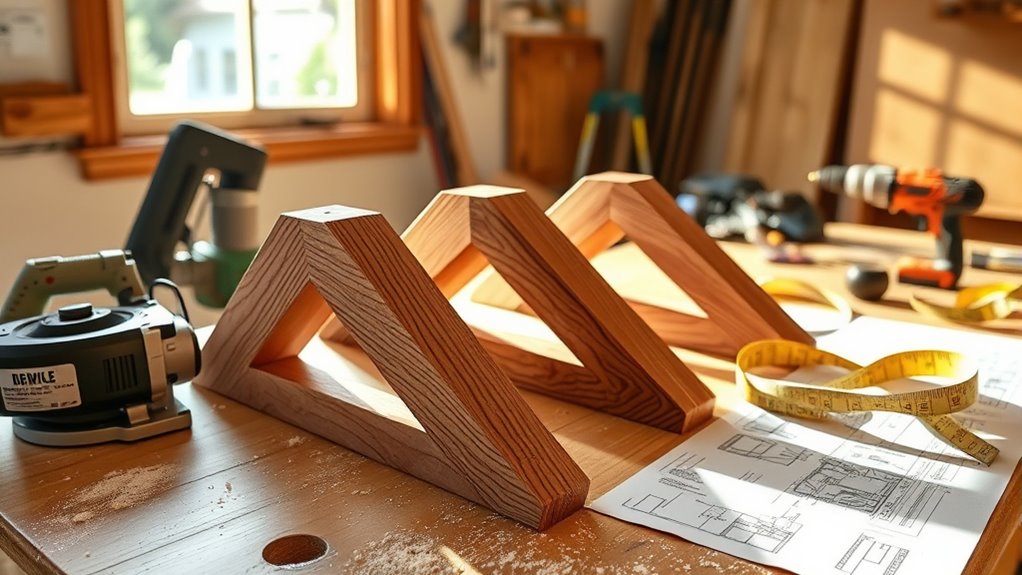
Start by cutting 2×3 wood into short and long brace pieces, confirming they’re the right lengths for strong shelf support.
Use a Kreg Jig to create pocket holes, making 1.5 holes on each short piece for secure attachment to the long board.
Create strong connections by using a Kreg Jig to drill 1.5 pocket holes in each short brace piece.
Assemble the braces by joining the short pieces to the long board with wood glue and 2.5 pocket hole screws for added stability.
Make certain to:
- Adjust the center small piece based on wall stud alignment
- Construct four braces for adequate weight support
- Confirm everything is anchored securely for the floating shelves
Incorporating natural elements into your decor can enhance the overall aesthetic of your shelves.
These steps are essential to guarantee your shelves can handle the weight and look great once installed.
Happy building!
Install the Floating Shelves
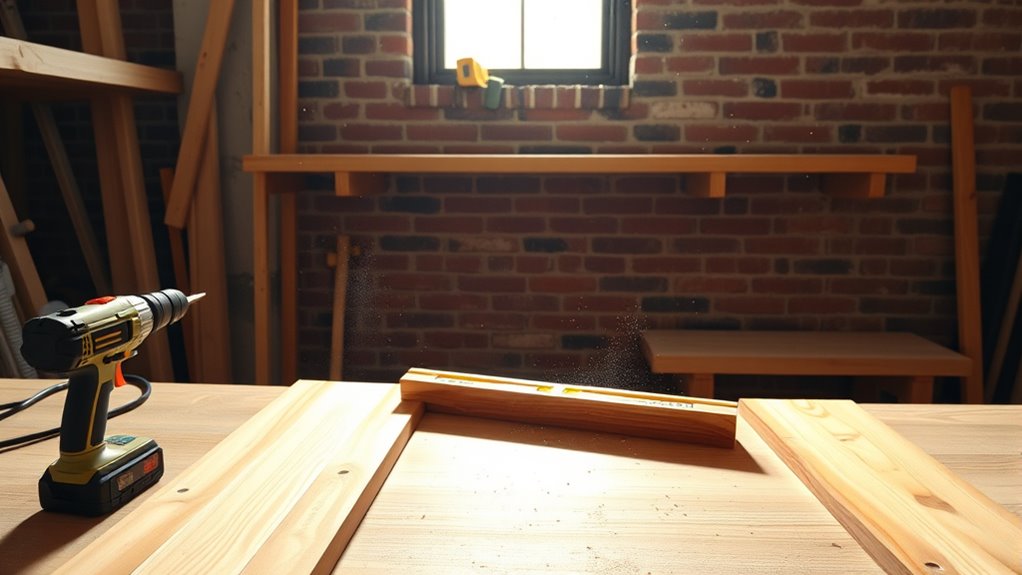
To guarantee your floating shelves are securely installed, begin by locating the wall studs with a stud finder. Mark their positions to confirm a solid attachment.
Next, install the invisible shelf brackets at your determined shelf height, making sure they’re level and aligned with the stud marks. Pre-drill holes in the wall through the bracket mounting points to avoid splitting the drywall.
Once the brackets are mounted, place the shelf onto them, securing it by drilling screws through the top of the shelf into the brackets for added stability.
Finally, verify the shelf is level after installation, adjusting as necessary to confirm it sits evenly before fully tightening all screws. This step guarantees your shelves will hold up beautifully.
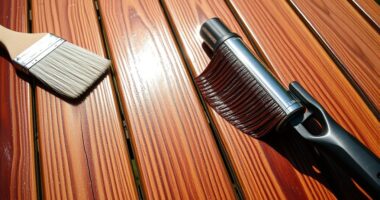
Finish With Stain or Paint

Once you’ve installed your floating shelves, it’s time to enhance their appearance with a finish that suits your style.
Start by choosing a high-quality stain or paint that complements the wood type. For best results, follow these steps:
- Apply a pre-stain wood conditioner to prevent blotchiness.
- Use a brush or stain rag, following the wood grain for a smooth finish.
- After your first coat dries, consider adding a second for deeper color.
Once your stain or paint is complete, protect your shelves with a clear coat, like spray-on polyurethane, for added durability against moisture and wear. Additionally, ensure that you choose a finish that is suitable for wood types to maintain the natural beauty of your shelves.
This final touch will guarantee your shelves not only look great but also stand the test of time.
Frequently Asked Questions
How Much Weight Can a DIY Floating Shelf Hold?
When you’re considering how much weight a DIY floating shelf can hold, it’s crucial to think about the materials and installation method.
Typically, shelves can support between 15 to 50 pounds, but if you anchor them directly into wall studs, you could exceed 100 pounds. Using hidden brackets designed for floating shelves can enhance this capacity further.
For maximum support, space your shelves at least 16 inches apart and secure with two screws each.
What Is the Rule for Floating Shelves?
Did you know that floating shelves can hold up to 100 pounds if properly installed?
The rule for floating shelves involves anchoring them to wall studs, spaced 16 inches apart, for maximum stability. Aim for a depth of 6 to 12 inches to support your items without compromising strength.
For ideal support, confirm your shelves are at least 18 to 24 inches long and use at least two screws per shelf driven into the studs.
How Much Does It Cost to Make Floating Shelves DIY?
Making DIY floating shelves can be surprisingly budget-friendly.
You’re looking at around $10 for materials if you choose a basic board of Southern yellow pine and some wood screws.
If you use scrap wood, you can cut costs even further.
Just keep in mind, if you don’t have tools like a drill, you might need to invest in those, but they’ll be useful for future projects too!
Are Floating Shelves Hard to Make?
Are floating shelves hard to make? Absolutely not!
You’re not building a space shuttle here; it’s more like assembling a puzzle! With just a few tools and some wood, you’ll whip up stunning shelves in no time.
You’ll cut, drill, and assemble pieces without breaking a sweat. Plus, customizing them to fit your style is a breeze.
Conclusion
Now that you’ve built your own DIY floating shelves, just imagine how they’ll transform your space. With a little effort, you’ve created functional art that showcases your style. Isn’t it satisfying to see your hard work pay off? Whether you chose a sleek finish or a rustic stain, these shelves not only hold your favorite items but also add character to your home. Enjoy your new display and the pride of a weekend well spent!