To install a kitchen backsplash, start by measuring your wall and planning your design. Gather tools like a level, tile cutter, adhesive, and grout. Draw guidelines on the wall and lay out your tiles to ensure a balanced pattern. Spread adhesive evenly and press tiles into place, using spacers for even gaps. After aligning everything, allow the adhesive to set, then grout the gaps, wipe off excess with a damp sponge, and seal the grout lines for durability. Following these steps will help you achieve a professional-looking backsplash that enhances your kitchen’s style.
Key Takeaways
- Measure the wall area accurately and plan your layout, including tile placement and necessary cuts.
- Prepare the surface by cleaning and applying a level guideline to ensure straight tile installation.
- Spread adhesive evenly with a notched trowel and press tiles firmly into place, using spacers for consistent gaps.
- Allow the adhesive to set, then spread grout into the gaps, removing excess with a damp sponge.
- Seal grout lines after drying to protect against stains and moisture, completing the professional finish.
Installing a kitchen backsplash is a practical way to enhance your space’s style and protect your walls from spills and splashes. To get started, you’ll need a few essential tools: a level, tape measure, tile cutter or wet saw, adhesive trowel, grout float, spacers, and a pencil. Having these tools on hand makes the process smoother and guarantees your backsplash looks professional. Before you begin, take some time to explore design ideas that match your overall kitchen aesthetic. Whether you prefer classic subway tiles, modern glass mosaics, or rustic stone, your choice will influence the materials and layout. Consider the size of your space, color schemes, and the pattern that best suits your style.
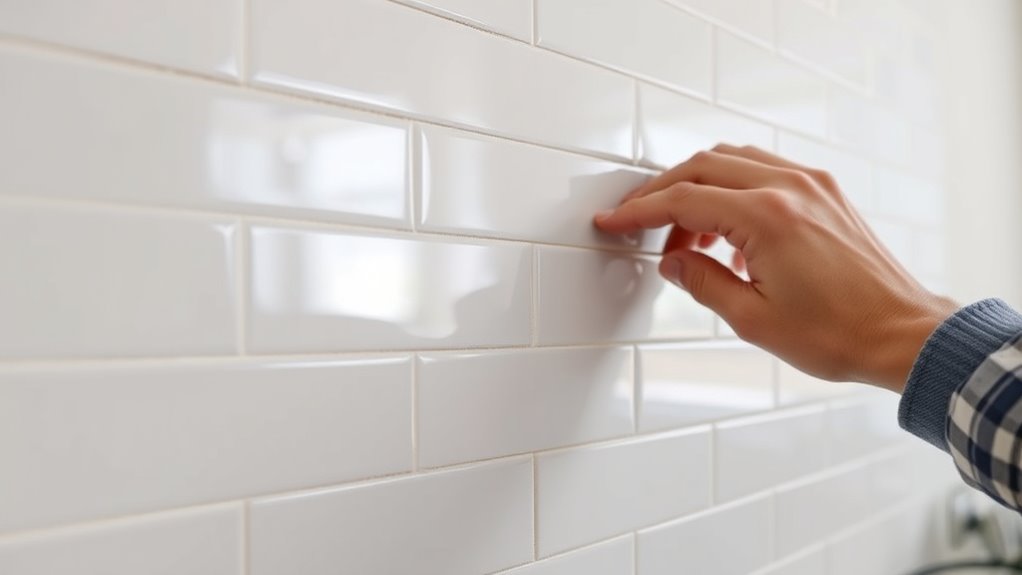
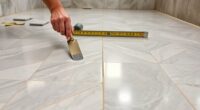
Once you’ve selected your design, start by measuring the area carefully. Use a pencil and level to draw straight guidelines on the wall, ensuring your tiles will be aligned correctly. It’s important to plan your layout before applying any adhesive, so you know where cuts might be necessary and how to achieve a balanced look. When you’re ready to install, spread the tile adhesive evenly with your notched trowel, starting from the bottom center of the wall. Press your tiles firmly into place, following your layout and using spacers to keep consistent gaps. This step requires patience and attention to detail, especially around edges and corners. Proper surface preparation can also prevent issues with adhesion and longevity of your backsplash.
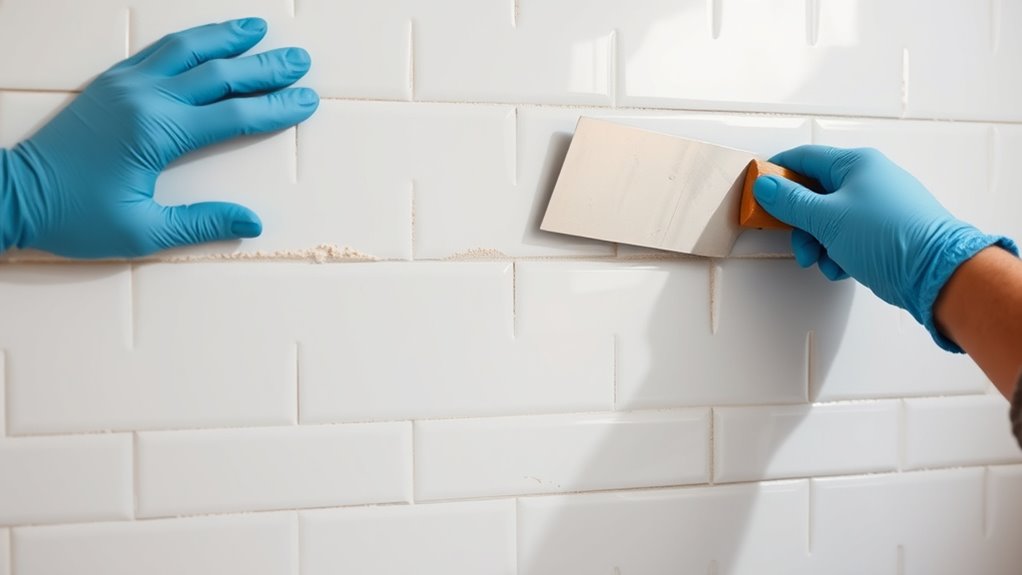
As you work upward, periodically check your progress with the level to ensure the tiles stay straight. If you need to make cuts, measure carefully and use a tile cutter or wet saw for precise results. Once all the tiles are in place and the adhesive has set, typically after a few hours or as per the manufacturer’s instructions, you can begin grouting. Spread the grout with a float, pressing it into the gaps between tiles. Be thorough but careful to avoid excess grout on the surface. Afterward, wipe away any remaining grout with a damp sponge, rinsing frequently to keep your tiles clean. The final step involves sealing the grout lines to prevent stains and moisture penetration, especially if you’ve chosen porous materials.
Design ideas for your backsplash are endless, from colorful patterns to sleek monochromes, so pick something that complements your overall kitchen look. Remember, the key is patience and precision. With the right tools and thoughtful planning, you’ll create a stunning backsplash that not only protects your walls but also adds personality and style to your kitchen. Incorporating space optimization techniques can also help you maximize your kitchen’s functionality and overall aesthetic.
Frequently Asked Questions
What Are the Best Materials for a Kitchen Backsplash?
When choosing the best materials for your kitchen backsplash, consider tile patterns and color coordination. You’ll find options like ceramic, glass, or subway tiles that add style and durability. Opt for patterns that suit your space, like herringbone or stacked, and pick colors that complement your cabinetry and countertops. With the right material and design, you’ll create a stunning focal point that combines functionality with personal style.
How Do I Remove an Existing Backsplash Safely?
Removing your backsplash is like peeling off a stubborn sticker—you need patience and the right tools. Start with a putty knife or a chisel to gently loosen the tiles. Carefully do tile removal to avoid damaging the wall behind. Once the tiles are off, focus on wall preparation by scraping off adhesive residue and cleaning surfaces thoroughly. This ensures a smooth canvas for your next backsplash project.
Can I Install a Backsplash Over Painted Walls?
You can install a backsplash over painted walls, but proper wall preparation is key. Start by cleaning the surface to remove grease and dirt, then lightly sand to create a rough texture for better adhesion. Consider adding decorative patterns with the tiles to enhance your design. This approach guarantees your new backsplash stays secure and looks great, even over painted walls, without the need for extensive prep or removal.
What Are Common Mistakes to Avoid During Installation?
You might find it tempting to rush through your project, but overlooking common mistakes can lead to unnecessary frustration. Pay close attention to tile spacing, ensuring consistent gaps for a professional look, and choose the right adhesive to avoid future issues. Skipping surface prep or rushing installation can cause tiles to loosen or crack. Take your time, measure carefully, and select quality materials for a flawless, lasting backsplash.
How Do I Maintain and Clean My New Backsplash?
To maintain and clean your new backsplash, follow simple cleaning techniques like wiping with a soft cloth and mild soap regularly. Avoid harsh chemicals that can damage the surface. Maintenance tips include promptly cleaning spills and using non-abrasive cleaners. This helps keep your backsplash looking fresh and vibrant for years. Remember, gentle care preserves its beauty, making your kitchen a more inviting space.
Conclusion
Now that you’ve installed your kitchen backsplash, you’ve fundamentally transformed your space, much like a Renaissance artist perfecting their masterpiece. Remember, patience and precision are key—don’t rush the process. With your newfound skills, your kitchen will look stunning and stylish. Keep a keen eye on details, and enjoy the satisfaction of a job well done. As the great architect Vitruvius might say, balance and harmony in design truly elevate your home’s aesthetics.