
To paint like a pro, start with quality brushes suited for your paint type and load them moderately to avoid drips. Use smooth, even strokes with consistent pressure, maintaining a wet edge to prevent streaks. Properly prepare surfaces by cleaning and taping edges for sharp lines. Allow each coat to dry fully and inspect for imperfections before finishing. If you stick with these tips, you’ll discover even more ways to achieve flawless walls and trim.
Key Takeaways
- Use high-quality brushes suited for your paint type and load them moderately for smooth application.
- Prepare surfaces thoroughly by cleaning, taping edges, and allowing surfaces to dry before painting.
- Maintain a wet edge during application, using long, even strokes for walls and controlled angles for trim.
- Apply paint in manageable sections, avoiding overloading brushes to prevent drips and uneven coverage.
- Allow each coat to dry completely, then inspect and touch up for a flawless, professional finish.
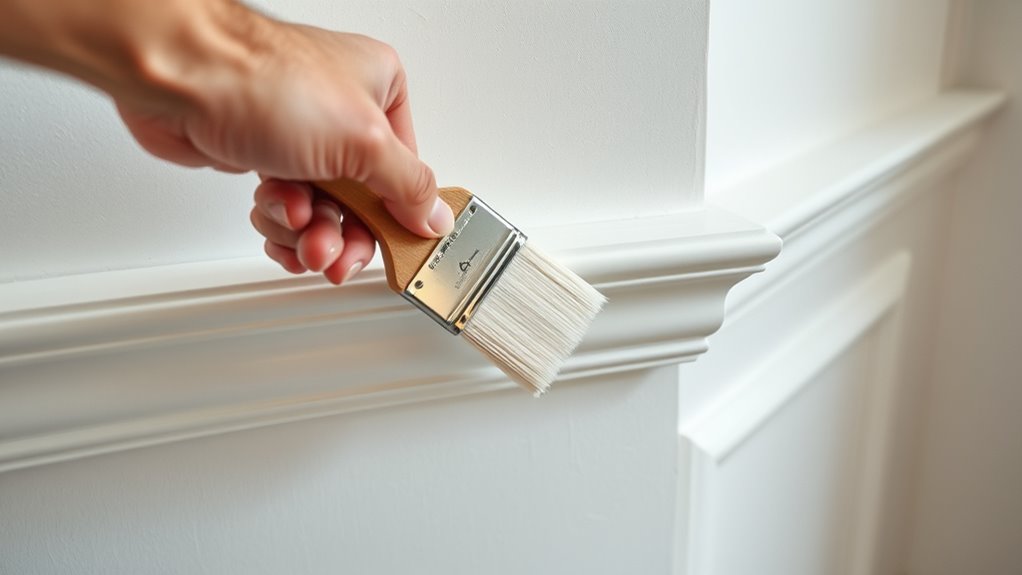
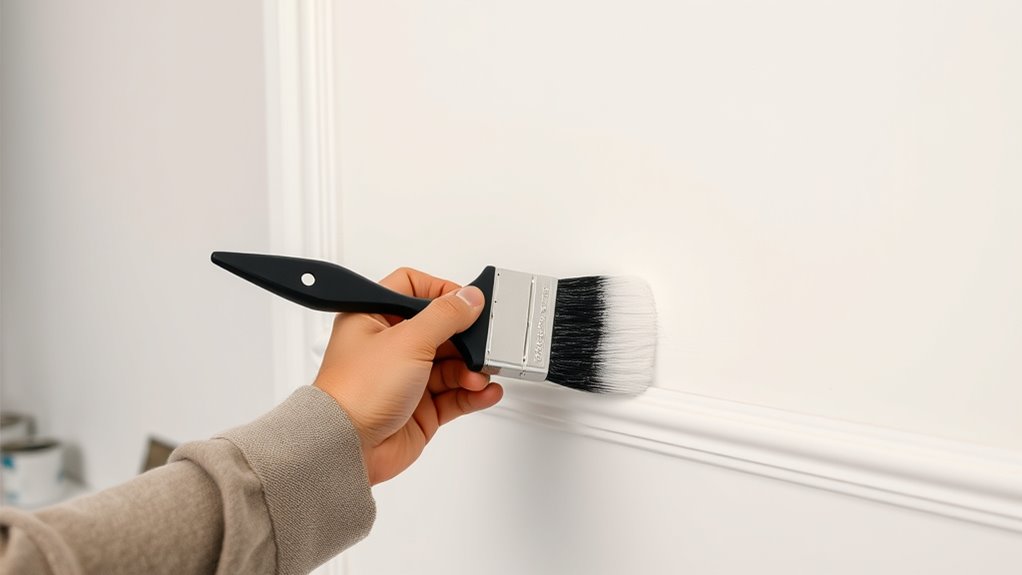
Achieving a flawless finish on your walls and trim might seem challenging, but with the right techniques, you can get professional-looking results. The foundation of a great paint job starts with understanding your tools and materials. When it comes to brush techniques, using the proper brush and applying correct strokes makes all the difference. Choose a high-quality brush suited for your paint type—synthetic brushes work well with latex paints, while natural bristles are better for oil-based paints. To ensure smooth application, load your brush with a moderate amount of paint, avoiding excess that causes drips or uneven coverage. Use long, even strokes, starting from the top corner and working your way down, maintaining a wet edge to prevent lap marks. When painting trim, hold the brush at a slight angle and use gentle, controlled strokes to achieve clean lines. Avoid pressing too hard, as this can leave brush marks or cause paint to pool.
Paint selection is equally critical in achieving a professional finish. Opt for high-quality, durable paint designed specifically for walls and trim. For walls, a satin or eggshell finish offers a nice balance of durability and subtle sheen, making imperfections less noticeable. Trim, on the other hand, benefits from semi-gloss or gloss finishes, which provide a smooth, reflective surface that’s easy to clean. When choosing paint colors, consider the lighting in your space; some shades may look different depending on the amount of natural or artificial light. It’s wise to test a small patch before committing to a full room, ensuring you’re happy with the color and finish.
Preparation also plays a key role in your success. Properly clean your walls and trim to remove dust and grease, and use painter’s tape to define edges and protect adjacent surfaces. When applying paint, work in manageable sections to maintain a wet edge, which helps avoid streaks and color inconsistencies. Using the right brush techniques paired with the best paint selection ensures that your walls and trim will look smooth and professional. Patience is essential—allow each coat to dry thoroughly before applying the next, and don’t rush the process. With attention to detail and the right tools, you’ll achieve a polished, flawless finish that transforms your space.
Frequently Asked Questions
What Type of Paint Is Best for Smooth Walls?
For smooth walls, you should choose a high-quality latex or acrylic paint with a satin or eggshell sheen. These finishes provide a subtle shine and help hide minor imperfections, giving your walls a sleek look. When selecting your paint, consider your color choices carefully, as lighter shades tend to make spaces feel larger and brighter. Always opt for a paint that offers good coverage and durability for the best professional-looking results.
How Do I Prevent Brush Marks on Trim?
Think of your brush as a magic wand that transforms your trim. To prevent brush marks, use smooth, even brush stroke techniques—lightly load your brush and avoid pressing too hard. Start with trim prep tips like cleaning and taping edges. Work in long, continuous strokes, and don’t overwork the paint. This way, your trim will have a flawless, professional finish, like silk across your walls.
Can Primer Improve Paint Adhesion on Textured Walls?
Yes, primer can improve paint adhesion on textured walls. To get the best results, focus on textured wall prep by cleaning the surface thoroughly and lightly sanding to remove loose debris. Use a high-quality primer designed for textured surfaces, which helps fill in rough areas and enhances primer adhesion. Applying a primer guarantees your paint sticks better, giving you a smoother, more professional finish on your textured walls.
What Tools Help Achieve a Flawless Finish?
Think of achieving a flawless finish as sculpting a masterpiece. Your tools, like high-quality brushes and painter’s tape, are your chisel and sculptor’s tools. Use proper brush techniques to smooth out edges and avoid streaks, while thorough paint prep guarantees your surface is ready for a perfect coat. These tools help you control application, minimize imperfections, and create a professional look that stands out with sleek, even coverage.
How Do I Fix Uneven Paint Patches?
To fix uneven paint patches, first assess the areas and lightly sand any rough spots. Use a brush technique to blend the patches seamlessly, working in the same direction. Guarantee your paint consistency is correct—neither too thick nor too thin—to prevent streaks. Apply a thin, even coat over the uneven spots, feathering the edges for a smooth shift. Let it dry, then inspect and touch up as needed for a flawless finish.
Conclusion
With these tips, you’ll turn your walls and trim into a flawless canvas. Think of painting as tending a garden—patience and attention to detail yield the most beautiful blooms. I once watched a novice painter transform a rough wall into a sleek masterpiece simply by taking their time and following these steps. Remember, each stroke is like planting a seed; with care and precision, you’ll soon enjoy a room that feels as polished as a gallery exhibit.