
To install a programmable light switch, start by turning off the power at the breaker. Remove the existing switch and note or photograph the wiring connections. Carefully connect the house wires to the new switch’s terminals, making sure everything is secure. Once wired, turn the power back on and follow the manufacturer’s instructions to connect the switch to your Wi-Fi network. You’ll then be able to control and customize your lighting remotely—keep going for detailed steps and tips.
Key Takeaways
- Turn off power and gather necessary tools before beginning installation for safety and preparation.
- Remove existing switch, disconnect wires carefully, and note or photograph wiring connections.
- Connect house wires to the new switch’s terminals according to the manufacturer’s wiring diagram.
- Restore power, then test the switch’s functionality, including remote control and dimming features.
- Use a smartphone app to set schedules, customize lighting, and optimize energy savings and ambiance.
Installing a programmable light switch can seem intimidating at first, but with the right tools and instructions, you can do it yourself safely. One of the key benefits of these switches is their dimming capabilities, allowing you to adjust lighting levels to create the perfect ambiance or save energy. Additionally, many models come with remote control features, giving you the convenience to operate your lights from anywhere in your home or even remotely via a smartphone app. These features make smart lighting more flexible and customizable, enhancing your everyday comfort.
Programmable switches offer dimming and remote control for customizable, energy-saving lighting.
Before you start, make certain you turn off the power at the circuit breaker to avoid any electrical hazards. Gather your tools—typically a screwdriver, wire stripper, voltage tester, and possibly a drill—along with your new programmable switch. As you prepare, check the switch’s compatibility with your existing wiring and ensure it supports the features you want, like dimming and remote control. Some switches require a neutral wire, so verify your setup beforehand.
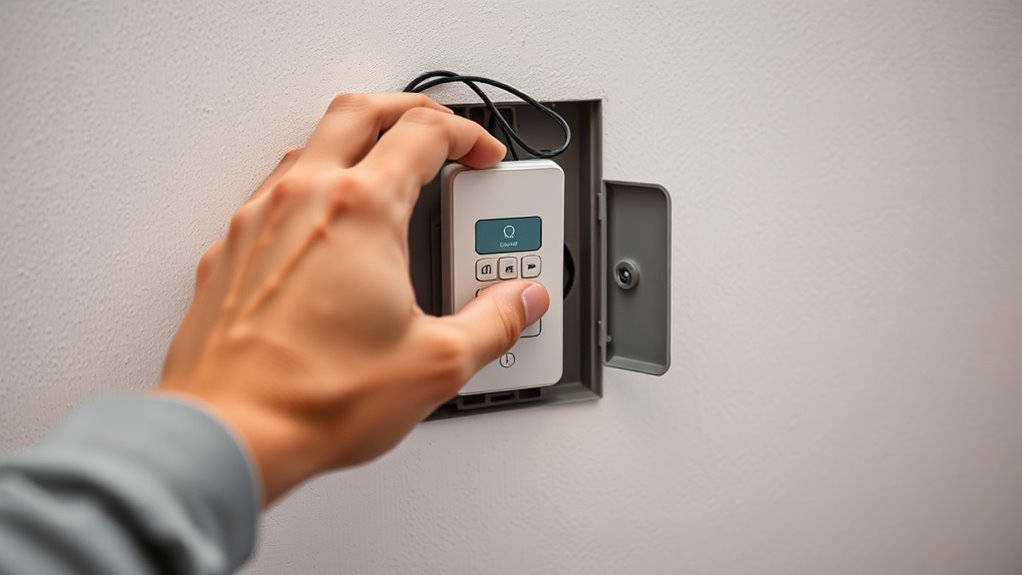
Once you’ve confirmed compatibility, remove the existing switch by unscrewing the faceplate and disconnecting the wires. Take note of how the wires are connected, or better yet, take a picture for reference. Most smart switches have a straightforward wiring diagram, but if you’re unsure, consult the manual or seek professional help. Connect the wires from your house to the corresponding terminals on the new switch—typically hot, load, neutral, and ground. Secure all connections tightly, then attach the switch to the wall box and screw in the faceplate.
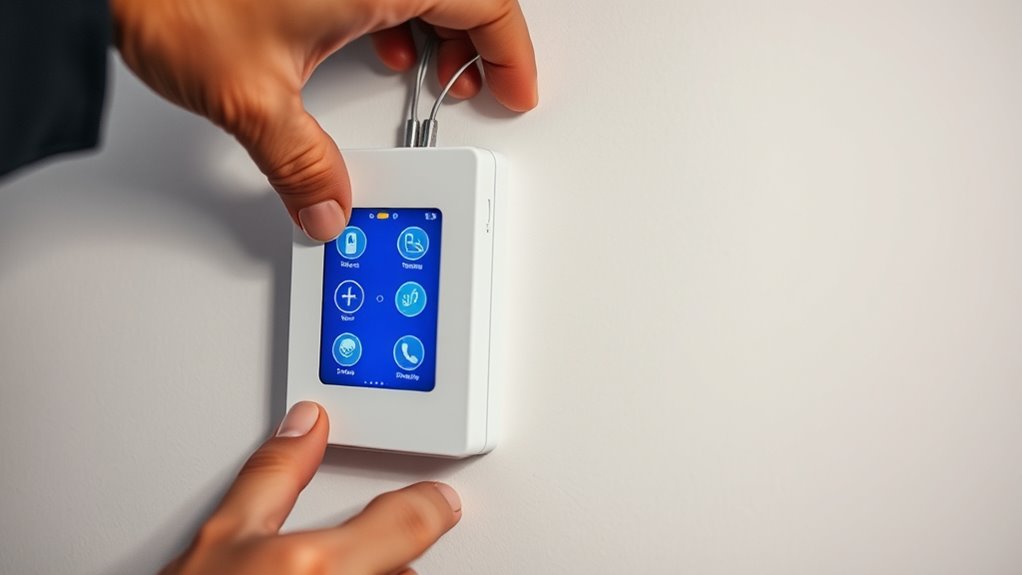
After wiring, turn the power back on at the breaker and test your installation. You should see the switch powered and, if it has a display or indicator light, it should activate. Follow the manufacturer’s instructions to connect the switch to your Wi-Fi network, enabling remote control features via a smartphone app. Once connected, you can set schedules, adjust brightness levels with dimming capabilities, and control the lights remotely, giving you more control over your lighting environment. Being aware of retail hours, such as those at Kroger Liquor Store Hours, can also be helpful if you need supplies or assistance during your setup.

BN-LINK 7 Day Programmable in-Wall Timer Switch for Lights, Digital Light Switch Timer Indoor, Single Pole and 3 Way (Compatible with SPDT) Both Use, Neutral Wire Required, No Backlight, ETL Listed
- Customizable Scheduling: Up to 18 programs and 7-day options
- Manual and Auto Modes: Switch between manual and timed operation
- Backup Battery: Maintains settings during power outages
As an affiliate, we earn on qualifying purchases.
As an affiliate, we earn on qualifying purchases.
Frequently Asked Questions
Can I Install a Programmable Switch Without Professional Help?
Yes, you can do a DIY installation of a programmable switch, but you need to follow safety precautions carefully. Turn off the power at the breaker before starting, and make sure you understand the wiring process. If you’re comfortable with electrical work and follow instructions closely, it’s doable. However, if you’re unsure or uncomfortable, it’s best to call a professional to avoid risks. Your safety should always come first.
What Is the Lifespan of a Programmable Light Switch?
You can expect a programmable light switch to last around 10 to 15 years, depending on switch durability and usage. Proper maintenance, like ensuring the wiring stays secure and cleaning contacts, can extend its lifespan. Regularly updating firmware if applicable also helps keep it functioning smoothly. If you notice flickering or inconsistent operation, it’s a sign to check or replace it to maintain ideal performance and safety.
Are Programmable Switches Compatible With All Lighting Types?
No, programmable switches aren’t compatible with all lighting types. Your lighting compatibility depends on switch types, such as dimmer or toggle switches, and the bulbs you use. Some smart switches work best with LED or incandescent bulbs, while others may need specific dimmable features. Always check the switch’s specifications and verify it matches your lighting setup to guarantee smooth operation and avoid issues like flickering or non-functionality.
How Do I Reset a Malfunctioning Programmable Switch?
Imagine your switch as a lively conductor, sometimes losing its rhythm. To troubleshoot issues, start by resetting it. You typically press and hold the reset button or turn the power off and on again. Follow the reset procedures specific to your switch model, and it should restore to normal operation. If problems persist, consult the manual or contact support. This simple step often brings harmony back to your smart lighting system.
Can I Control the Switch Remotely via Smartphone?
Yes, you can control your programmable light switch remotely via smartphone. Many switches offer remote access through their compatible mobile apps, which you’ll need to download and set up. Make certain your switch supports smartphone compatibility and is connected to your Wi-Fi network. Once configured, you can turn lights on or off, set schedules, and adjust settings from anywhere, giving you convenient control right at your fingertips.
Conclusion
Now that you’ve taken the plunge into smart lighting, your home is about to glow with newfound ease and elegance. Think of your programmable switch as the conductor of a symphony, orchestrating every flicker and glow with precision. As you step into this luminous future, remember that you’re not just installing a device—you’re wiring your space for comfort, convenience, and control. Let your smart switch be the beacon guiding your home into a brighter, smarter tomorrow.


![Transitliberationism: A Bicycle Anarchist Manifesto [OC]](https://getaninsight.com/wp-content/uploads/2026/07/transitliberationism-a-bicycle-anarchist-manifesto-oc-featured-260x140.jpg)