
To replace a light fixture, turn off the power at the circuit breaker and verify it’s off with a voltage tester. Carefully remove the old fixture by unscrewing mounting screws and disconnecting the wires, noting how they connect. Then, follow the instructions to connect the new fixture’s wires—matching black to black, white to white, and grounding properly. Secure everything, turn the power back on, and test the new light. If you’re curious about detailed steps, continue to explore how to do it safely.
Key Takeaways
- Turn off power at the circuit breaker and verify with a voltage tester before starting.
- Remove the old fixture by unscrewing mounting hardware and disconnecting wiring, noting connections.
- Connect the new fixture’s wires to the existing wiring: black/red to live, white to neutral, ground to ground.
- Secure the new fixture to the mounting bracket or ceiling plate, ensuring it is level and firmly attached.
- Restore power, test the fixture, and clean up the workspace for safety and proper installation.
Replacing a light fixture is a straightforward task that you can do yourself with a few basic tools. Before you get started, it’s important to prioritize lighting safety. Turn off the power at the circuit breaker to ensure no electricity is flowing to the fixture. Confirm that the power is off by flipping the switch and testing the fixture with a voltage tester. This step prevents any risk of electrical shock. Once you’re sure the power is off, gather your tools: a screwdriver, wire strippers, a ladder if needed, and maybe some gloves for added safety.
Understanding fixture types helps you navigate the replacement process more smoothly. Common types include flush mounts, semi-flush mounts, chandeliers, and pendant lights. Each has different mounting mechanisms and wiring configurations, so knowing what you’re working with makes the task easier. For example, flush mounts are attached directly to the ceiling with a cover plate, while chandeliers often hang from chains or rods. Familiarize yourself with your specific fixture to avoid surprises during installation.
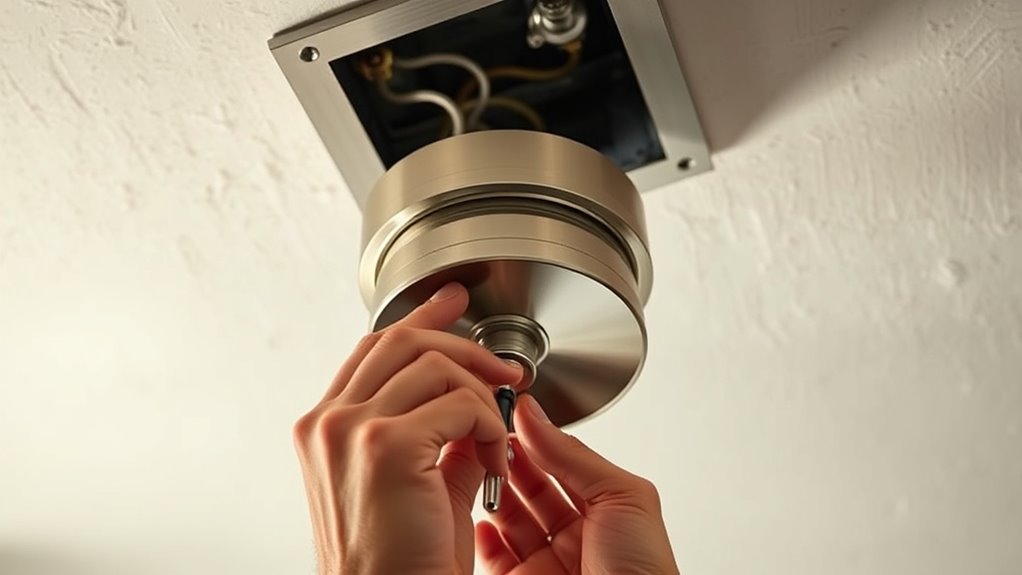
When removing the old fixture, carefully unscrew the mounting screws and gently disconnect the wires. Make note of how the wires are connected, or take a photo for reference. Usually, fixtures have a black or red wire, a white wire, and a ground wire (green or bare copper). Use wire strippers to prepare the wires of your new fixture if needed. Before attaching the new fixture, double-check the wiring instructions included with it. Connect the black or red wire to the live wire, the white wire to the neutral, and the ground wire to the grounding screw or wire. Secure each connection with wire nuts, and ensure the wires are tucked neatly into the electrical box.
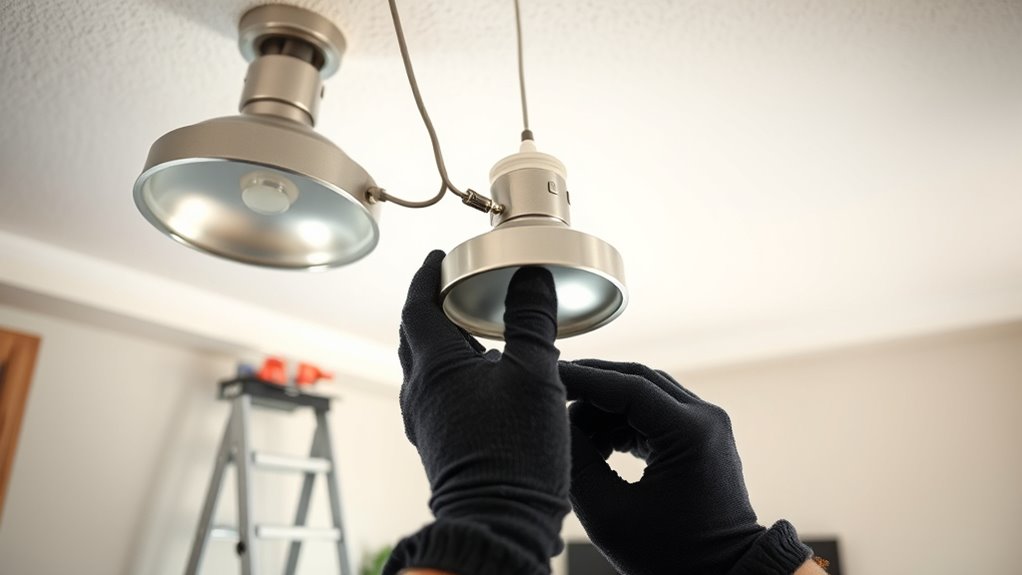
Additionally, understanding city dynamics can help you plan your electrical projects more efficiently and safely, especially in older buildings with different wiring standards. Once all connections are made, attach the fixture to the mounting bracket or ceiling plate as per the manufacturer’s instructions. Make sure it’s firmly secured and level. Replace any bulbs included with your fixture, following the recommended wattage to prevent overheating. Turn the power back on at the circuit breaker, then flip the switch to test your new light. If it doesn’t work, double-check your wiring connections and circuit breaker. When everything looks good, tidy up your workspace and enjoy your newly installed fixture.
Replacing a light fixture isn’t just about aesthetics; it’s also about ensuring lighting safety. Properly installed fixtures reduce the risk of electrical hazards and provide reliable illumination. By understanding fixture types and following safety protocols, you can complete the task confidently and safely, saving money and gaining a sense of accomplishment.
Frequently Asked Questions
What Tools Are Necessary for Replacing a Light Fixture?
When replacing a light fixture, you’ll need basic tools like a screwdriver, pliers, and a voltage tester to guarantee safety. These tools help you remove old fixtures and install new ones that match your lighting design and fixture styles. Having a ladder or step stool is also helpful for reaching ceiling fixtures. Always prioritize safety and double-check your work to ensure your new lighting enhances your space effectively.
How Do I Turn off the Electrical Power Safely?
Turning off electrical power is vital—it’s safer than steering through a minefield! First, locate your home’s main electrical panel and flip the circuit breaker that controls the light fixture. Follow safety precautions by wearing insulated gloves and using a non-contact voltage tester for electrical testing. Confirm power’s off by gently touching the fixture wires with a tester. Taking these steps guarantees your safety before you start your project.
Can I Replace a Fixture Without Professional Help?
You can definitely tackle DIY lighting projects, but safety’s key. Replacing a fixture without professional help is possible if you understand basic electrical safety. Make sure to turn off the power at the breaker, use a voltage tester to double-check, and follow all safety precautions. If you’re unsure at any point, it’s best to consult a professional. Prioritize safety to avoid electrical hazards or injuries.
What Should I Do if the New Fixture Doesn’t Fit?
You’re facing a dilemma that feels like a tiny obstacle in a mountain of challenges. If your new light fixture doesn’t fit, don’t panic. First, check the light fixture compatibility with your ceiling’s electrical box. If it still doesn’t fit, consider mounting adjustments—like swapping out the mounting bracket or using an adapter. Always guarantee safety by turning off power before making modifications. This way, you’ll ensure a perfect fit and safe installation.
How Do I Troubleshoot Wiring Issues During Installation?
When troubleshooting wiring issues, first turn off the circuit breaker and double-check the wire color codes to guarantee correct connections. If lights don’t turn on, verify the circuit breaker location to confirm power is cut. Use a voltage tester to check for current at the fixture. If wiring seems correct but problems persist, re-examine all connections, ensuring they’re secure and properly matched to the wire color codes.
Conclusion
Replacing a light fixture is like turning on a new chapter in your home’s story. Each connection you make is a fresh start, illuminating your space with renewed life. With careful steps, you’ve rewired the darkness into brightness, symbolizing hope and progress. Remember, just as a single bulb can transform a room, your effort brightens your everyday moments. Embrace this small act of renewal—you’re not just changing a fixture, you’re lighting up your world.