
To tile a bathroom floor, start by measuring and planning your pattern, then clean and prepare the surface. Mix and spread the adhesive evenly, pressing tiles into place carefully with spacers for consistent gaps. Once the tiles are set, apply grout, press it into the gaps, and wipe away excess before it dries. Finish by sealing the grout and ensuring everything is secure. Continue to explore techniques to achieve a professional finish.
Key Takeaways
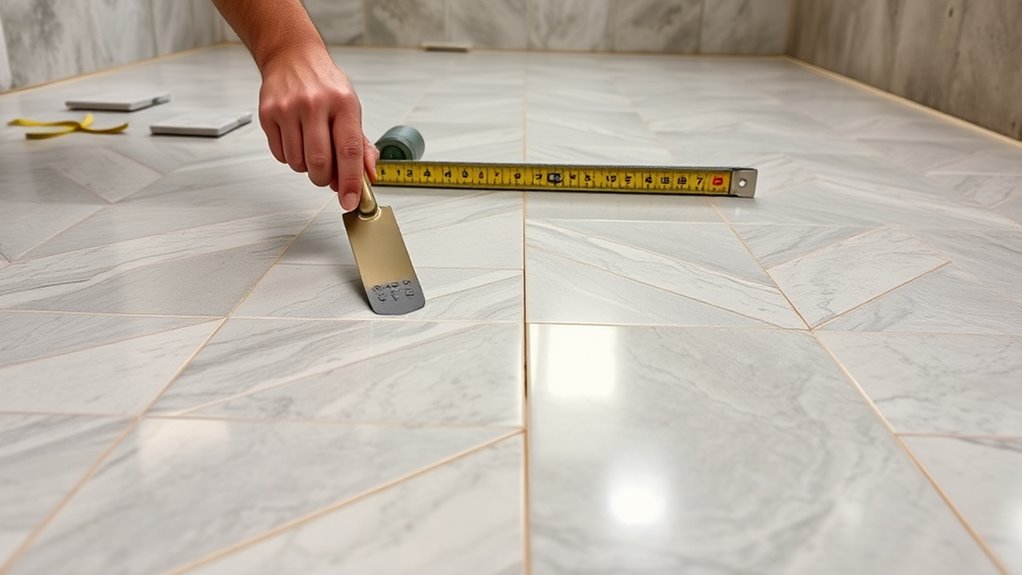
- Measure the bathroom floor accurately and choose durable tiles suited for wet areas.
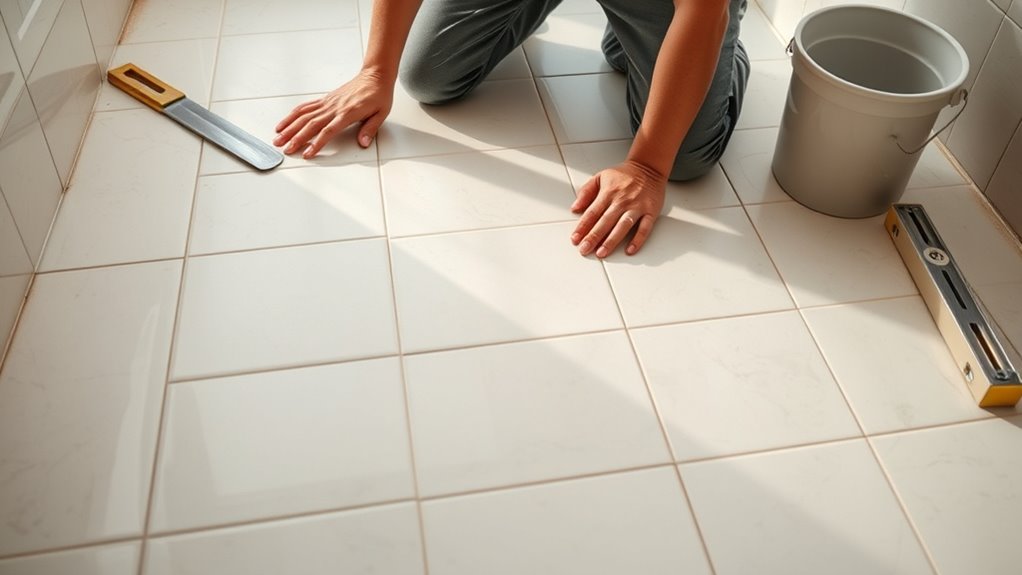
- Prepare the surface by cleaning and leveling to ensure a smooth, even foundation.
- Apply adhesive evenly and lay tiles following your chosen pattern, using spacers for consistent grout lines.
- Grout the tiles once the adhesive sets, then clean excess grout and allow it to cure properly.
- Seal grout lines after curing and inspect tiles for secure placement before completing the finishing touches.
Tiling a bathroom floor might seem intimidating, but with the right preparation and steps, you can achieve professional-looking results. The first step is to plan carefully. Consider the overall style you want to create and how different tile patterns can enhance that look. Whether you prefer a classic herringbone, a straightforward grid, or a more intricate diagonal pattern, your choice will influence how the space feels. Once you’ve settled on a pattern, measure your floor precisely to determine how much tile you’ll need, including extra for cuts and waste. Choosing the right grout color is equally important, as it can either blend seamlessly or create a striking contrast with your tiles. Light grout often brightens the space and highlights the tile pattern, while darker grout can add depth and hide dirt more effectively.
When selecting your tiles, think about durability and ease of maintenance, especially since bathroom floors are exposed to moisture. Porcelain and ceramic tiles are popular choices because they’re water-resistant and come in many styles. After purchasing your tiles, prepare your workspace by cleaning the floor thoroughly and removing any old adhesive or debris. You’ll want a flat, even surface to ensure your tiles lay smoothly. Use a level to identify any high or low spots and fix them before proceeding.
Applying the adhesive is next. Mix the thinset mortar according to the manufacturer’s instructions, and spread it evenly with a notched trowel. Press each tile firmly into the mortar, following your chosen pattern. Use spacers to keep grout lines consistent, especially if you’re working with multiple tiles and patterns. As you work, check regularly with a level to keep everything straight. Once all tiles are in place, allow the adhesive to set for the recommended time before removing spacers and starting the grouting process.
When it’s time to grout, choose a color that complements your tiles and your overall design. Apply the grout with a rubber float, pressing it into the gaps and removing excess. Wipe away any grout haze from the surface with a damp sponge before it dries completely. After the grout cures, typically after 24 hours, you can seal the grout lines to protect against moisture and stains. Properly selecting grout color choices and tile patterns not only enhances the aesthetic appeal but also ensures your bathroom floor stays beautiful and functional for years to come. Additionally, understanding building codes and regulations can help you avoid potential issues during installation.
Frequently Asked Questions
What Type of Tile Is Best for Bathroom Floors?
When choosing the best tiles for your bathroom floor, consider slip-resistant options for safety. Types of ceramic tiles are popular because they’re durable and easy to clean. Look for glazed ceramic tiles with textured surfaces, which provide better traction and prevent slips. You want a tile that can handle moisture and frequent use, so prioritize slip-resistant ceramic tiles that combine style with safety for a long-lasting, functional bathroom floor.
How Long Does It Take to Complete Tiling?
You’ll likely spend 1-3 days tiling a bathroom floor, depending on your DIY challenges and tile pattern options. Complex patterns or large areas can extend the time, while straightforward layouts go faster. Keep in mind, proper prep and curing time are essential, so don’t rush. Planning carefully and choosing a simple tile pattern can help you finish efficiently and achieve professional-looking results.
Can I Tile Over Existing Flooring?
Yes, you can tile over existing flooring if you do proper floor preparation. First, guarantee the surface is clean, level, and free of debris. Remove any wax or grease, and repair cracks or uneven areas. Choose the right adhesive selection for your existing floor material to ensure strong adhesion. This preparation helps the new tiles bond well and prevents future issues, making your tiling project durable and long-lasting.
What Tools Are Essential for Tiling?
When it comes to tiling, having the right tools is key to getting the job done right. You’ll need a tile cutter, notched trowel, and spacers to keep everything aligned. A bucket for mortar mixing guarantees your adhesive is just right, while a rubber float helps with grout application smoothly. Remember, a well-equipped toolkit makes all the difference and keeps you from biting off more than you can chew.
How Do I Maintain and Clean Tiled Floors?
To keep your tiled floors looking great, you should regularly sweep or vacuum to remove dirt and debris. For grout maintenance, use a mild cleaner and a brush to prevent stains and mold buildup. When stains do appear, act quickly with a stain removal solution suitable for tiles. Avoid harsh chemicals that can damage the grout or tiles. Consistent cleaning and prompt stain removal keep your floor shining and well-maintained.
Conclusion
Now that you’ve laid your tiles, the bathroom floor transforms from a simple space to a stunning foundation. Just like a puzzle, each tile fits perfectly, creating beauty and durability. It’s easy to overlook the small details, but they matter—your effort turns a messy project into a polished masterpiece. So, embrace the process and enjoy your handiwork. After all, a well-tiled floor isn’t just functional; it’s the cornerstone of your bathroom’s style.