
To build a simple outdoor bench, gather your materials like lumber and screws. Cut the 1×8 board for the seat and 1×4 boards for the legs and supports. Assemble leg frames and connect them with cross supports using screws and glue. Attach the seat securely. Sand the surfaces for smoothness and apply paint or stain to protect it. Finally, check for stability and finish with any personal touches. You'll discover more tips and customization options along the way!
Key Takeaways
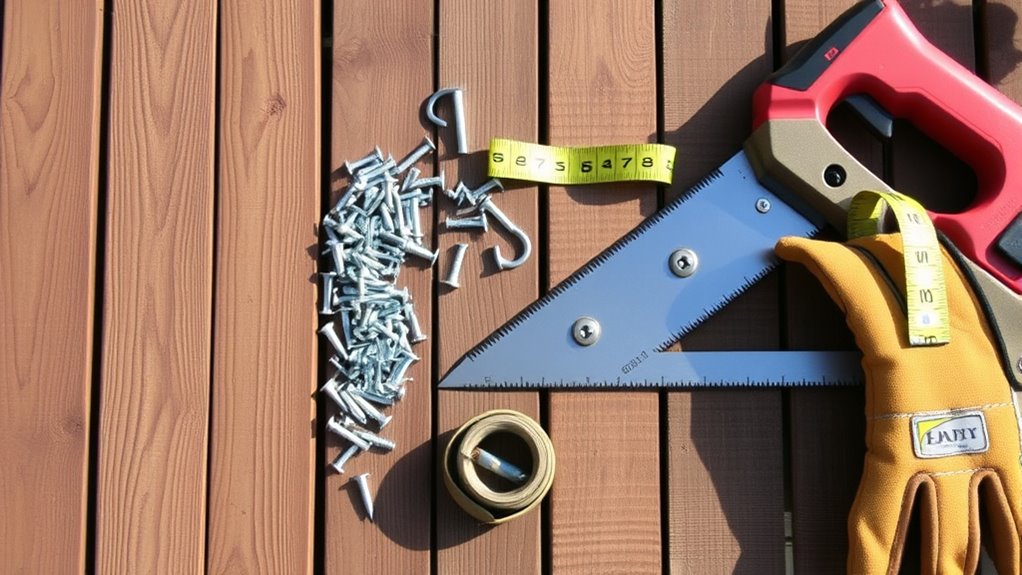
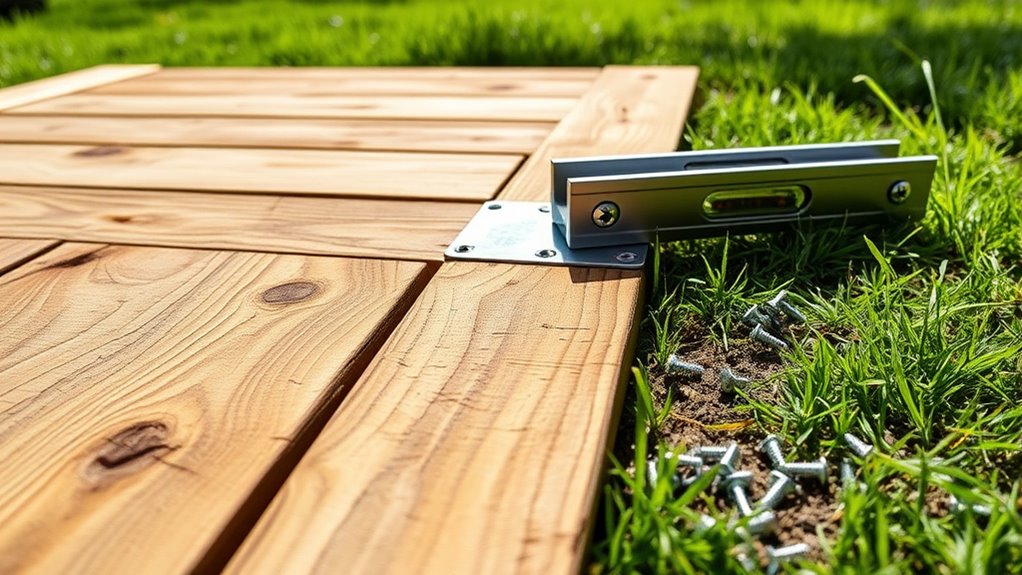
- Gather necessary materials, including lumber, fasteners, and tools like a miter saw for accurate cuts and assembly.
- Cut the lumber into required pieces, ensuring precise measurements for a sturdy bench structure.
- Assemble the leg structures by securely attaching supports to legs using screws and wood glue for added strength.
- Build the base by connecting leg assemblies with cross support boards, ensuring stability with spacer blocks during assembly.
- Finish with sanding, painting or staining, and optional features like furniture feet for protection and aesthetic enhancement.
Materials Needed
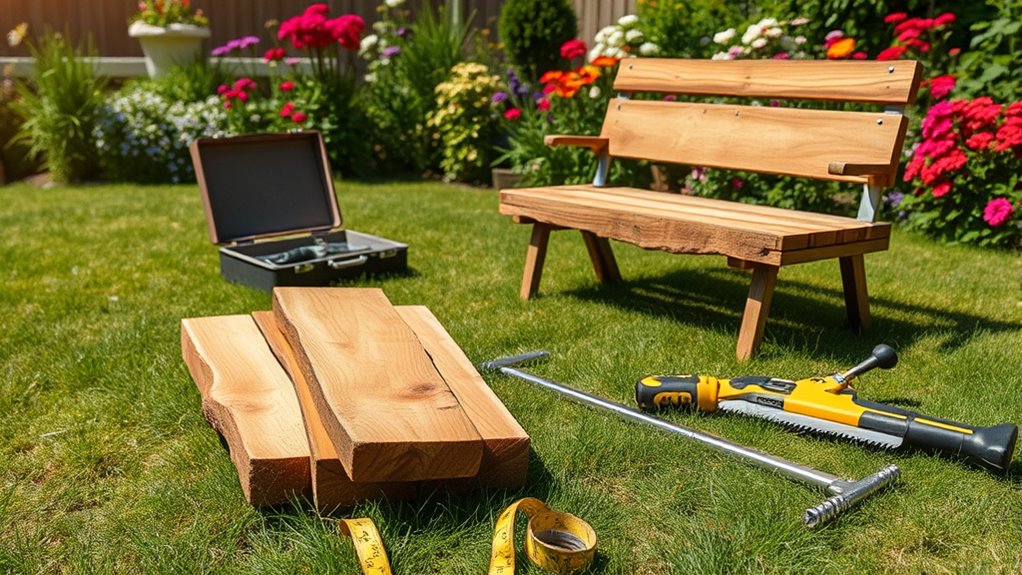
When you're ready to tackle building a simple outdoor bench, you'll need a few essential materials.
Start with one 8-foot 1×8 board for the seat top and four 8-foot 1×4 boards for the legs and supports. It's best to choose pressure-treated wood, as it withstands outdoor elements, prolonging your bench's life.
To build a sturdy outdoor bench, use an 8-foot 1×8 for the seat and four 8-foot 1×4 boards for the legs.
For assembly, grab a box of 2-inch deck screws for the leg assemblies and a box of 1-1/4-inch screws to securely attach the seat.
Don't forget wood glue to strengthen the joints and guarantee a sturdy construction.
If you want to enhance stability and longevity, consider adding furniture feet to elevate the bench and prevent ground contact.
With these materials, you'll be well on your way to a solid outdoor bench!
Cutting the Lumber

To create your outdoor bench, you'll need to cut the lumber accurately. Using a miter saw will guarantee clean edges and precise cuts, which are essential for assembly. Here's a breakdown of the pieces you'll need:
| Material | Length | Quantity |
|---|---|---|
| 1×8 board | 48 in | 2 |
| 1×4 board | 42 in | 3 |
| 1×4 board | 17-1/2 in | 4 |
| 1×4 board | 12-1/2 in | 4 |
| 1×4 board | 6 in | 2 |
When cutting, double-check your measurements to avoid mistakes. Properly marking all pieces will save you time during assembly, so take your time with each cut. Using the right power tools will make this process smoother!
Building the Leg Assemblies
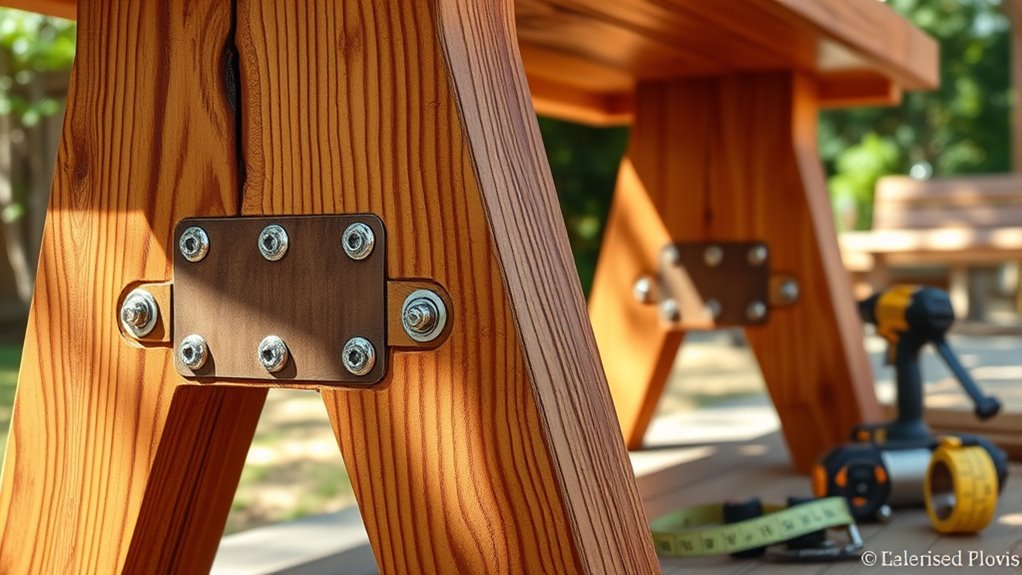
As you start building the leg assemblies, lay two 12-1/2-inch 1×4 boards flat for the supports, positioning two 17-1/2-inch 1×4 boards on their edges to create the legs. Secure the supports to the legs using pilot holes and 2-inch wood screws for a strong connection.
To maintain even gaps, use 6-inch spacer blocks between the supports.
- Drive screws through each leg into the ends of the supports for added stability.
- Remember to drill pilot holes to prevent the wood from splitting.
Repeat the process to create multiple leg assemblies, enhancing the overall sturdiness of your bench.
Assembling the Base
With the leg assemblies ready, you can now focus on assembling the base.
Position the leg assemblies upside down on a stable work surface for easy access. Take two 42-inch 1×4 boards to connect the leg assemblies, applying wood glue and securing them with screws for stability.
Make certain to align the lower stringer with the center marks on the leg supports to guarantee equal support and balance. To help with positioning, utilize spacer blocks for temporary support while you secure the stringer. This will keep everything aligned as you work.
Once the stringer is attached, carefully remove the spacer blocks, and you'll have successfully assembled the base. Your bench is starting to take shape!
Attaching the Seat
Now that your bench frame is sturdy, it's time to attach the seat. Cut your seat boards to 14.5 inches for a perfect fit. Measure the spacing between the frame pieces, using a 7/16 inch spacer for even distribution.
With your nail gun loaded with 1.5-inch Brad nails, attach the seat boards securely to the crosspieces, ensuring they're flush.
Here are some tips to keep in mind:
- Drill countersunk pilot holes to prevent splitting the wood.
- Check the stability of each board as you go.
- Perform a final inspection under the bench for loose boards.
Sanding and Finishing
To guarantee your outdoor bench is both visually appealing and comfortable, you'll want to focus on sanding and finishing.
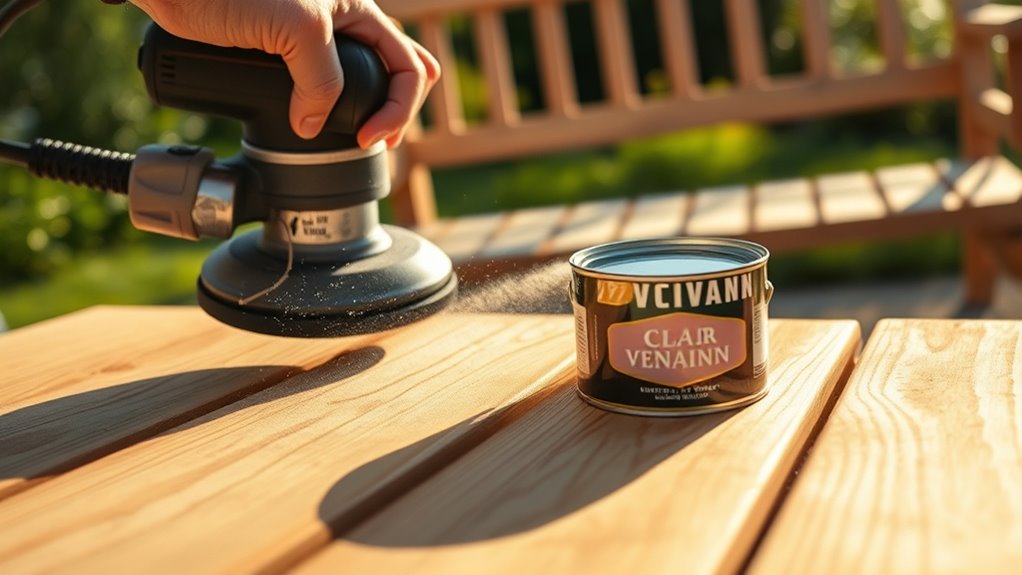
Start by sanding all surfaces with 180-grit sandpaper to remove splinters and rough edges, guaranteeing a smooth finish. Once you've done that, switch to 220-grit sandpaper for an even finer surface, enhancing the bench's overall appearance.
For outdoor durability, apply an exterior wood stain or sealer after sanding to protect it from the elements and extend its lifespan. Remember to lightly sand between coats of stain or sealer for a professional-looking finish and better adhesion.
Finally, make sure the pressure-treated wood is completely dry before applying any product to prevent moisture issues and guarantee ideal absorption.
Final Inspection
Before you put your outdoor bench to use, it's essential to conduct a final inspection.
Check the structural integrity by ensuring all boards are securely fastened and inspect for any loose areas.
Also, make sure the surfaces are smooth to guarantee a safe and comfortable seating experience.
Check Structural Integrity
Conduct a thorough inspection of your outdoor bench to confirm its structural integrity is sound.
Start by checking all joints and connections, making certain that screws and adhesive have secured each component without gaps or movement.
Next, test the bench's stability by evenly applying weight to validate it can support 3 to 4 people without wobbling.
Make sure to also verify that all surfaces are smooth and free from sharp edges to prevent injuries.
- Ascertain all components are securely fastened.
- Check for any splinters or imperfections that could affect comfort.
- Conduct a final visual inspection for aesthetic appeal and proper sealant application.
Inspect for Loose Boards
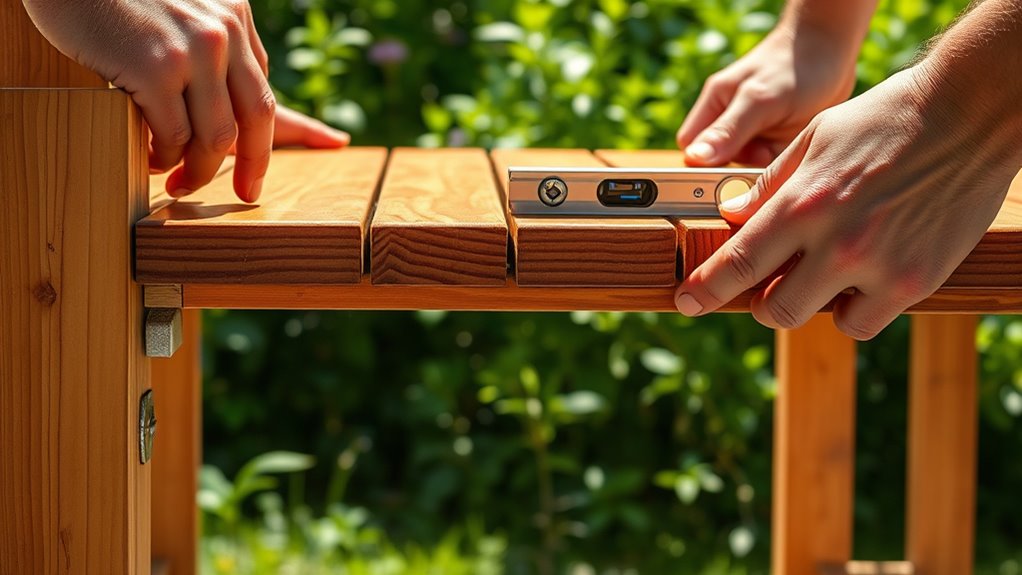
After finishing your bench assembly, it's crucial to inspect for loose boards to confirm everything is secure. Start by checking all nail placements—missing spots can compromise stability. Examine the edges and ends of each board for any signs of looseness. Use a level to verify the surface is even, as this can reveal improperly installed boards. Gently shake the bench to identify any rattling, which could indicate loose boards needing reinforcement. If you find any, add additional nails or screws to secure them firmly.
| Action | Purpose |
|---|---|
| Inspect nails | Confirm all placements are secure |
| Check edges | Identify loose boards |
| Use a level | Verify surface stability |
| Shake bench | Detect instability |
| Reinforce loose boards | Enhance overall durability |
Ensure Smooth Surfaces
A thorough final inspection is essential for ensuring the comfort and safety of your newly built outdoor bench.
First, make sure to inspect all surfaces for any splinters or rough edges. Use sandpaper, starting with 180-grit and finishing with 220-grit, to create smooth surfaces that enhance the bench's appeal.
Pay special attention to:
- Corners and joints for a seamless finish
- Missed nail placements or loose boards for structural integrity
- The option of applying a final coat of water sealant stain or paint for protection. Additionally, consider using advanced filtration systems that can help remove impurities from your bench's surface to maintain its quality over time.
Tips for Customization
When customizing your outdoor bench, think about the paint colors that best fit your style and outdoor decor.
You can also add unique design features, like custom armrests or decorative patterns, to make it truly yours.
These personal touches not only enhance the bench's appeal but also make it a standout piece in your outdoor space.
Paint Color Options
How can you make your outdoor bench truly stand out? Choosing the right paint color options can transform your bench into a stunning focal point.
Consider using Cabot Stain and Sealer for exterior protection, ensuring durability against the elements. For a visually appealing two-toned finish, opt for contrasting colors that enhance the design.
Here are some tips:
- Test paint colors on a small area to see how they look in different lighting.
- Newburyport Blue is a classic choice that beautifully complements outdoor settings.
- Sand all surfaces properly for a smooth finish before applying any paint or stain. Additionally, consider that air quality improvement can elevate your outdoor experience, making it more enjoyable while you relax on your new bench.
With these ideas, your outdoor bench won't only be functional but also a stylish addition to your space.
Unique Design Features
To make your outdoor bench truly unique, consider customizing its design features to reflect your personal style and enhance functionality. This DIY project can include a mix of wood types, like durable cedar, while avoiding cream-colored sapwood to prevent moisture damage. Adjusting the bench's height and depth allows for a perfect fit.
You can also opt for a two-toned stain finish for a unique look and added protection. Incorporating decorative elements, such as trellis patterns or beveled beam ends, adds character and flair. Additionally, consider using natural materials to further enhance the rustic appeal of your bench.
| Feature | Customization Option | Benefit |
|---|---|---|
| Wood Type | Cedar and hardwood mix | Durability and aesthetics |
| Stain Finish | Two-toned | Visual appeal and protection |
| Design Elements | Trellis patterns | Distinctive style |
| Elevation | Furniture feet | Prevents moisture damage |
Frequently Asked Questions
How to Build a DIY Garden Bench?
To build a DIY garden bench, start by gathering materials like 2×4 wood and exterior grade adhesive.
Create a cut list for the pieces you'll need, ensuring to sand them for a smooth finish.
Assemble the bench using a box joint technique, securing everything with Liquid Nails and clamps.
Once it's dry, apply a water sealant stain for protection.
Feel free to customize the size and add furniture feet for extra elevation!
What Can I Use for an Outdoor Bench?
You can use pressure-treated wood for your outdoor bench since it resists moisture and lasts longer.
Opt for sturdy 2×4 or 2×6 lumber for the frame and seat to support multiple users. To strengthen joints, consider using exterior-grade adhesive.
Finish your bench with a water sealant stain to protect it from the elements.
If you want, add furniture feet to elevate it, preventing moisture decay and ensuring stability.
Can I Build a DIY Bench From Pallet Wood?
Yes, you can definitely build a DIY bench from pallet wood!
It's a great way to save money since pallets are often free or inexpensive. Just make sure to choose pallets marked with "HT" for safety.
Carefully disassemble them, sand down any rough edges, and consider using multiple pallets for added sturdiness.
Don't forget to finish your bench with an outdoor sealant to protect it from the elements and extend its lifespan.
What Is the Best Wood for an Outdoor Bench?
When choosing wood for your outdoor bench, consider options like cedar, redwood, or teak. These woods are naturally resistant to decay and insects, making them ideal for outdoor use.
If you're looking for something more budget-friendly, pressure-treated pine works well when sealed properly. Avoid softwoods like poplar, as they're prone to rot.
Whichever wood you pick, don't forget to apply a weather-resistant stain or sealant for added protection against the elements.
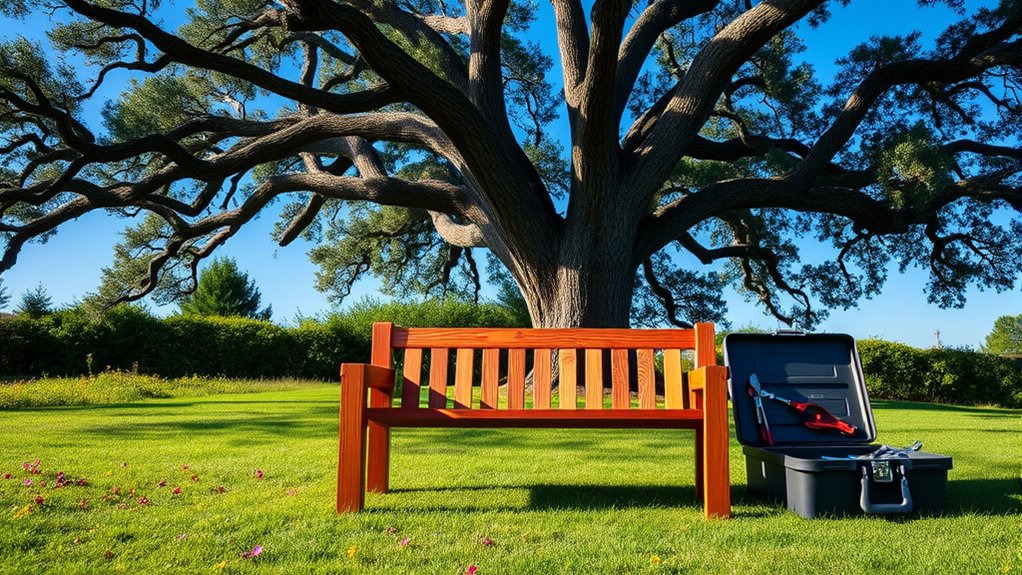
Conclusion
Now that you've built your simple outdoor bench, it's time to enjoy the fruits of your labor. Like planting a seed that grows into a sturdy tree, your effort will provide a comfortable place to relax and gather with friends. Don't forget to personalize it with paint or cushions to make it truly yours. Take a moment to admire your handiwork, knowing you've created a lasting piece for your outdoor space. Happy sitting!